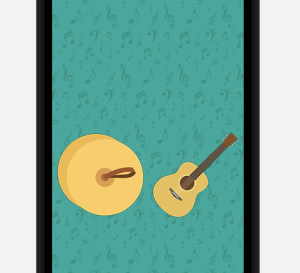
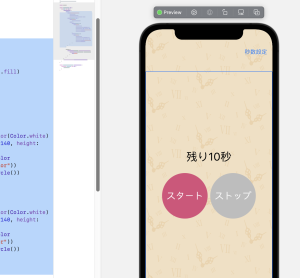
スタート、ストップボタンとカウントダウンの秒数を表示させるテキストを配置
スタートでカウントダウンを開始再開、ストップで一時停止
秒数設定で終了時間を設定できる
画面遷移はNavigationViewを利用、カウントダウン開始秒数をpickerを配置して設定 Backでタイマー画面に戻る
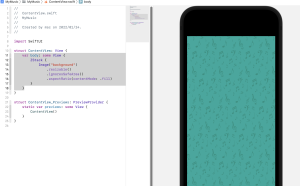
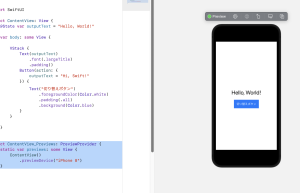
ContentView.swift
L NavigationViewは先頭画面であることを宣言
L .toolbarはボタンを配置
L navigationBarTrailingで右側に配置 navigationBarLeadingは右側、.bottomBarは下部
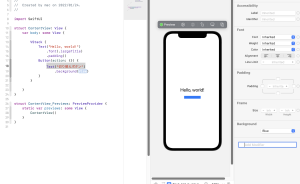
struct ContentView: View {
    var body: some View {
        NavigationView {
            VStack {
                Text("タイマー画面")
            }
            .toolbar {
                ToolbarItem(placement: .navigationBarTrailing){
                    NavigationLink(destination: SettingView()){
                        Text("秒数設定")
                    }
                }
            }
        }
        .navigationViewStyle(StackNavigationViewStyle())
    }
}
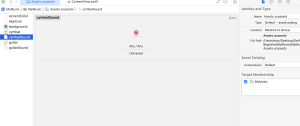
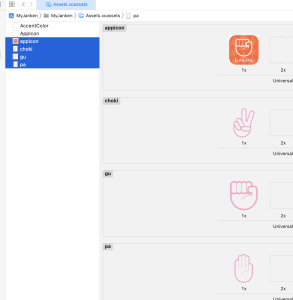
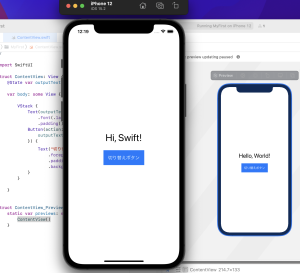
### タイマーの色を定義
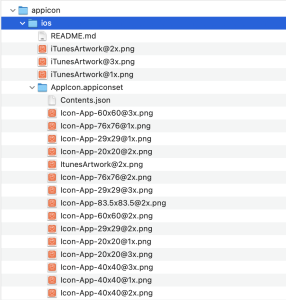
Asset.xcassetsでcolorsetを追加、「Any Appearance」を選択
218, 78, 122にRGBを設定
Darkモードで208, 68, 112で設定
同様にストップの色も定義する
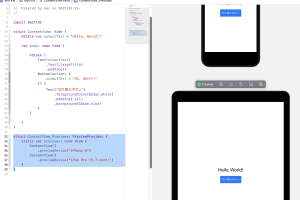
ZStack {
                Image("backgroundTimer")
                    .resizable()
                    .ignoresSafeArea()
                    .aspectRatio(contentMode: .fill)
                VStack(spacing: 30.0) {
                    Text("残り10秒")
                        .font(.largeTitle)
                    HStack {
                        Button(action: {}){
                            Text("スタート")
                                .font(.title)
                                .foregroundColor(Color.white)
                                .frame(width: 140, height: 140)
                                .background(Color("startColor"))
                                .clipShape(Circle())
                        }
                        Button(action: {}){
                            Text("ストップ")
                                .font(.title)
                                .foregroundColor(Color.white)
                                .frame(width: 140, height: 140)
                                .background(Color("stopColor"))
                                .clipShape(Circle())
                        }
                    }
                }
            }
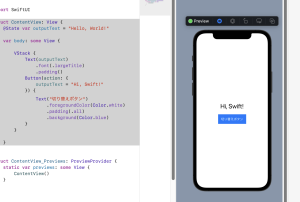
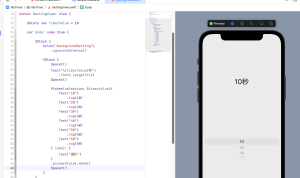
### Pickerを配置
SettingView.swift
L pickerStyle(.wheel)でPickerホイール配置
struct SettingView: View {

    @State var timerValue = 10

    var body: some View {

        ZStack {
            Color("backgroundSetting")
                .ignoresSafeArea()

            VStack {

                Picker(selection: $timerValue){
                    Text("10")
                        .tag(10)
                    Text("20")
                        .tag(20)
                    Text("30")
                        .tag(30)
                    Text("40")
                        .tag(40)
                    Text("50")
                        .tag(50)
                    Text("60")
                        .tag(60)
                } label: {
                    Text("選択")
                }
                .pickerStyle(.wheel)
            }
        }
    }
}
うむ、覚えることが広いな