結論から言うと、ec2 x Djangoでapache2 or Nginxを使う場合、仮想環境を作らないと、Djangoのパスが通らずに、「ModuleNotFoundError: No module named ‘django’」とエラーになる。開発環境では、manage.py runserverで確認すれば良かったが、ec2にデプロイしてapache2もしくはNginxを通す場合は、仮想環境の構築が必須。
ec2でapache2もしくはNginxを構築する前に、uWSGIの基礎を学んでから構築した方が、理解が深まるし、トラブルシューティングしやすくなる。
それを省略したので、結局2日かかった orz…
以下が構築手順。Ubuntu20.04のインスタンスが出来ている状態から始める。
### 1.インスタンスログイン
$ ssh ubuntu@${public ip} -i ~/.ssh/*.pem
$ sudo apt update
$ sudo apt upgrade
$ sudo apt install python3-pip
### 2.MySQL8系インストールとdjango用のdb作成
$ sudo apt install mysql-client-core-8.0
$ sudo apt-get update
$ sudo apt install mysql-server
$ sudo service mysql start
$ sudo mysql_secure_installation
$ sudo mysql -u root -p
mysql>set global validate_password.length=6;
mysql>set global validate_password.policy=LOW;
mysql>CREATE USER ‘admin’@’%’ IDENTIFIED BY ‘hogehoge’;
mysql>GRANT ALL PRIVILEGES ON *.* TO ‘admin’@’%’ WITH GRANT OPTION;
mysql>FLUSH PRIVILEGES;
mysql>create database hoge;
### 3.apacheインストール
$ sudo apt update
$ sudo apt install apache2
$ sudo ufw app list
$ sudo ufw allow ‘Apache Full’
$ sudo ufw status
$ sudo systemctl status apache2
### 4.git clone
// 所有権
$ sudo chown ubuntu /home
$ git clone https://github.com/hoge/hoge.git
$ cd hoge
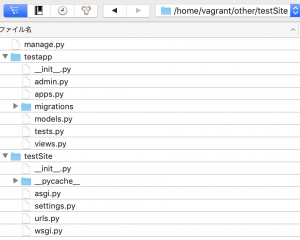
#### 5.django商用設定
settings.py
DEBUG = False
ALLOWED_HOSTS = ['*']  #もしくはEC2のIP
STATIC_ROOT = os.path.join(BASE_DIR, 'static')
migration
// migration
$ python3 manage.py makemigrations hoges
$ python3 manage.py migrate
### 6. 仮想環境構築(!!重要!!)
$ sudo apt install -y python3-wheel python3-venv python3-dev
$ python3 -m venv env
$ source env/bin/activate
$ pip install wheel
// 各種ライブラリインストール 省略
$ apt-get install apache2-dev
$ sudo pip3 install mod_wsgi
$ mod_wsgi-express module-config
LoadModule wsgi_module “/usr/local/lib/python3.8/dist-packages/mod_wsgi/server/mod_wsgi-py38.cpython-38-x86_64-linux-gnu.so”
WSGIPythonHome “/usr”
$ python3 manage.py collectstatic
$ deactivate
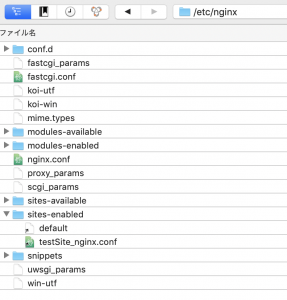
### 7. Apache設定
$ sudo vi /etc/apache2/sites-available/django.conf
LoadModule wsgi_module /usr/local/lib/python3.8/dist-packages/mod_wsgi/server/mod_wsgi-py38.cpython-38-x86_64-linux-gnu.so

WSGIPythonHome /usr
WSGIScriptAlias / /home/ubuntu/hoge/hoge/wsgi.py
WSGIPythonPath /home/ubuntu/hoge:/home/ubuntu/hoge/env/lib/python3.8/site-packages

<Directory /home/ubuntu/hoge/hoge>
  <Files wsgi.py>
    Require all granted
  </Files>
</Directory>

Alias /static/ /home/ubuntu/hoge/hoge/
<Directory /home/ubuntu/hoge/static>
  Require all granted
</Directory>
$ sudo a2dissite 000-default
$ sudo a2ensite django
$ sudo systemctl restart apache2
$ sudo systemctl enable apache2
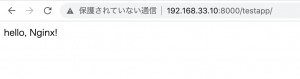
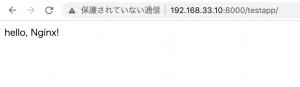
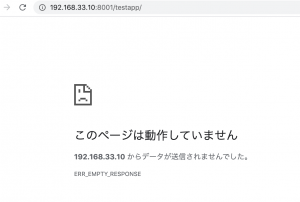
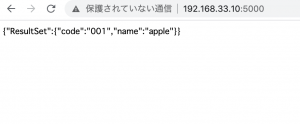
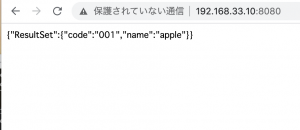
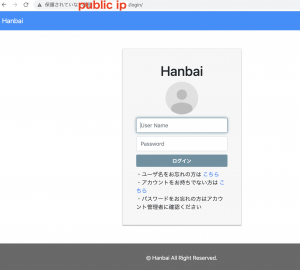
### 8.挙動確認
EC2のpublic IPを叩く
### 9.AMI作成
– インスタンスのバックアップ
お疲れ様でした。
ちなみにこれ、仮想環境構築をすっ飛ばしてインスタンス作成を5〜6回ぐらいやり直してapacheのエラーログ見て悶絶してた。まあ、ここを乗り切ればハードルは一気に下がりますね。