とりあえず、ブラウザ上でドラッグすると上部にアイコンが現れるので、選択します。
テキストを書きたい場合は「T」を選択します。
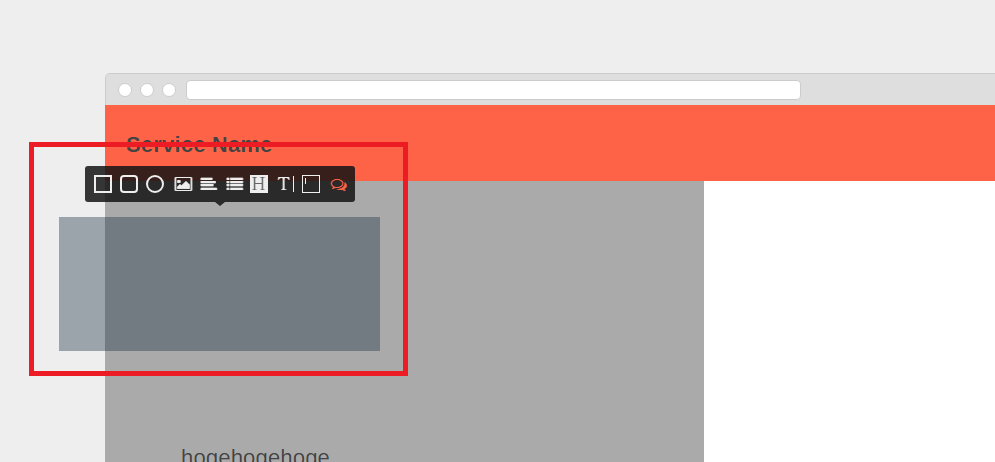
うん、これは思ってた以上に使いやすいかも。基本はドラッグ&ドロップで、画面のサイズなども変更できるし、日本語入力もできます。素晴らしい!
これで、作成していきましょう。
ソフトウェアエンジニアの技術ブログ:Software engineer tech blog
随机应变 ABCD: Always Be Coding and … : хороший

とりあえず、ブラウザ上でドラッグすると上部にアイコンが現れるので、選択します。
テキストを書きたい場合は「T」を選択します。
うん、これは思ってた以上に使いやすいかも。基本はドラッグ&ドロップで、画面のサイズなども変更できるし、日本語入力もできます。素晴らしい!
これで、作成していきましょう。
おいおいおい、まじかよ。どんだけ延期してるんねん?

メンテナンスが当初、2018年 12月31 (月) 8:00 ~ 10:00までだったのが、2018年 12月31 (月) 8:00 ~ 12:00になり、その後、2018年 12月31 (月) 8:00 ~ 12:30に変更となり、2018年 12月31 (月) 8:00 ~ 2:00になった。

今日は、シコシコワイヤーを作ろうと思ってたのに、困ったなー。。

うーん、しかしこれ、なんなんだろう?
普通、リカバリ処理でも、そんなに伸びないんだけど。相当クリティカルな問題が見つかったか、今日、新たに機能追加とかやってるのかな?
awsのメンテナンスウィンドウを今日のこの時間に設定していたとしても、メンテナンスウィンドウでこんなに伸びる訳ないんだけどなー
世の中的に、12/31に仕事する人は少ないってことなんでしょうか?そんなことないと思うんだがなー
ということで、他のワイヤーツールを使おうと思います。
候補は以下の通り。ccって、完全にcreative cloudを連想させます。
Wireframe.cc https://wireframe.cc/
NinjaMock https://ninjamock.com/
moqups https://moqups.com/
Prott https://prottapp.com/ja/
mockingbird https://gomockingbird.com/home
MockFlow https://mockflow.com/
HotGloo https://www.hotgloo.com/
しかし、結構あるなー、 パット見、ninja以外はどれも良さそう。
moqupsは使いやすそうではある。まーとりあえず、Wireframe.ccってのつかってみますかね。日本語使えるかが問題だが。
Wireframe.cc
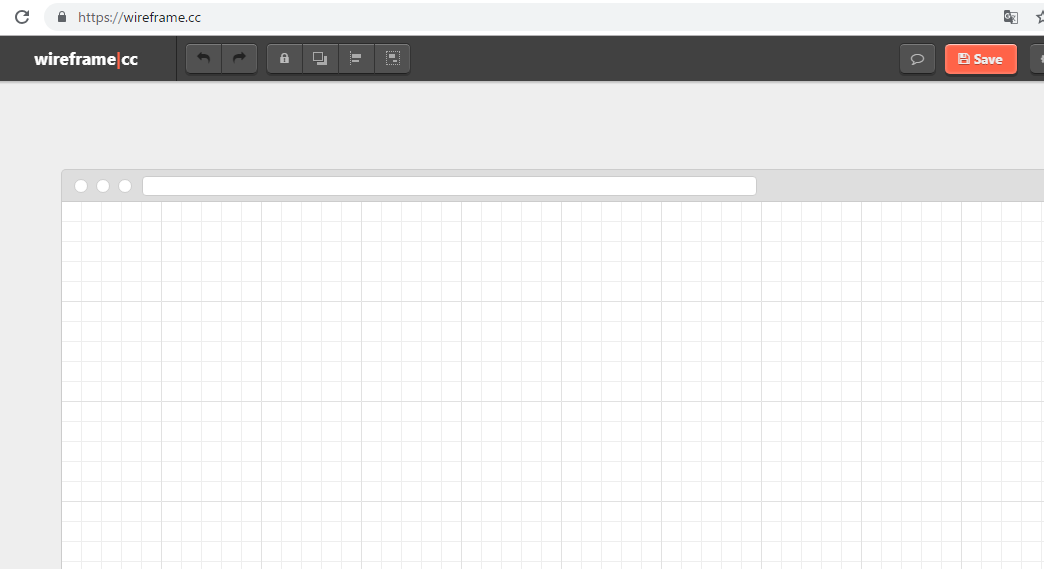
safariっぽいインターフェイスだね。
Webデザインの最新トレンドはどうなっているか?
イケてるデザイン会社で働いていたことがありますが、Web制作におけるデザインの最新トレンドの調査は、既に作られているものを見ていきます。
ただし、ディーテールになると、デザインの基礎を学んでいるか否かで、アウトプットの質がかなりかわってきます。よって、デザイン系の専門学校卒の人材を多く抱えている制作会社は、デザインに強い印象があります。
さて、何を見るか?
沢山のサイトのキャプチャを集めたギャラリーサイトを見るのが手っ取り早いですね。
トレンドを見ていきましょう。傾向や感想を箇条書きで書いていきます。
Web Design Trend
– ヘッダー、フッターがなく、メインビジュアルの上にテキストを載せているデザインが多い
muuuuu
– MVのメッセージが英語が多い
– どこもfontをサイトに併せている
– 落ち着いたデザインが多い。奇抜な構成は少ない
WebDesignClip
– サービスと画像が直結している
– スタイリッシュが多い。文字は全体的に少ない
io3000
– pixta、potolio などにある画像をそのまま使っているサイトは殆どない
– 普段、殆ど目にしないような写真を大体使ってる
– background white, font-color blackが異常に多い
– 日本人男女の写真はほぼない
responsibe design japan
– 高品質の価値提供系が多い
– 写真をグラフィック加工しているサイトはカッコいい、目立つ
– 動画はあまりない
S5-Style
– 3Dを表現しているサイトは子供っぽくみえる。
– 日常のちょっとしたお洒落が多い。イメージでいうと、自由が丘。
81-web.com
– 飲食系はカメラマンの腕が光る
– 上部ヘッダーメニューがあると、少し古く感じる
– 冷たい感じが多い
– シンプルなファッションが多い、コテコテは少ない
bookma! v3
– いわゆる昭和感を狙ったデザインも悪くない
– 高層ビルなどは殆どない (一昔前は新宿、東京タワーなどが良く使われていた)
– イラストは基本的にクオリティが非常に高い
awwwards.
– 動きがあるのはやっぱりカッコいい!
WPesign Gallery
– ここだけデザインが古い
WEloveWP
– WordPressでも、ヘッダーがない傾向が顕著
最後にfortune のfuture-50のサイトのデザインを見ておきましょう。
http://fortune.com/future-50/
1位 workday
確かに今っぽいw

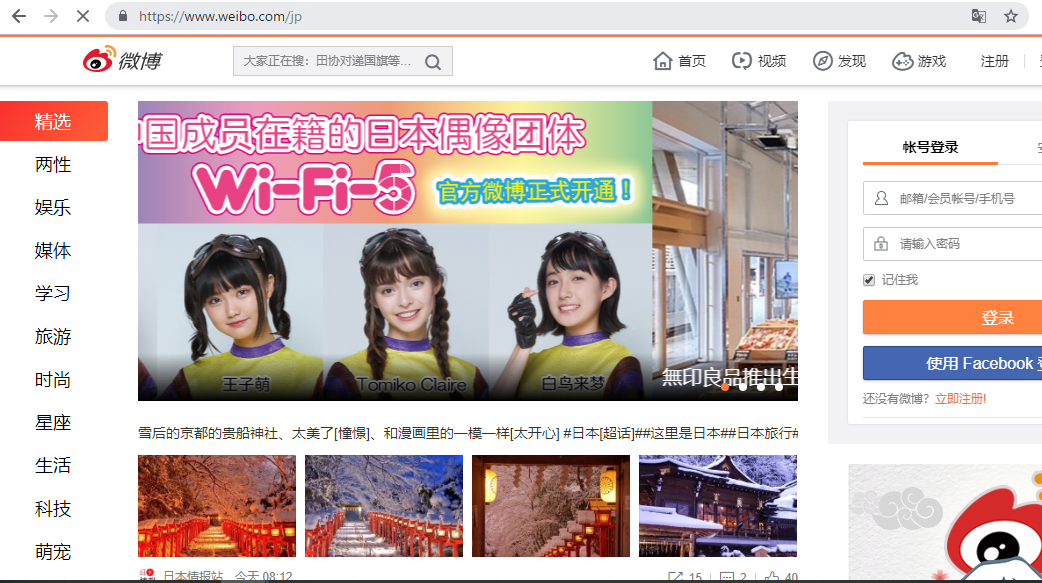
2位 weibo
weiboは良くも悪くも中国っぽい。デザインもbaidoと似ている。
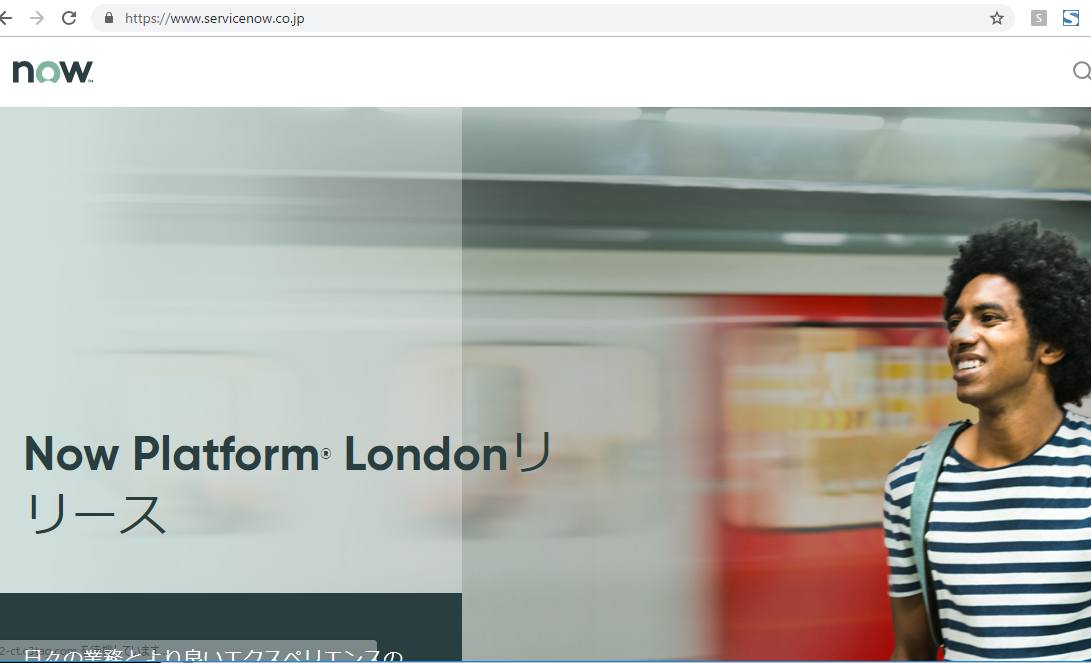
3位 ServiceNow
うおおおおおおおおおお、かkkkkkkkkkkkkっけ
こういうの作ろ^^
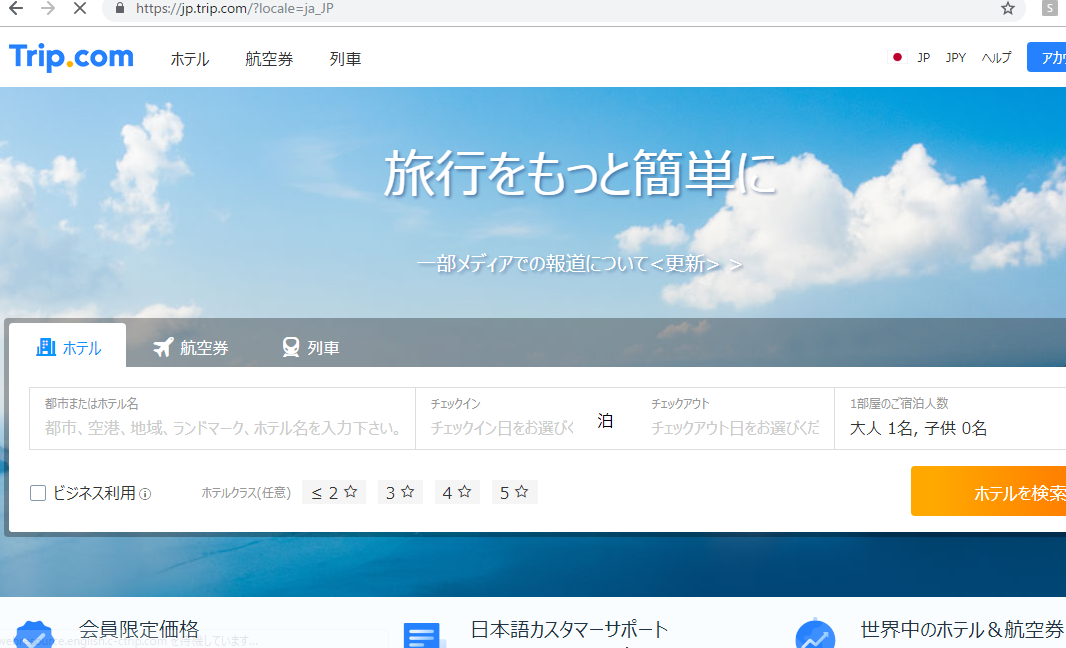
4位 ctrip.com international
ファーストビューに検索ボックスがあると、なんかいいね♪
5位 vipshop holdings
なんだ、このふざけた社名は?? 大きい声では言えんが、明らかにvipを対象にはしてないよね。
デザインからターゲット層がなんとなく想像つくわww

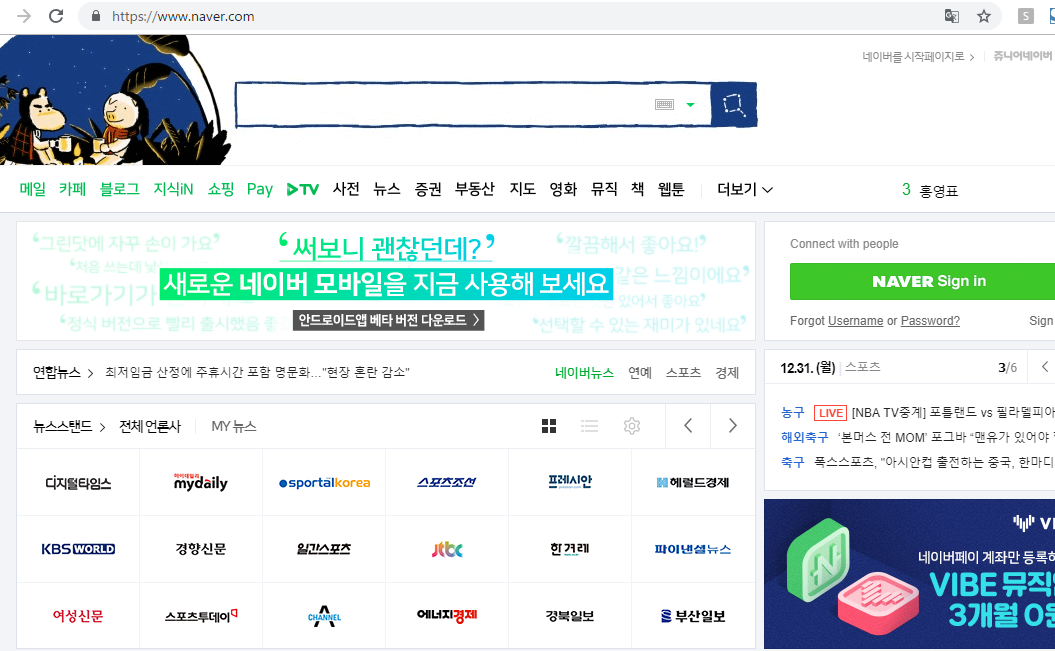
6位 NAVER
韓国ではこんな感じか。だいぶ「NAVER まとめ」や「LINE」とはイメージ違いますね。知性を感じる。
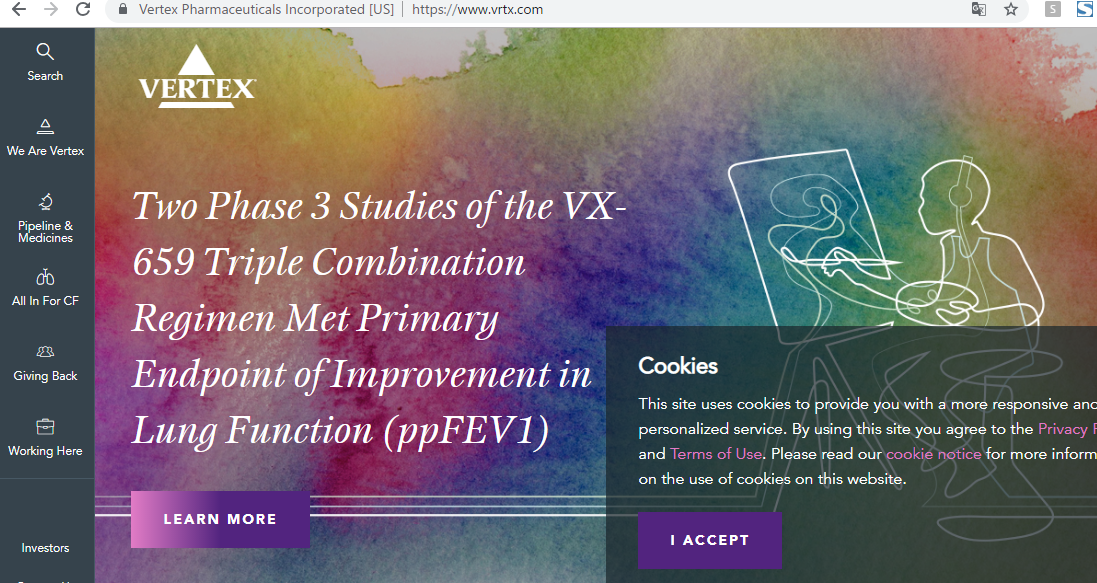
7位 vertex pharmaceuticals
あ、これはカッコいい。多分プロのデザイナーがつくってる。素人でこの感じは出せない。
8位 Netflix
なんだろ、コメントに困るなー。何とも言えない感じ。単純に映画があんまり好きでないから、あんまり親しみを持てない というか、上手くいってるのに嫉妬する

9位 s.f. holdings
ホームページなし??????? マジかよ。すげー
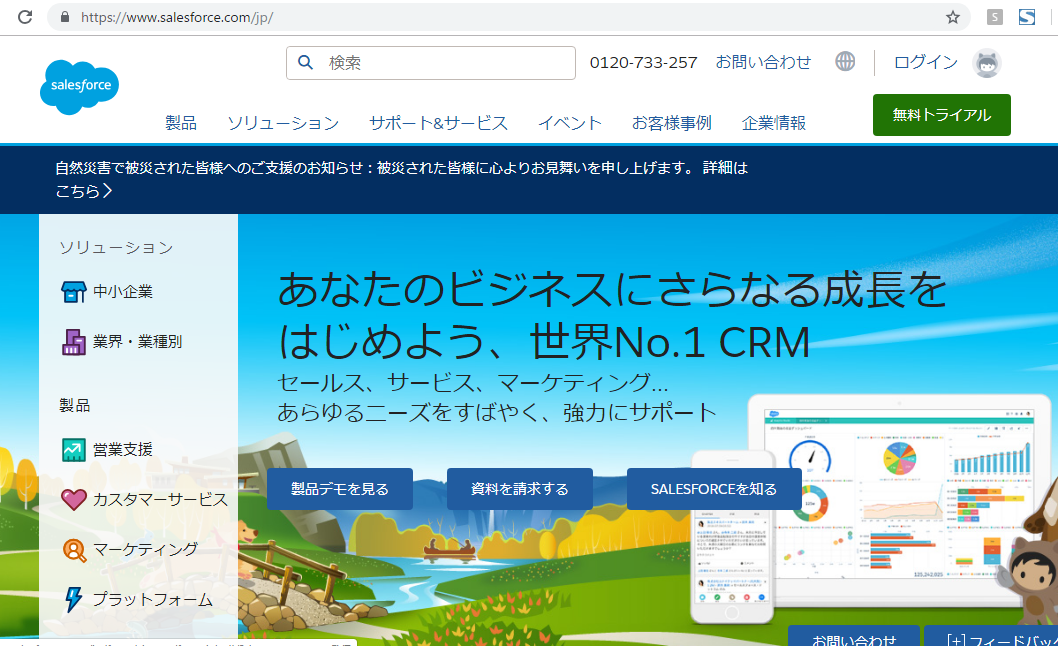
10位 Salesforce
キャラクターが今っぽい。悪くないね。salesforce
ということで、ある程度、トレンドが見えてきたかも。
まず、vagrantでrubyが入っているか確認します。
[vagrant@localhost deploy]$ ruby -v
ruby 2.3.1p112 (2016-04-26 revision 54768) [x86_64-linux]
ruby 2.3.1ですね。travisをインストールします。
[vagrant@localhost deploy]$ gem install travis
Fetching: multipart-post-2.0.0.gem (100%)
Successfully installed multipart-post-2.0.0
Fetching: faraday-0.15.4.gem (100%)
Successfully installed faraday-0.15.4
Fetching: faraday_middleware-0.12.2.gem (100%)
Successfully installed faraday_middleware-0.12.2
Fetching: highline-1.7.10.gem (100%)
Successfully installed highline-1.7.10
Fetching: backports-3.11.4.gem (100%)
Successfully installed backports-3.11.4
Fetching: multi_json-1.13.1.gem (100%)
Successfully installed multi_json-1.13.1
Fetching: addressable-2.4.0.gem (100%)
Successfully installed addressable-2.4.0
Fetching: net-http-persistent-2.9.4.gem (100%)
Successfully installed net-http-persistent-2.9.4
Fetching: net-http-pipeline-1.0.1.gem (100%)
Successfully installed net-http-pipeline-1.0.1
Fetching: gh-0.15.1.gem (100%)
Successfully installed gh-0.15.1
Fetching: launchy-2.4.3.gem (100%)
Successfully installed launchy-2.4.3
Fetching: ethon-0.11.0.gem (100%)
Successfully installed ethon-0.11.0
Fetching: typhoeus-0.8.0.gem (100%)
Successfully installed typhoeus-0.8.0
Fetching: websocket-1.2.8.gem (100%)
Successfully installed websocket-1.2.8
Fetching: pusher-client-0.6.2.gem (100%)
Successfully installed pusher-client-0.6.2
Fetching: travis-1.8.9.gem (100%)
Successfully installed travis-1.8.9
invalid options: -SHN
(invalid options are ignored)
Parsing documentation for multipart-post-2.0.0
Installing ri documentation for multipart-post-2.0.0
Parsing documentation for faraday-0.15.4
Installing ri documentation for faraday-0.15.4
Parsing documentation for faraday_middleware-0.12.2
Installing ri documentation for faraday_middleware-0.12.2
Parsing documentation for highline-1.7.10
Installing ri documentation for highline-1.7.10
Parsing documentation for backports-3.11.4
Installing ri documentation for backports-3.11.4
Parsing documentation for multi_json-1.13.1
Installing ri documentation for multi_json-1.13.1
Parsing documentation for addressable-2.4.0
Installing ri documentation for addressable-2.4.0
Parsing documentation for net-http-persistent-2.9.4
Installing ri documentation for net-http-persistent-2.9.4
Parsing documentation for net-http-pipeline-1.0.1
Installing ri documentation for net-http-pipeline-1.0.1
Parsing documentation for gh-0.15.1
Installing ri documentation for gh-0.15.1
Parsing documentation for launchy-2.4.3
Installing ri documentation for launchy-2.4.3
Parsing documentation for ethon-0.11.0
Installing ri documentation for ethon-0.11.0
Parsing documentation for typhoeus-0.8.0
Installing ri documentation for typhoeus-0.8.0
Parsing documentation for websocket-1.2.8
Installing ri documentation for websocket-1.2.8
Parsing documentation for pusher-client-0.6.2
Installing ri documentation for pusher-client-0.6.2
Parsing documentation for travis-1.8.9
Installing ri documentation for travis-1.8.9
Done installing documentation for multipart-post, faraday, faraday_middleware, highline, backports, multi_json, addressable, net-http-persistent, net-http-pipeline, gh, launchy, ethon, typhoeus, websocket, pusher-client, travis after 18 seconds
16 gems installed
travis setupをする?
[vagrant@localhost deploy]$ travis setup s3
Shell completion not installed. Would you like to install it now? |y| y
Can’t figure out GitHub repo name. Ensure you’re in the repo directory, or specify the repo name via the -r option (e.g. travis
ん??
とりあえずtutorialを見てみよう。
https://docs.travis-ci.com/user/tutorial/
.travis.ymlをリポジトリに置くと書いてます。
>Add a .travis.yml file to your repository to tell Travis CI what to do. The following example specifies a Ruby project that should be built with Ruby 2.2 and the latest versions of JRuby.
deploy:
  provider: travis-s3
  access_key_id:
  secret_access_key:
    secure:
  endpoint:
  region: ap-northeast-1
  bucket: travisci-s3
  local-dir: /
  acl: public_read
  skip_cleanup: true
  on:
    repo: hpscript/travis-s3
  branches:
    only:
    - master
あれ、これ、githubにpushしたらaccess_keyとsecret_access_key漏れてしまうやんけ。
publicだと使えない??
vagrantのsynced_folderを利用することにより、ホスト、ゲスト間でのファイル同期が可能。
Vagrant.configure("2") do |config|
  # other config here

  config.vm.synced_folder "host_path", "guest_path", options...
end
vagrant up時に有効化
ということは、
local.vm.synced_folder ".", "/vagrant",
. が問題だーーーーーーーーーーーーーーー おkkkkkkkkkkkkkk なるほど。
サイトのパーミッション変更のことだ。
:owner => "vagrant", :group => "apache", :mount_options => ["dmode=775,fmode=775"]
おk 問題はほぼ解決^^

config.vm.defineとは?
VMを指定する
config.vm.define "web" do |local|
local.vm.box = "centos-6.7"
box “contos-6.7″ をwebと定義する。
ホスト: vagrantコマンドを実行するホスト … ローカルのmacなど
ゲスト: vagrantコマンドで作成されたVM … 要するにVM
内部ネットワーク: vagrant内のネットワーク … vagrant内部
外部ネットワーク: ホスト外部 … mac外
プライベートネットワーク
内部ネットワークを利用して、ホストとゲスト、ゲスト間の通信が可能。
これか↓
local.vm.network :private_network, ip: “xxx.xxx.xx.xxx”
ipを指定して通信している
ポートフォワーディング
ホストの特定のポートへのアクセスをゲストへ転送
これだ↓ sshなら、2929、22、 httpなら、8000, 80ってことね。
local.vm.network :forwarded_port, id: “ssh”, guest: 22, host: 2929
local.vm.network :forwarded_port, guest: 80, host: 8000
22: Secure Shell (SSH) – セキュアログイン、セキュアなファイル転送(scpやsftpなど)、ポート転送などで用いられる。
29292:TMO Integration Service Communications Port, Used by Transaction Manager SaaS
80: Hypertext Transfer Protocol (HTTP)
8000:Commonly used for Internet radio streams such as SHOUTcast
ん?? 29292ではなく2929では?
ssh.forward_agent
vagrant sshでvmにログインする場合には、ssh.forward_agentをtureにする。
local.ssh.forward_agent = true
ちょっと長くなってきたので、続きは次回。
/etc/hosts って、中身何が入っているか?
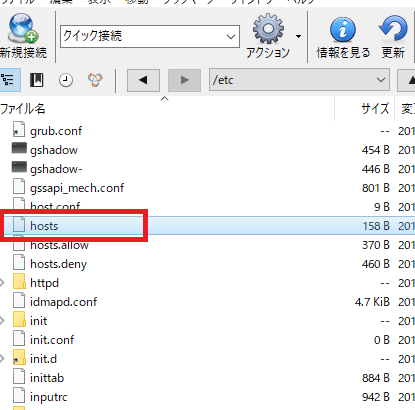
etc/hostsの中身
127.0.0.1   localhost localhost.localdomain localhost4 localhost4.localdomain4
::1         localhost localhost.localdomain localhost6 localhost6.localdomain6
ipとlocalhostのドメインでしょうか??
1. hostsとは?
-hosts(ホスト)とは? TCP/IPを利用するコンピュータにおけるホスト名のデータベースで、IPアドレスとホスト名の対応を記述したテキストファイル
-簡単に言えば、ホスト名からIPアドレス変換を行うファイル。
host名とは、localhostから、IPアドレス 127.0.0.1へ変換を行っている。
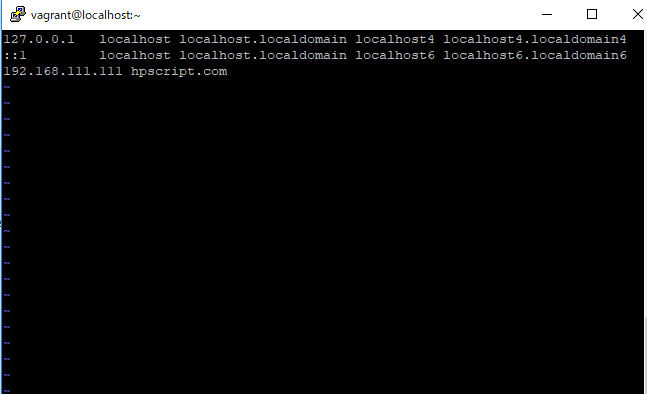
2. etc/hostsを編集
[vagrant@localhost ~]$ sudo vi /etc/hosts
127.0.0.1   localhost localhost.localdomain localhost4 localhost4.localdomain4
::1         localhost localhost.localdomain localhost6 localhost6.localdomain6
192.168.111.111 hpscript.com
3. pingを打つ
[vagrant@localhost ~]$ ping hpscript.com
PING hpscript.com (192.168.111.111) 56(84) bytes of data.
From 172.31.6.113 icmp_seq=24 Destination Net Unreachable
ぬおおおおおおおおおおおおお

homebrewとは何か?ホームページに行ってみましょう。
homebrew
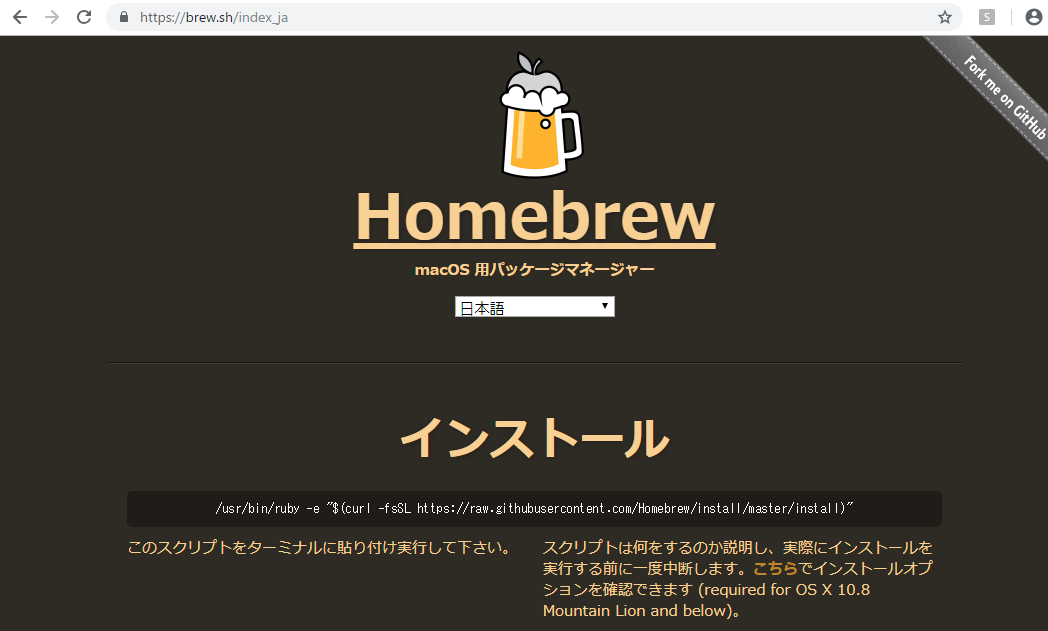
mac os用パッケージマネージャーと書いてあります。パッケージマネージャーというと、composerを思い出しますね。
homebrew インストール
これはやります。
/usr/bin/ruby -e "$(curl -fsSL https://raw.githubusercontent.com/Homebrew/install/master/install)"
homebrewはappleが用意していない必要なものをインストール
$ brew install wget
ansibleもそうですね。
$ brew install ansible
brewをアップデートするには
brew update
パッケージのuninstall は brew removeだそうです。
homebrewのアンインストール
ruby -e "$(curl -fsSL https://raw.githubusercontent.com/Homebrew/install/master/uninstall)"
山頂は遠いなー

awsコンソールにログインし、サービスでIAMを選択して、レフトペインの「ユーザ」から「ユーザ追加」を選択します。
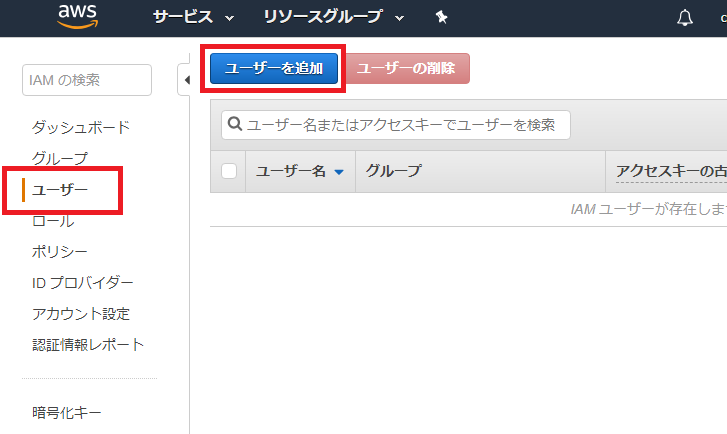
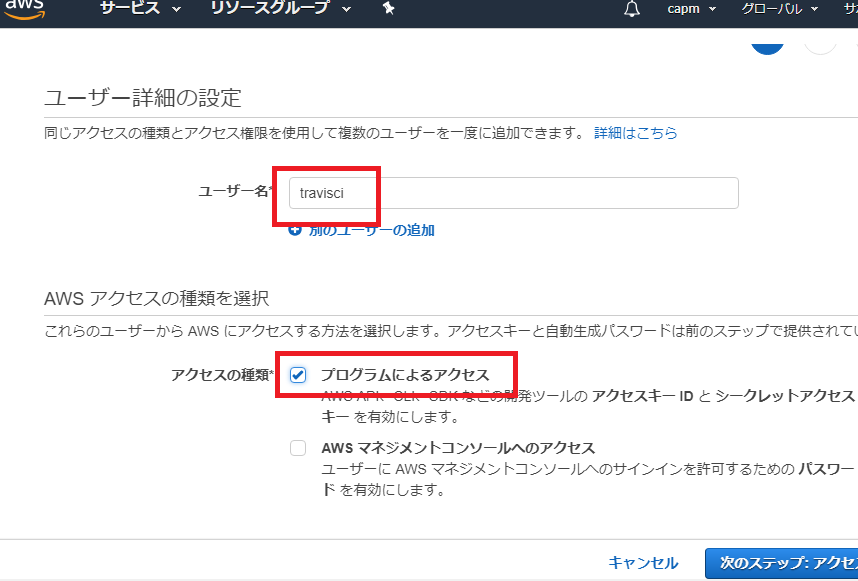
ユーザ名は適当にtravis ciとしておきましょう。
AWSアクセスの種類を選択で「プログラムによるアクセス」のチェックボックスをオンにします。
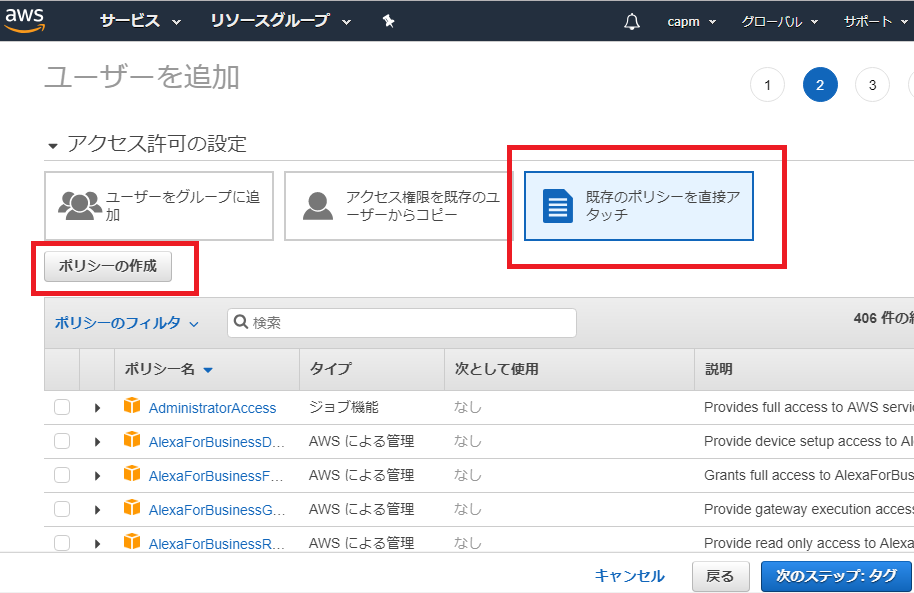
既存のポリシーを直接アタッチで「ポリシーの作成」を選択します。
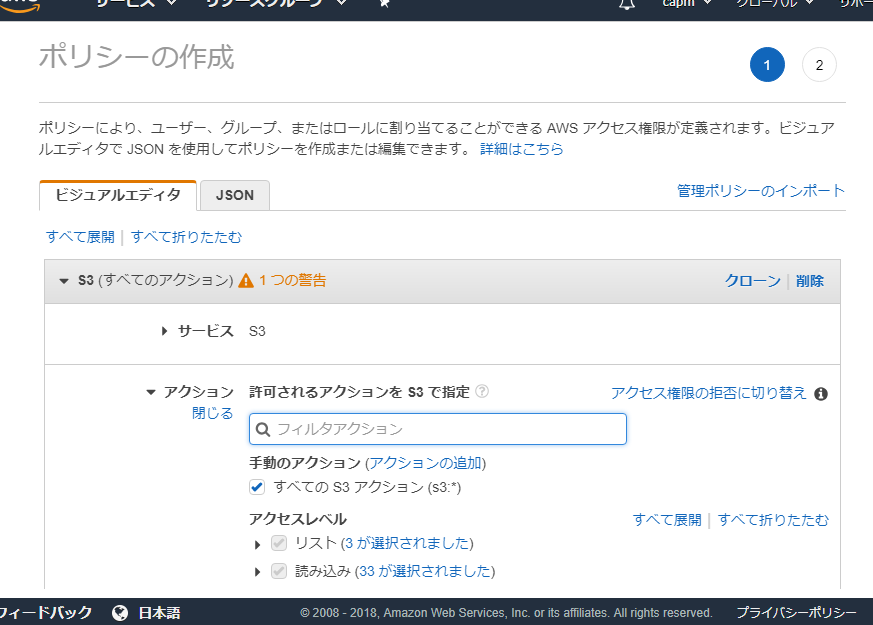
ポリシーを作成していきます。
サービスはS3を選択
手動のアクションは、すべてのS3アクションで「リスト」「読み込み」「書き込み」「アクセス権限の管理」を選択してます。
リソースは、bucketを指定してます。先ほど作成した「travisci-s3」を入れます。
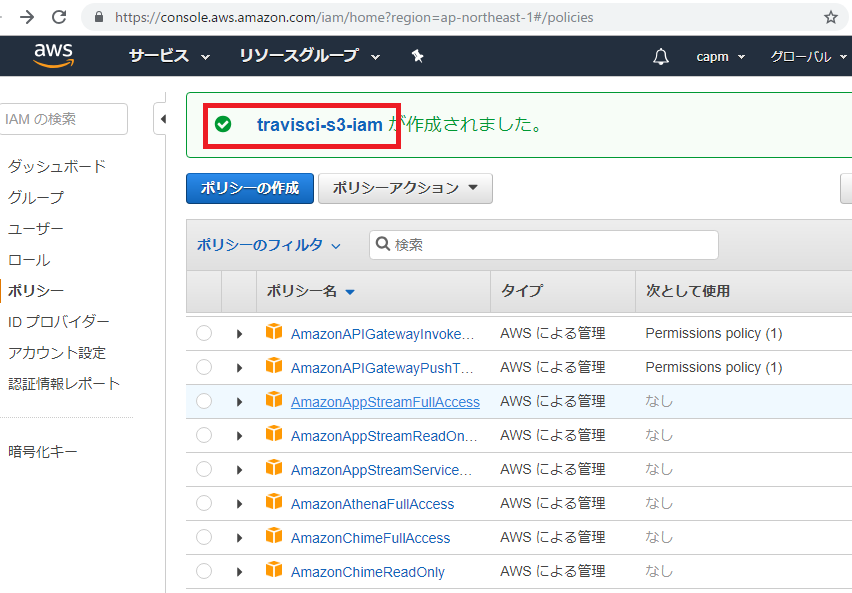
続いて、ポリシーnameの作成画面になるので、適当に「travisci-s3-iam」とでもしておきましょう。
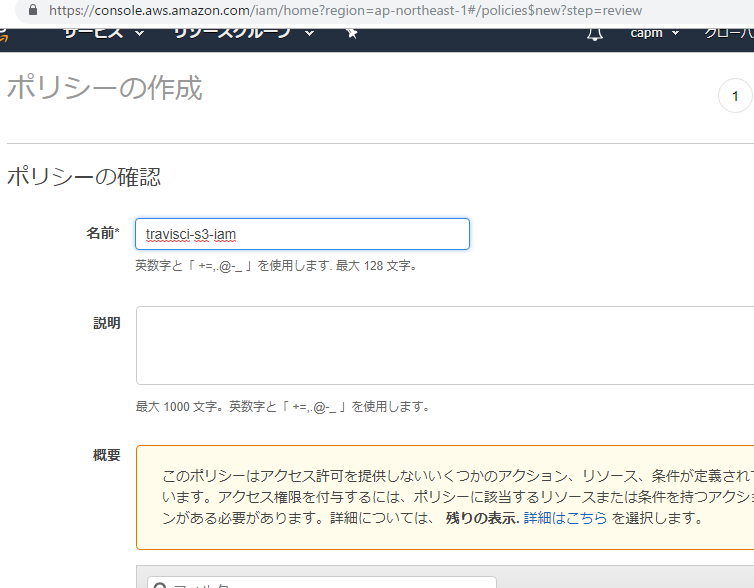
ポリシーが作成されました。
{
    "Version": "2012-10-17",
    "Statement": [
        {
            "Sid": "VisualEditor0",
            "Effect": "Allow",
            "Action": [
                "s3:PutAccountPublicAccessBlock",
                "s3:GetAccountPublicAccessBlock",
                "s3:ListAllMyBuckets",
                "s3:HeadBucket"
            ],
            "Resource": "*"
        },
        {
            "Sid": "VisualEditor1",
            "Effect": "Allow",
            "Action": "s3:*",
            "Resource": "arn:aws:s3:::travisci-s3"
        }
    ]
}
作成するユーザと作成したポリシーを紐づけます。
アクセスキー、シークレットキーが作成されました!!!!
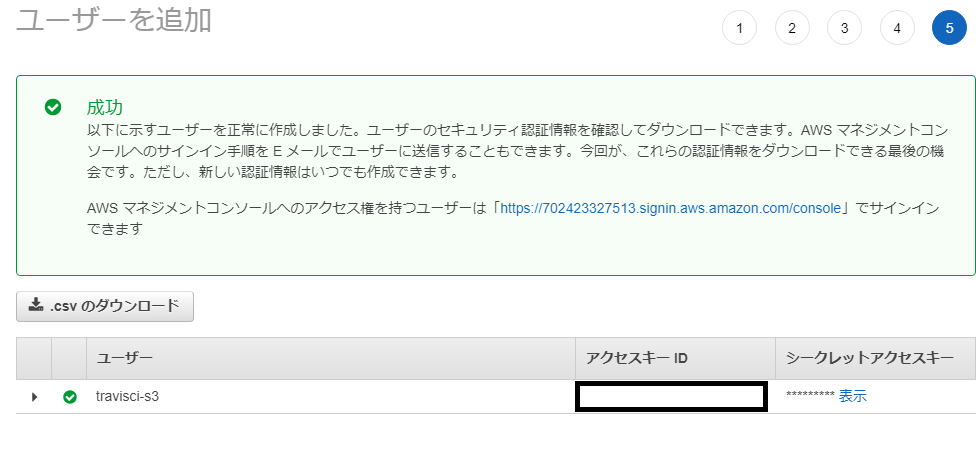
よっしゃーーーーーーーー
前回の続き
1. AWSマネジメントコンソールにログイン
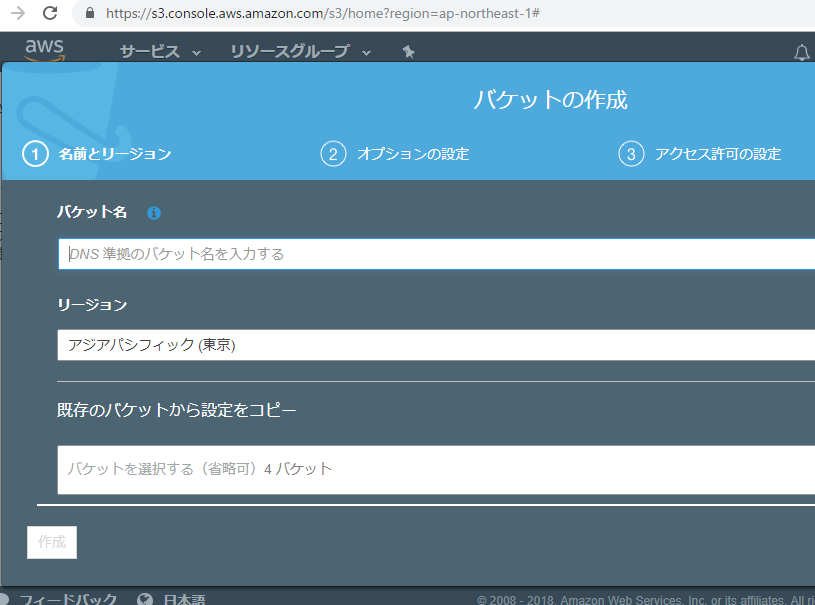
2. S3を選択
3. 「バケットを作成する」押下
バケット名は何にしましょう。とりあえず「travisci-s3」としておきます。
4. デプロイ用のIAMポリシーを作成
ん? IAM? IAMは確かユーザとロールだった筈。json形式で記載する。
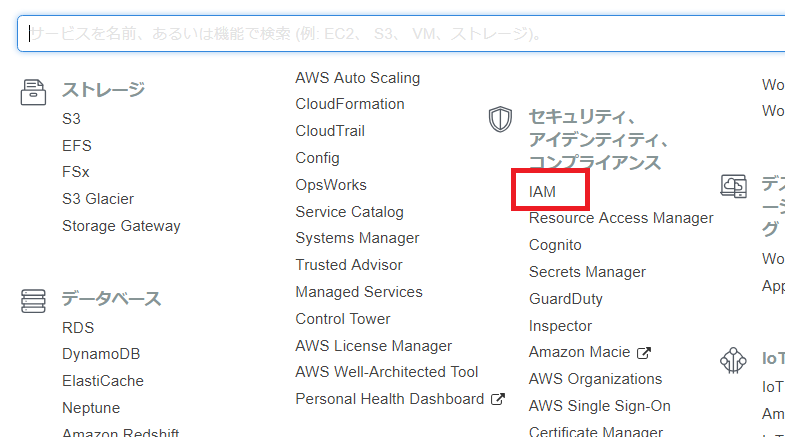
IAM Management Consoleを開きます
あああああああああああああああ、S3のIAMポリシーの作成方法がわからんーーーー