import cv2
import numpy as np
img = cv2.imread('out/result.jpg')
gray = cv2.cvtColor(img, cv2.COLOR_BGR2GRAY)
# cv2.imwrite("out/gray.jpg", img_gray)
# 二値化
# threshold = 180
# _, img_th = cv2.threshold(gray, threshold, 255, cv2.THRESH_BINARY)
# cv2.imwrite("out/th.jpg", img_th)
# 反転
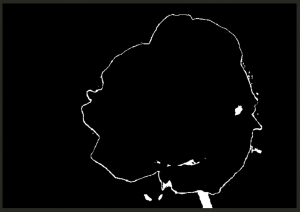
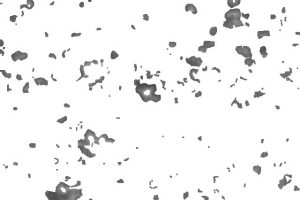
img_bw = cv2.bitwise_not(gray)
cv2.imwrite("out/bw.jpg", img_bw)
kernel = np.ones((3, 3), np.uint8)
img_ero = cv2.erode(img_bw, kernel, iterations=1)
cv2.imwrite("out/ero.jpg", img_ero)
モルフォジー前
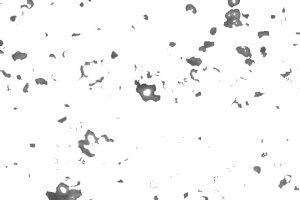
モルフォジー後
iterationsの値を大きくするほど、白の値が狭くなる
反対にcv2.dilate(img_bw, kernel, iterations = 1) として白を白を膨張する事もできる
おおおおおおお
Sugeeeeeeeeeeee