[python3] twitterのつぶやきからmecabとwordcloudで解析する

# -*- coding: utf-8 -*-
import MeCab
import matplotlib.pyplot as plt
import csv
from wordcloud import WordCloud

dfile = "test.txt"

fname = r"'" + dfile + "'"
fname = fname.replace("'","")

mecab = MeCab.Tagger("-Owakati")

words = []

with open(fname, 'r', encoding="utf-8") as f:

	reader = f.readline()

	while reader:

		node = mecab.parseToNode(reader)

		while node:
			word_type = node.feature.split(",")[0]

			if word_type in ["名詞", "動詞", "形容詞", "副詞"]:

				words.append(node.surface)

			node = node.next

		reader = f.readline()

font_path = "NotoSansMonoCJKjp-Regular.otf"

txt = "	".join(words)

stop_words = ['そう', 'ない', 'いる', 'する', 'まま', 'よう', 'てる', 'なる', 'こと', 'もう', 'いい', 'ある', 'ゆく', 'れる', 'ん', 'の']

wordcloud = WordCloud(background_color="black", font_path=font_path, stopwords=set(stop_words),
	width=800, height=600).generate(txt)

wordcloud.to_file('./wordcloud.png')

なるほど、一応できたか
キーワードを自然言語処理ではなく、「自民 -RT」でstop_wordsに自民を指定してやってみる

政党名が多くて、ちょっと期待してたのと違うな。。。

[python3] twitterのつぶやきを取得

pythonでtwitterのつぶやきを取得して、wordcloudでの表示をやってみます。

$ sudo pip3 install tweepy
// mecab, wordcloudはインストール済

import tweepy
import datetime

keyword = "自然言語処理 -RT"
dfile = "test.txt"

jsttime = datetime.timedelta(hours=9)

Consumer_key = ''
Consumer_secret = ''
Access_token = ''
Access_secret = ''

auth = tweepy.OAuthHandler(Consumer_key, Consumer_secret)
auth.set_access_token(Access_token, Access_secret)

api = tweepy.API(auth, wait_on_rate_limit = True)

q = keyword

tweets_data = []


for tweet in tweepy.Cursor(api.search, q=q, count=5,tweet_mode='extended').items():

	tweets_data.append(tweet.full_text + '\n')

fname = r"'" + dfile + "'"
fname = fname.replace("'", "")

with open(fname, "w", encoding="utf-8") as f:
	f.writelines(tweets_data)

twitterのdevアカウントがあれば、取得は容易

[python3] BeautifulSoupでプロキシ経由でスクレイピングする

beautifulsoupでUserAgentとProxyを設定する

# -*- coding: utf-8 -*-
import requests
from bs4 import BeautifulSoup
from pprint import pprint

URL = 'https://news.yahoo.co.jp/'
USER_AGENT = "Mozilla/5.0 (Windows NT 6.1; Win64; x64) AppleWebKit/537.36 (KHTML, like Gecko) Chrome/81.0.4044.138 Safari/537.36"

proxies = {
	'http':'http://43.248.24.158:51166/',
	'https':'http://43.128.23.107:8080/'
}
headers = {"User-Agent": USER_AGENT}

resp = requests.get(URL, proxies=proxies, headers=headers, timeout=10)
resp.encoding = 'utf8' 
soup = BeautifulSoup(resp.text, "html.parser")

titles = soup.select('.sc-esjQYD a')
titles = [t.contents[0] for t in titles]

pprint(titles)

$ python3 app.py
[‘春の嵐 太平洋側激しい雷雨も’,
‘コロナワクチン種類選択OKに’,
‘北ミサイル 安保理緊急協議へ’,
‘生息域40年で倍 減らぬシカ’,
‘中国の謎の文明 黄金仮面発見’,
‘羽生まるで別人 専門家の目’,
‘みちょぱ 結婚の話している’,
‘水卜アナ 局アナ続ける理由’]

なるほど、BSでも行けますね、OK

[Python3] 歌詞をスクレイピングして頻出単語をwordcloudで表示

$ sudo pip3 install pandas

# -*- coding: utf-8 -*-
import requests
from bs4 import BeautifulSoup
import pandas as pd
import time

list_df = pd.DataFrame(columns=['歌詞'])

for page in range(1, 3):

	base_url = 'https://hogehoge'

	url = 'https://hogehoge/' + str(page) + '/'
	response = requests.get(url)
	soup = BeautifulSoup(response.text, 'lxml')
	links = soup.find_all('td', class_='side td1')
	for link in links:
		a = base_url + (link.a.get('href'))

		response = requests.get(a)
		soup = BeautifulSoup(response.text, 'lxml')
		song_lyrics = soup.find('div', itemprop='lyrics')
		song_lyric = song_lyrics.text
		song_lyric = song_lyric.replace('\n', '')
		time.sleep

		tmp_se = pd.DataFrame([song_lyric], index=list_df.columns).T
		list_df = list_df.append(tmp_se)

print(list_df)
list_df.to_csv('list.csv', mode='a', encoding='cp932')

### janomeによる形態素解析
$ sudo pip3 install janome

# -*- coding: utf-8 -*-
from janome.tokenizer import Tokenizer
import pandas as pd
import re

df_file = pd.read_csv('list.csv', encoding='cp932')

song_lyrics = df_file['歌詞'].tolist()

t = Tokenizer()

results = []

for s in song_lyrics:
	tokens = t.tokenize(s)

	r = []

	for tok in tokens:
		if tok.base_form == '*':
			word = tok.surface
		else:
			word = tok.base_form

		ps = tok.part_of_speech

		hinshi = ps.split(',')[0]

		if hinshi in ['名詞','形容詞','動詞', '副詞']:
			r.append(word)

	rl = (' '.join(r)).strip()
	results.append(rl)
	result = [i.replace('\u3000', '') for i in results]
	print(result)

text_file = 'wakati_list.txt'
with open(text_file, 'w', encoding='utf-8') as fp:
	fp.write("\n".join(result))

### wordcloud
$ sudo pip3 install wordcloud
https://www.google.com/get/noto/
Noto Sans CJK JPをダウンロードしてNotoSansMonoCJKjp-Regular.otfを使います。

# -*- coding: utf-8 -*-
from wordcloud import WordCloud

text_file = open('wakati_list.txt', encoding='utf-8')
text = text_file.read()

fpath = 'NotoSansMonoCJKjp-Regular.otf'

stop_words = ['そう', 'ない', 'いる', 'する', 'まま', 'よう', 'てる', 'なる', 'こと', 'もう', 'いい', 'ある', 'ゆく', 'れる', 'ん', 'の']

wordcloud = WordCloud(background_color='white',
	font_path=fpath, width=800, height=600, stopwords=set(stop_words)).generate(text)

wordcloud.to_file('./wordcloud.png')

$ python3 word_cloud.py

LunaSeaでやった場合

lunaseaは「夜」が多いなwww

なるほど、面白いなこれ。
応用としては、、、
エンジニアだと技術情報だけど、ファッション、旅行、スポーツなどでやりたい。特に旅行は万人受けするからなー

[Python3] fastTextとgensimで自然言語処理を実装する

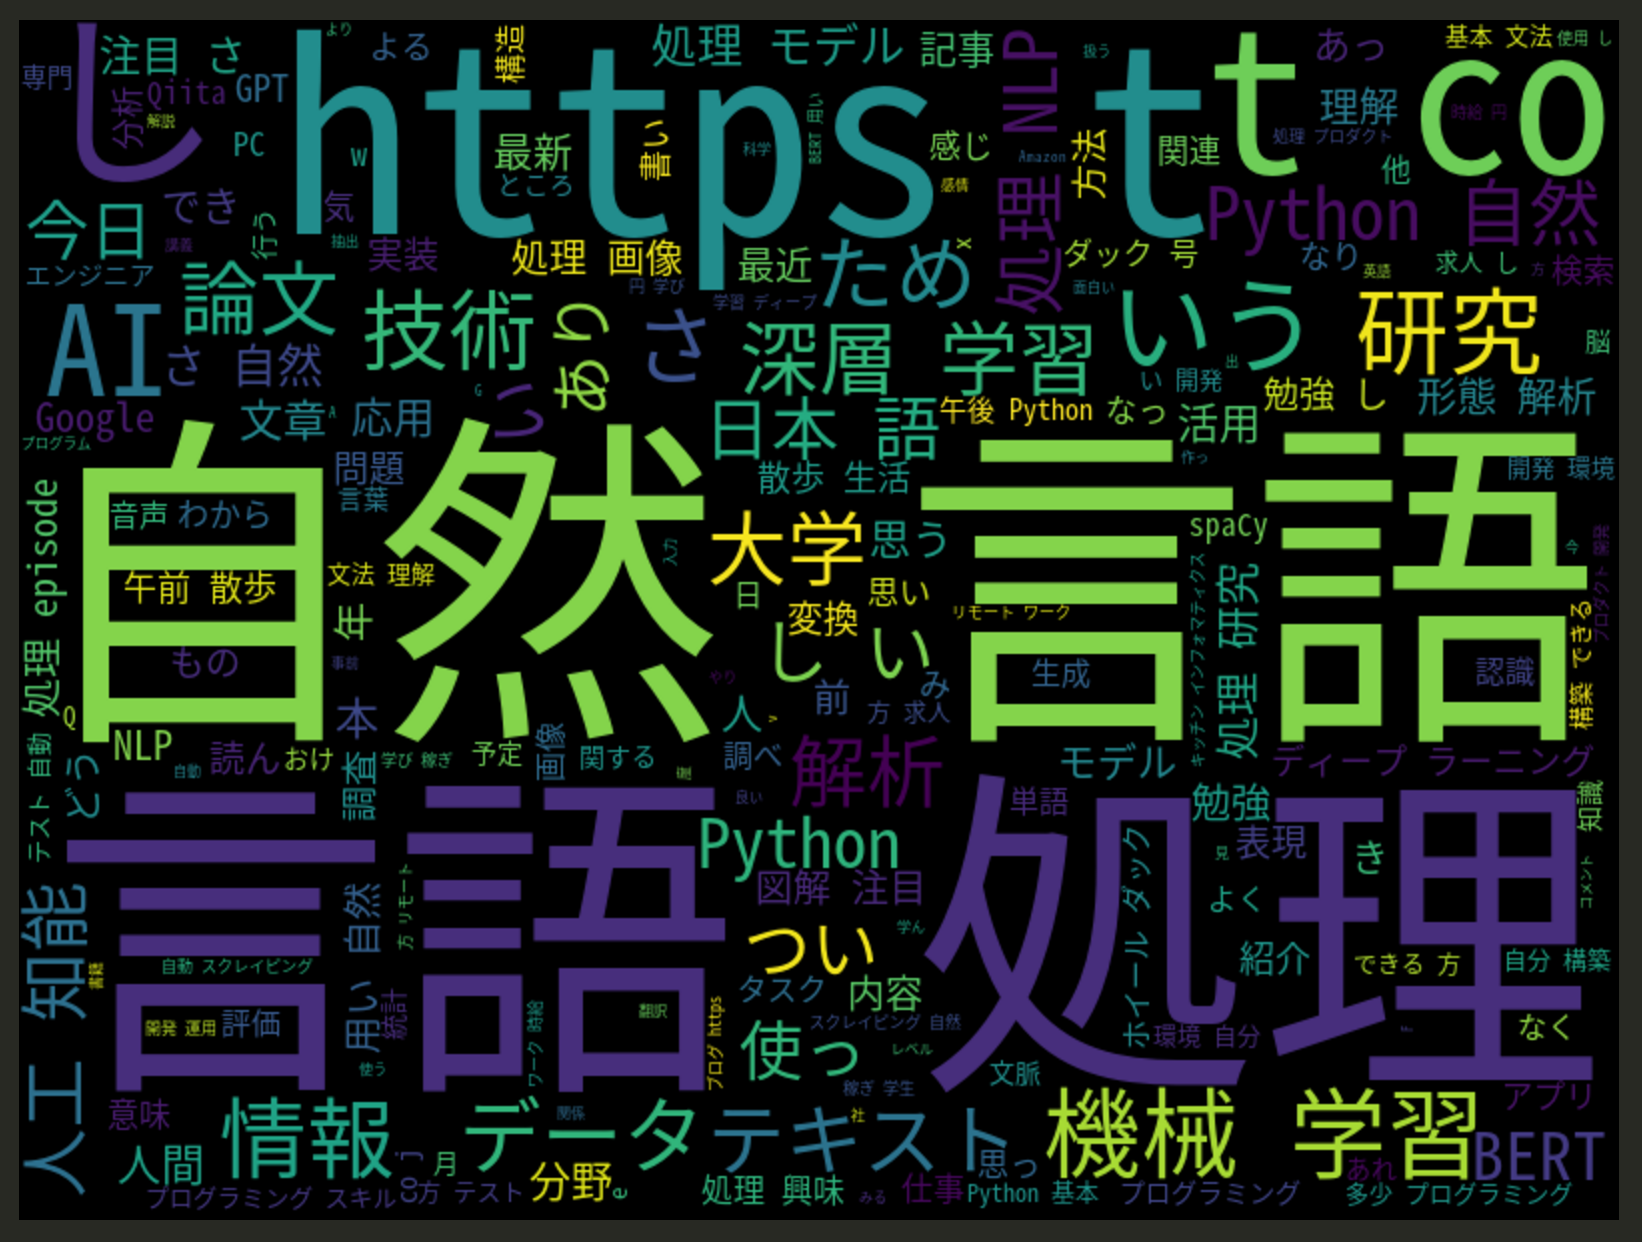
Gensim: 自然言語処理ライブラリ、fastTextを実行できる、トピックモデルの作成、tf-idf、Word2Vecなど
$ sudo pip3 install gensim

### 分かち書きした日本語のテキストを用意
$ wget https://s3-ap-northeast-1.amazonaws.com/dev.tech-sketch.jp/chakki/public/ja.text8.zip
$ unzip ja.text8.zip
※small (100MB) text corpus from the wikipedia
https://github.com/Hironsan/ja.text8

$ which fasttext
$ /usr/local/bin/fasttext skipgram -input ja.text8 -output ja.text8.model

一体なんやこれは?????

$ ls
app.py ja.text8 ja.text8.model.bin ja.text8.model.vec ja.text8.zip

### 学習済みモデル
$ sudo pip3 install python-Levenshtein
$ less -S ja.text8.model.vec
$ python3

>>> from gensim.models import KeyedVectors
>>> word_vecs = KeyedVectors.load_word2vec_format(‘~/test/rss/ja.text8.model.vec’, binary=False)
>>> word_vecs.most_similar(positive=[‘公園’])
[(‘東公園’, 0.7657707929611206), (‘森林公園’, 0.7654288411140442), (‘園内’, 0.7647179961204529), (‘西公園’, 0.7584214210510254), (‘レクリエーション’, 0.7228037118911743), (‘緑地公園’, 0.7194845676422119), (‘遊歩道’, 0.7175000905990601), (‘芝公園’, 0.7167261242866516), (‘グチ’, 0.7141640186309814), (‘花瀬’, 0.7108176946640015)]

>>> word_vecs.most_similar(positive=[‘国王’, ‘女’], negative=[‘男’])
[(‘王妃’, 0.6794450879096985), (‘アルフォンソ’, 0.677681028842926), (‘王族’, 0.6705313324928284), (‘テオドラ’, 0.6641644239425659), (‘アフォンソ’, 0.6623624563217163), (‘エリザヴェータ’, 0.6613386273384094), (‘シャルマネセル’, 0.6583849787712097), (‘王’, 0.6572801470756531), (‘ナバラ’, 0.6571141481399536), (‘アブデュルハミト’, 0.6528143882751465)]
>>> word_vecs.most_similar(positive=[‘駅’], negative=[])
[(‘紀勢本線’, 0.829847514629364), (‘信越本線’, 0.8256024122238159), (‘南海本線’, 0.8238951563835144), (‘東上本線’, 0.8169854879379272), (‘羽越本線’, 0.8133241534233093), (‘本四備讃線’, 0.8125778436660767), (‘中央本線’, 0.8098829984664917), (‘総武本線’, 0.8089748024940491), (‘関西本線’, 0.8083009719848633), (‘日豊本線’, 0.8078861832618713)]

つまりKeyedVectorsでmost_similarで類語を検出したり、単語の計算ができる

>>> word_vecs.most_similar(positive=[‘イチロー’, ‘サッカー’], negative=[‘野球’])[(‘フェイエノールト’, 0.7010015845298767), (‘gk’, 0.6880401372909546), (‘ベンフィカ’, 0.6829041242599487), (‘アウストリア・ウィーン’, 0.6794724464416504), (‘コパ・デル・レイ’, 0.6772794127464294), (‘ガンバ’, 0.6750086545944214), (‘ゴールキーパー’, 0.6735791563987732), (‘ゴールイン’, 0.6722267866134644), (‘ネッツァー’, 0.6708939671516418), (‘ジュビロ’, 0.668694257736206)]
が、学習データによって精度に問題がある。

プロセスとしては、
1. 形態素分析
2. fasttext skipgram -input ja.text8 -output ja.text8.model で単語をベクトルに変更
3. KeyedVectorsで学習済み日本語モデルを読み込んで使用

重み付けとは要するに多数決の理論
機械学習だとどうしてもデータセットが適切か、データ量は十分か、果たしてそのモデルが優れているのか?など、品質を上げる為には自問自答が続く。
そして、ある課題に対し、どのモデルが最適かを提案するには、モデルの構造に関する知識が不可欠であり、特徴を整理しなければならない。
突き詰めると、前頭葉を中心とした人間の脳の機能を理解して、人間が行なっている判断に類するものをモデルに反映させる
文章を読むだけでは理解できない、実際に応用して初めて物になる。

言い換えが必要なシーンを考えるか。考えることが違うな。

[Python3] fastTextでカテゴリ別に分類したい

単語のベクトル化と文章分類は、fastTextのライブラリで実装する。

$ cat /etc/redhat-release
CentOS Linux release 8.3.2011

### fastTextの利用方法
Word representation learning(単語表現学習), Text classification(文章分類)

1.Word representation learning
-> 似ている単語の学習

2.Text classification
-> 分類された文章の学習

どちらも分かち書きした文章が必要になる。
固有表現に強い辞書「mecab-ipadic-NEologd」をインストールする

$ cd /usr/local/src
$ sudo git clone –depth 1 https://github.com/neologd/mecab-ipadic-neologd.git
$ cd mecab-ipadic-neologd
$ ./bin/install-mecab-ipadic-neologd -n -y

### fastText install
$ cd /usr/local/src
$ sudo git clone https://github.com/facebookresearch/fastText.git
$ git clone https://github.com/facebookresearch/fastText.git
$ cd fastText

$ sudo mkdir build && cd build && sudo cmake ..
$ sudo make && sudo make install
$ which fasttext
/usr/local/bin/fasttext

$ cd /usr/local/src/fastText
$ sudo pip3 install .

$ wget https://github.com/livedoor/datasets/archive/master.zip
$ ls
$ unzip master.zip
$ cd datasets-master/
$ gzip -d ldgourmet.tar.gz
$ tar xvf ldgourmet.tar
$ ls
README.md categories.csv prefs.csv ratings.csv stations.csv
areas.csv ldgourmet.tar rating_votes.csv restaurants.csv

### 前処理 & データセットの作成
app.py

import csv
import MeCab
import neologdn
import re
import emoji

mecab = MeCab.Tagger('-Owakati -d /usr/lib64/mecab/dic/mecab-ipadic-neologd/')

with open('rating.csv') as f:
	reader = csv.reader(f)
	next(reader)
	for row in reader:
		label = "__label__{0}".format(row[3])

		text1 = neologdn.normalize(row[9])
		text2 = re.sub(r'https?://[\w/:%#\$&\?\(\)~\.=\+\-]+','', text1)
		text3 = ''.join(['' if c in emoji.UNICODE_EMOJI else c for c in text2])
		tmp = re.sub(r'(\d)([,.])(\d+)', r'\1\3', text3)
		text4 = re.sub(r'\d+', '0', tmp)

		tmp = re.sub(r'[!-/:-@[-`{-~]', r' ', text4)
		text5 = re.sub(u'[■-♯]', '	', tmp)

		text = mecab.parse(text5).rstrip('\n')
		print(label + " , " + text)

なんやこれ、前準備が厄介やな。。。。
どうすっかな、これ。。。

[Python3] RSSフィードの取得

CentOS8で作業します。

$ python3 –version
Python 3.6.8
$ pip3 –version
pip 9.0.3 from /usr/lib/python3.6/site-packages (python 3.6)

### feedparserをインストール
$ sudo pip3 install feedparser
// 動作テスト
$ python3
Python 3.6.8 (default, Aug 24 2020, 17:57:11)
[GCC 8.3.1 20191121 (Red Hat 8.3.1-5)] on linux
Type “help”, “copyright”, “credits” or “license” for more information.
>>> import feedparser
>>> d = feedparser.parse(‘https://news.yahoo.co.jp/pickup/rss.xml’)
>>> d[‘feed’][‘title’]
‘Yahoo!ニュース・トピックス – 主要’

# -*- coding: utf-8 -*-
import feedparser

URL = 'https://news.yahoo.co.jp/rss/topics/top-picks.xml'

d = feedparser.parse(URL)
for entry in d.entries:
	print(entry.title, entry.link)

$ python3 app.py
山形県 独自の緊急宣言を拡大 https://news.yahoo.co.jp/pickup/6388973?source=rss
殺せない 逃げたミャンマー兵 https://news.yahoo.co.jp/pickup/6388959?source=rss
18歳刺殺 車に注意し口論か https://news.yahoo.co.jp/pickup/6388974?source=rss
兄の無実60年間信じ 妹の訴え https://news.yahoo.co.jp/pickup/6388951?source=rss
辛ラーメン開発 辛春浩氏死去 https://news.yahoo.co.jp/pickup/6388971?source=rss
楽天則本が離婚「僕に原因」 https://news.yahoo.co.jp/pickup/6388968?source=rss
元力士の漫画家 琴剣さん死去 https://news.yahoo.co.jp/pickup/6388962?source=rss
谷原章介 帯の司会頭にあった https://news.yahoo.co.jp/pickup/6388972?source=rss

RSSにMeCabを使う

# -*- coding: utf-8 -*-
import feedparser
import MeCab

wakati=MeCab.Tagger("-Owakati")
URL = 'https://news.yahoo.co.jp/rss/topics/top-picks.xml'
sentence_wakati = []

d = feedparser.parse(URL)
for entry in d.entries:
	# print(entry.title, entry.link)
	sentence = wakati.parse(entry.title).split()
	sentence_wakati.append(sentence)

print(sentence_wakati)

$ python3 app.py
[[‘ミャンマー’, ‘クーデター’, ‘正当’, ‘化’], [‘山形’, ‘県’, ‘独自’, ‘の’, ‘緊急’, ‘宣言’, ‘を’, ‘拡大’], [’18’, ‘歳’, ‘刺殺’, ‘車’, ‘に’, ‘注意’, ‘し’, ‘口論’, ‘か’], [‘聖火’, ‘リレー’, ‘初’, ‘の’, ‘週末’, ‘密集’, ‘警戒’], [‘辛’, ‘ラーメン’, ‘開発’, ‘辛’, ‘春’, ‘浩’, ‘氏’, ‘死去’], [‘楽天’, ‘則’, ‘本’, ‘が’, ‘離婚’, ‘「’, ‘僕’, ‘に’, ‘原因’, ‘」’], [‘東海’, ‘大’, ‘菅生’, ‘が’, ‘サヨナラ’, ‘初’, ‘8’, ‘強’], [‘谷原’, ‘章介’, ‘帯’, ‘の’, ‘司会’, ‘頭’, ‘に’, ‘あっ’, ‘た’]]

RSSテキストのカテゴリ分けをやりたい。

[PHPQuery]プロキシ経由でスクレイピングする

無料プロキシリストからproxyを取得してスクレピングする。
http://www.freeproxylists.net/ja/?c=JP&pt=&pr=&a%5B%5D=0&a%5B%5D=1&a%5B%5D=2&u=0

$url = "https://www.google.com/";
// $proxy_url = "153.126.160.91:80";
$proxy_url = "133.167.65.45:8080";

$context = stream_context_create(array(
      'http' => array(
         'method' => 'GET',
         'header'=>'User-Agent: Mozilla/5.0 (Windows NT 5.1; rv:13.0) Gecko/00100101 Firefox/13.0.1\r\nReferer: https://www.google.com/webhp?gl=us&hl=en&gws_rd=cr&pws=0',
         'ignore_errors'=>true,
         'proxy' => $proxy_url,
      )
   ));
$html = file_get_contents($url, FALSE, $context);
$doc = phpQuery::newDocument(mb_convert_encoding($html, 'HTML-ENTITIES', 'UTF-8'));


echo $doc["title"]->text();

$ php test.php
Google

設定するプロキシによっては、接続を拒否される場合があるので、テストして確認が必要
Cannot connect to HTTPS server through proxy in /home/vagrant/test/test.php on line 17

なるほどー凄い理解した^^

vagrantでプロキシサーバを使用したい

VagrantのゲストOSにProxy設定を行うには、vagrant-proxyconfを使う。plug-inのインストールが必要

$ vagrant plugin install vagrant-proxyconf
$ vagrant plugin list
vagrant-proxyconf (2.0.10, global)
vagrant-vbguest (0.20.0, global)

### focalfossa
vagrantのubuntu/focal64を使いたいと思う
$ vagrant init ubuntu/focal64

公開プロキシのサイトを検索します

とりあえず、最初なので日本のプロキシサーバを使う
http
43.248.24.158 51166
https
133.167.65.45 8080

Vagrantfile

Vagrant.configure("2") do |config|
  config.vm.box = "ubuntu/focal64"
  config.vm.network "private_network", ip: "192.168.33.10"

  if Vagrant.has_plugin?("vagrant-vbguest")
      config.vbguest.auto_update = false  
  end

  if Vagrant.has_plugin?("vagrant-proxyconf")
    config.proxy.http = "http://43.248.24.158:51166/"
    config.proxy.https = "http://133.167.65.45:8080/"
    config.proxy.no_proxy = "localhost,127.0.0.1,192.168.33.10"
  end
end

$ vagrant up

$ printenv http_proxy https_proxy
http://43.248.24.158:51166/
http://133.167.65.45:8080/

なるほど、proxyについて完全に理解した🔥