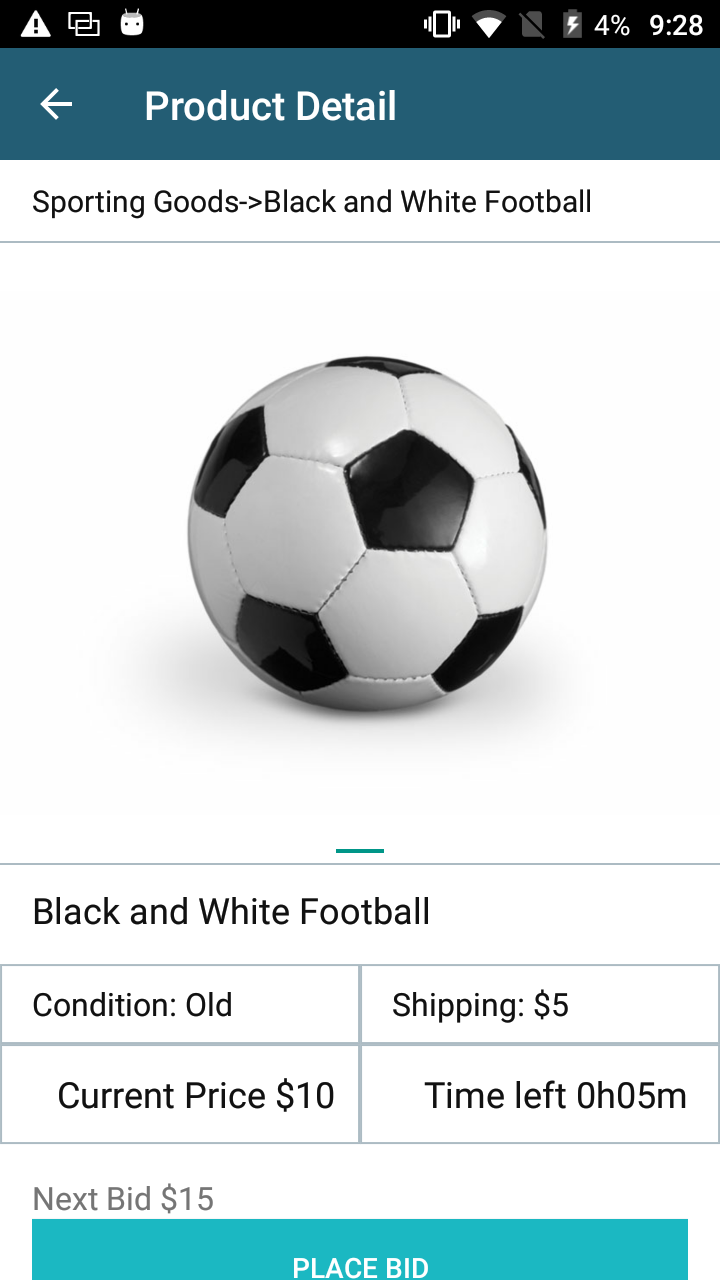
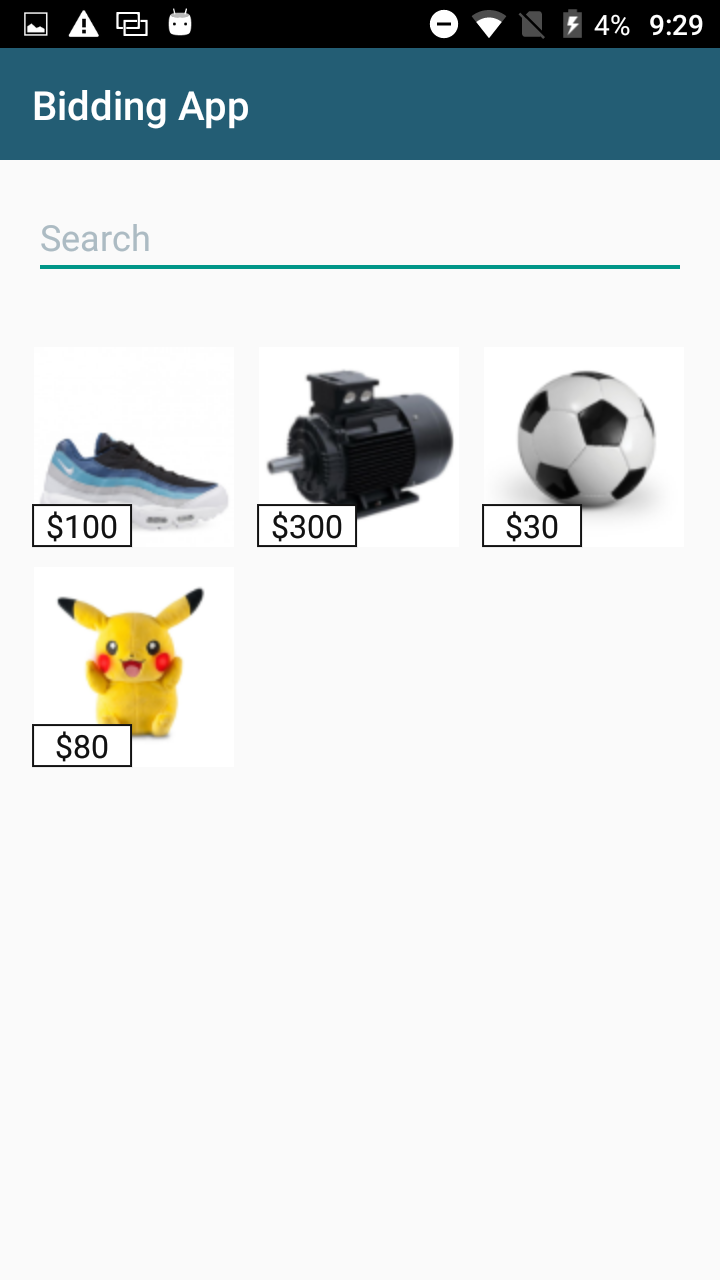
Webviewとは?
-> HTMLコンテンツをアプリ内で見れるようにすること
-> SafariやChromeで見られる枠組みをアプリ内に作ることができる
-> HTMLの更新をすれば良いので、アプリストアへの申請や審査、アップデートは必要ない
-> iOS, AndroidともにWebviewに対応している
-> ユーザ体験、操作性はネイティブアプリの方が優れている
-> 全てをWebviewにするのではなく、ヘッダ、フッタの調整などを行うことが多い
-> Webブラウザのレンダリングエンジンを呼び出しているが、ブラウザ自体を起動している訳ではない。そのため、設定やCookieなどは別で管理される
アプリ(Webview)のメリット・デメリット
– push通知を送信できる
– ネイティブを開発するよりも開発・運用コストを抑制できる
– Webとの違いを出しずらい
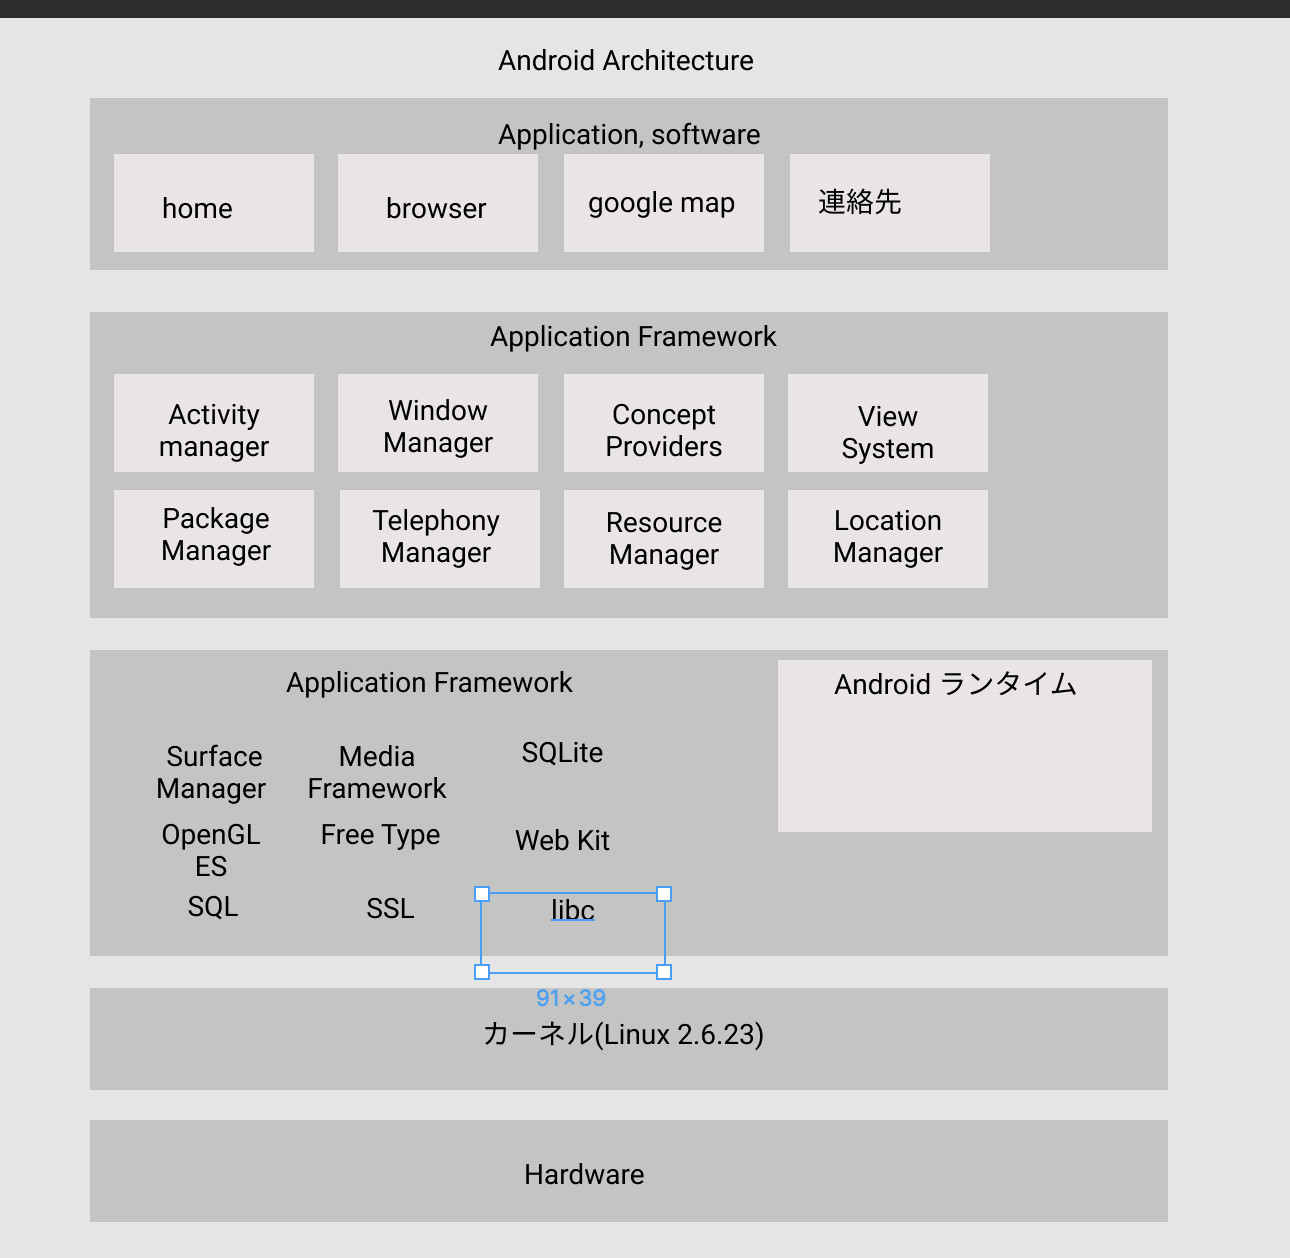
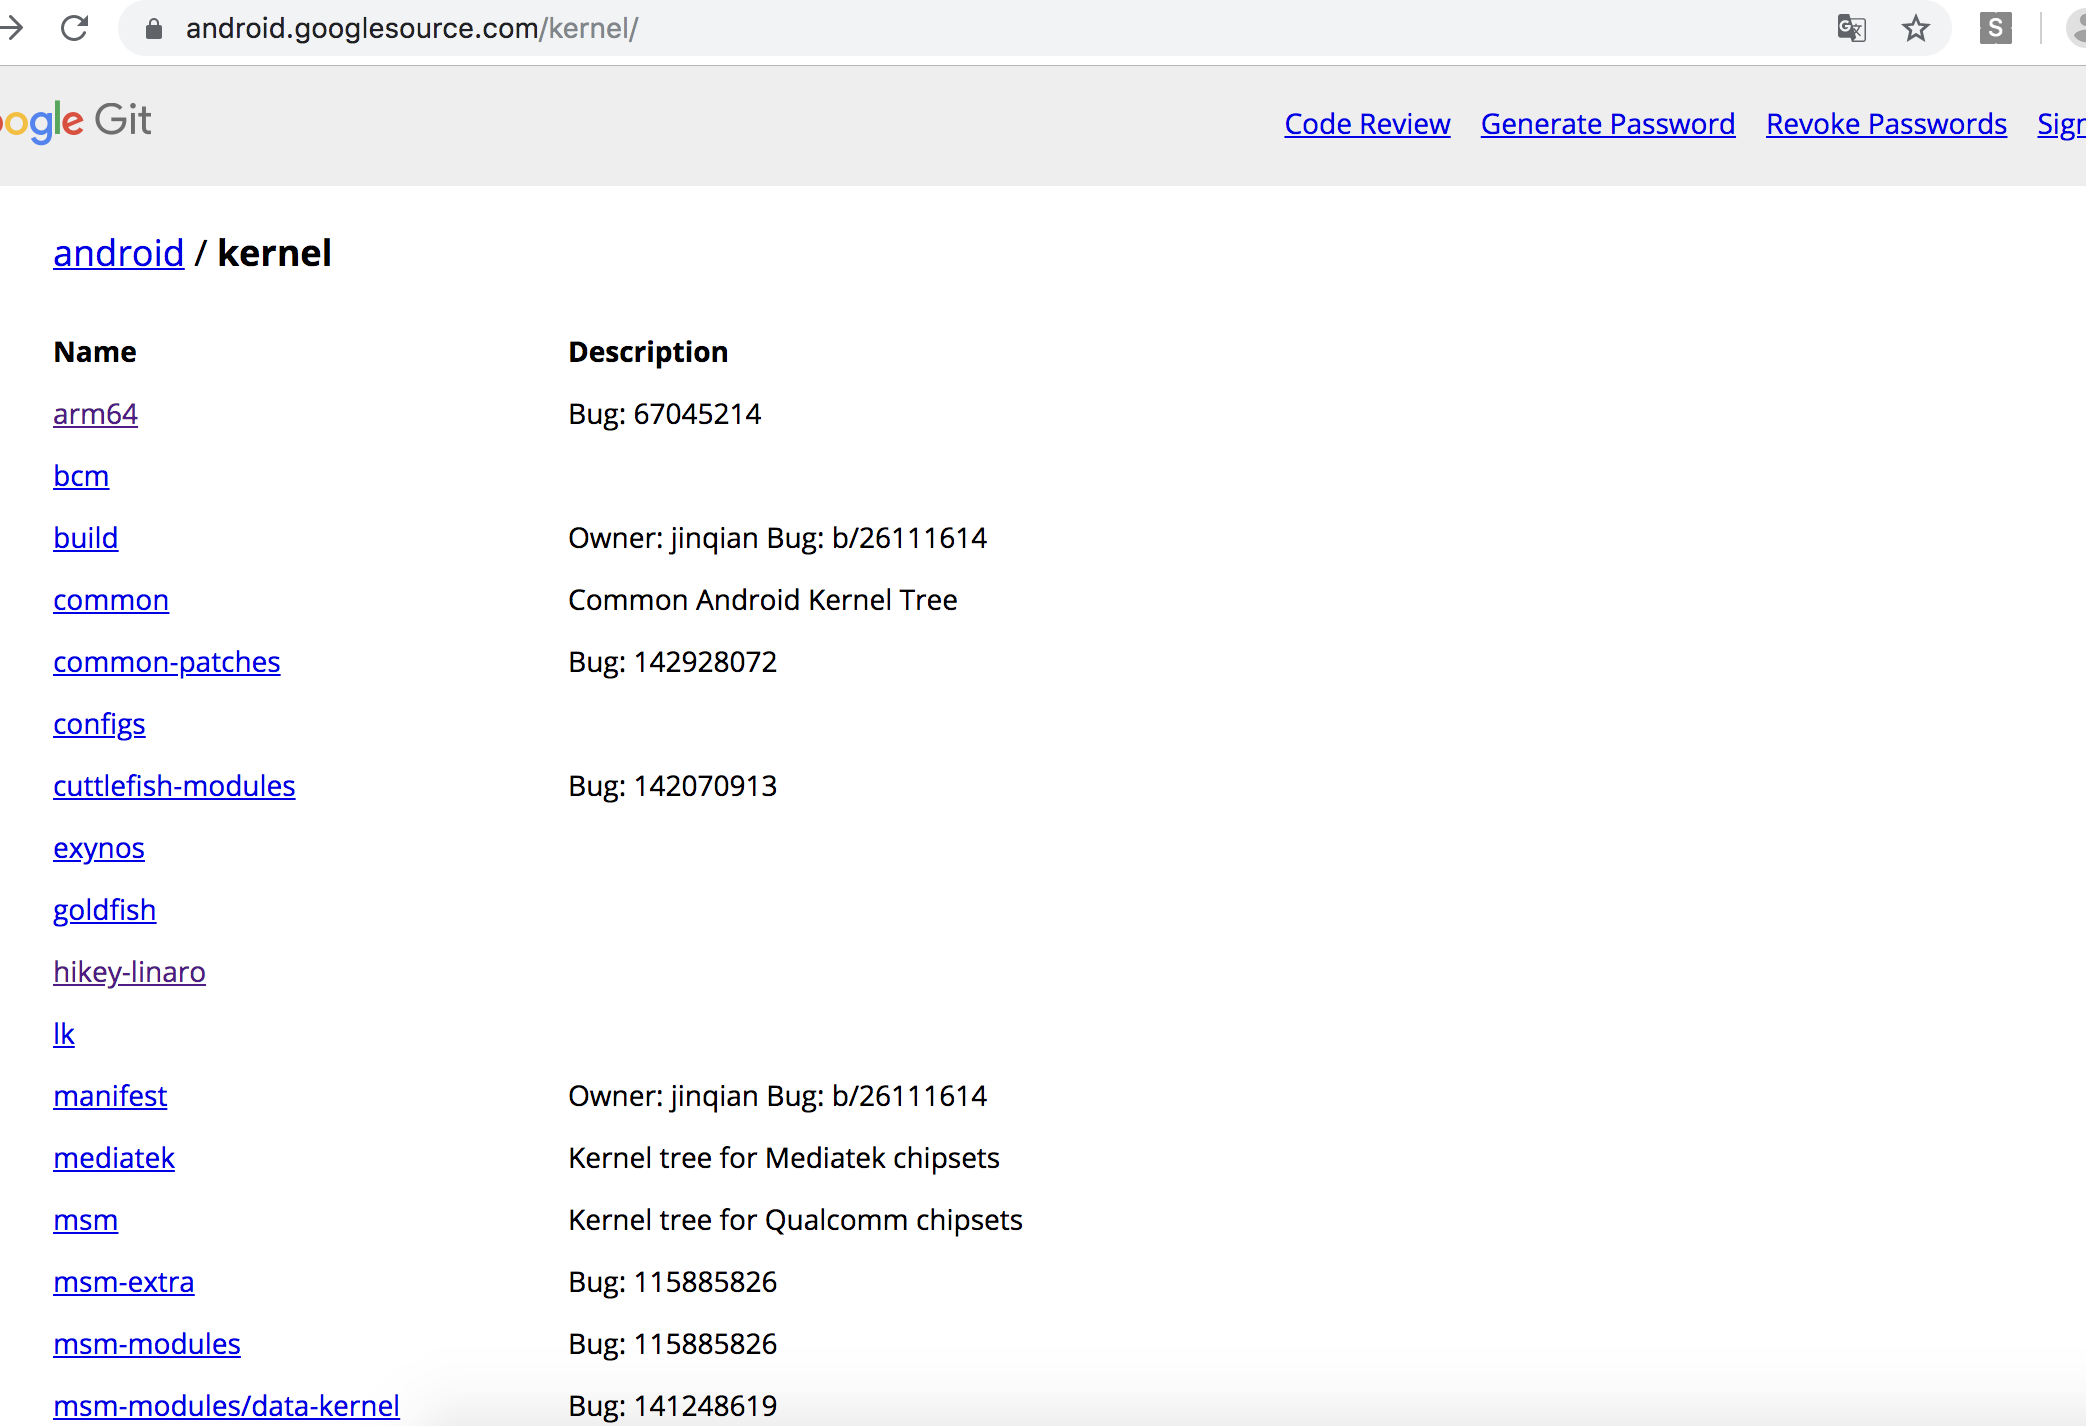
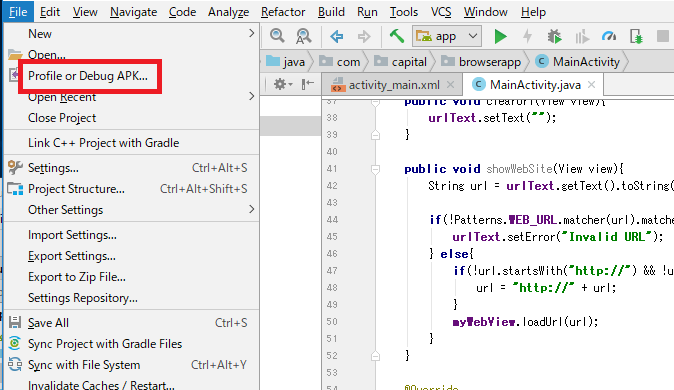
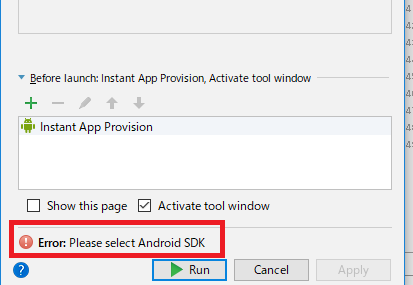
### Android
– Android System Webview
1.GUIコンポーネントのWebviewを使用する
<WebView
android:id=”@+id/webView″
android:layout_width=”match_parent”
android:layout_height=”match_parent”
android:layout_alignParentLeft=”true” />
2. マニュフェストにインターネットアクセスを許可するパーミッション追加
3. インクをクリックしたときに標準ブラウザを起動しないようにする
WebView myWebView = (WebView) findViewById(R.id.webView);
myWebView.setWebViewClient(new WebViewClient());
myWebView.loadUrl(“https://www.google.com/”);
### iOS
– SFSafariView、WKWebView、(UIWebView(非推奨))などを使う
UIApplication classを使う
import UIKit

class ViewController: UIViewController , UIWebViewDelegate {

    override func viewDidLoad() {
        super.viewDidLoad()

        let url = URL(string: "https://hoge.com/")!

        if #available(iOS 10.0, *) {
            UIApplication.shared.open(url, options: [:], completionHandler: nil)
        } else {
            UIApplication.shared.openURL(url)
        }

    }
}
SFSafariViewController
import UIKit
import SafariServices

class ViewController: UIViewController {

    override func viewDidLoad() {
        super.viewDidLoad()

    }

    override func viewDidAppear(_ animated: Bool) {
        let webPage = "https://hoge.com/"
        let safariVC = SFSafariViewController(url: NSURL(string: webPage)! as URL)
        present(safariVC, animated: true, completion: nil)
    }
}