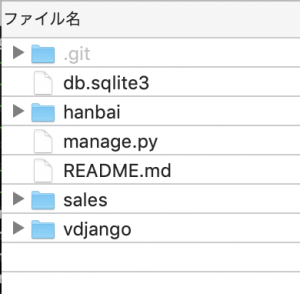
dev環境だとstaticに画像を置けば良かったが、prd環境だと画像保存がcollectstaticで上手くいかないのでS3を使いたい。まずはテストする。
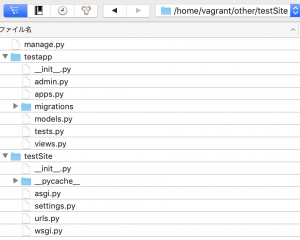
$ django-admin startproject statictest
$ cd statictest
$ python3 manage.py startapp testApp
INSTALLED_APPS = [
    'django.contrib.admin',
    'django.contrib.auth',
    'django.contrib.contenttypes',
    'django.contrib.sessions',
    'django.contrib.messages',
    'django.contrib.staticfiles',
    'testApp',
]
statictest/urls.py
from django.contrib import admin
from django.urls import path, include

urlpatterns = [
    path('admin/', admin.site.urls),
    path('', include('testApp.urls'))
]
testApp/urls.py
from django.urls import path
from django.conf import settings
from . import views

urlpatterns = [
	path('', views.index, name='index'),
]
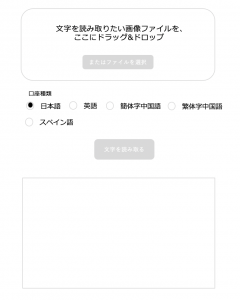
testApp/templates/testApp/index.html
{% load static %}
<!DOCTYPE html>
<html lang="en">
<head>
<meta charset="UTF-8">
<title>Document</title>
<link rel="stylesheet" href="{% static 'testApp/css/base.css' %}">
</head>
<body>
<header>
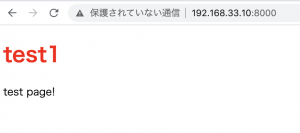
<h1>test1</h1>
</header>
<div>
test page!
</div>
</body>
</html>
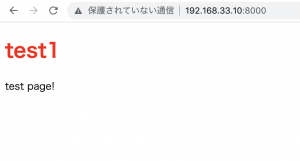
testApp/static/testApp/css/base.css
h1 {
	color: red;
}
views.py
from django.shortcuts import render
from django.http import HttpResponse

def index(request):
	return render(request, 'testApp/index.html')
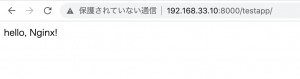
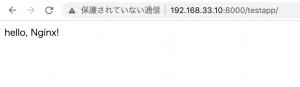
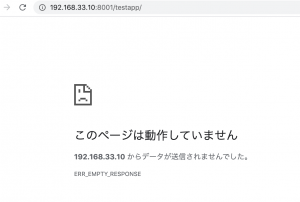
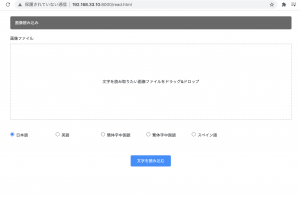
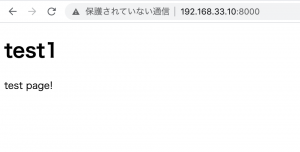
$ python3 manage.py runserver 192.168.33.10:8000
これをsettings.pyのDEBUG=Falseにすると、static fileを読み込まなくなる。
DEBUG = False
### AWS S3
– S3fullAccessのユーザ作成
accesskey, secretkey, regionを取得
– testapp-djangoのbucket作成
$ pip3 install boto3
$ pip3 install django-storages
settings.py
INSTALLED_APPS = [
//
'testApp',
'storages' # 追加
]
# STATIC_URL = '/static/'
STATICFILES_DIRS = [os.path.join(BASE_DIR, 'testApp/static')]
AWS_ACCESS_KEY_ID = 'AKIAXXXXXXXXXXXXXX'
AWS_SECRET_ACCESS_KEY = 'YYYYYYYYYYYYYYYYYYYYYYYYYYYYYYYYYYYY'
AWS_STORAGE_BUCKET_NAME = 'static-test-reiwa'
AWS_S3_CUSTOM_DOMAIN = '%s.s3.amazonaws.com' % AWS_STORAGE_BUCKET_NAME
AWS_S3_OBJECT_PARAMETERS = {
'CacheControl': 'max-age=86400',
}
AWS_LOCATION = 'static'
AWS_DEFAULT_ACL = None
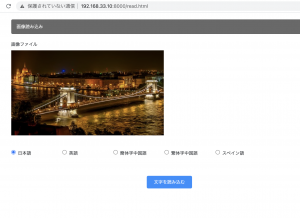
STATIC_URL = 'https://%s/%s/' % (AWS_S3_CUSTOM_DOMAIN, AWS_LOCATION)
STATICFILES_STORAGE = 'storages.backends.s3boto3.S3Boto3Storage'
S3で対象のbucketをpublicにして、フォルダをmake publicに変更する
– STATICFILES_DIRS = [os.path.join(BASE_DIR, ‘static’)] だとファイルがないとエラーになるので注意。
なるほどー