php artisan tinkerとは?
-既に読み込まれているPHPアプリケーションのためのREPL (Read-Eval-Print Loop)を提供
-データベースへのアクセス、モデルを使うなどが可能
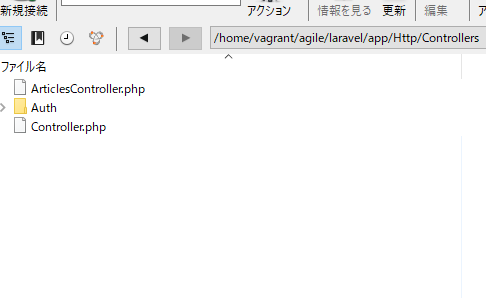
appにあるArticle.phpを編集する。protected $fillableを追加。
class Article extends Model
{
    //
    protected $fillable = ['loginid','role','name','password','mail','test_mail','updated_person']
}
再度artisan tinker
[vagrant@localhost laravel]$ php artisan tinker
Psy Shell v0.9.8 (PHP 7.1.21 — cli) by Justin Hileman
>>> App\Article::create([‘login_id’=>’user2′,’role’=>’master’,’name’=>’goto’,
… ‘password’=>’password’,’mail’=>’laravel@hotmail.com’,’test_mail’=>’laravel_test@hotmail.com’,
… ‘updated_person’=>’sasaki’]);
=> App\Article {#2913
login_id: “user2”,
role: “master”,
name: “goto”,
password: “password”,
mail: “laravel@hotmail.com”,
test_mail: “laravel_test@hotmail.com”,
updated_person: “sasaki”,
updated_at: “2018-09-22 08:31:54”,
created_at: “2018-09-22 08:31:54”,
id: 2,
}
うお!
mysql側で確認
mysql> select * from articles;
+—-+———-+——–+———–+———-+———————+————————–+—————-+———————+———————+
| id | login_id | role | name | password | mail | test_mail | updated_person | created_at | updated_at |
+—-+———-+——–+———–+———-+———————+————————–+—————-+———————+———————+
| 1 | user1 | master | taniguchi | passowrd | laravel@gmail.com | laravel_test@gmail.com | sasaki | 2018-09-21 21:39:07 | 2018-09-21 21:39:07 |
| 2 | user2 | master | goto | password | laravel@hotmail.com | laravel_test@hotmail.com | sasaki | 2018-09-22 08:31:54 | 2018-09-22 08:31:54 |
+—-+———-+——–+———–+———-+———————+————————–+—————-+———————+———————+
2 rows in set (0.00 sec)
抽出もできる。
>>> App\Article::where(‘id’, ‘>’, 1)->get()->toArray();
=> [
[
“id” => 2,
“login_id” => “user2”,
“role” => “master”,
“name” => “goto”,
“password” => “password”,
“mail” => “laravel@hotmail.com”,
“test_mail” => “laravel_test@hotmail.com”,
“updated_person” => “sasaki”,
“created_at” => “2018-09-22 08:31:54”,
“updated_at” => “2018-09-22 08:31:54”,
],
]
これでも取得できる。
>>> App\Article::orderBy(‘created_at’,’desc’)->get()->toArray();