@extends('layouts.default')
@section('title', '編集')
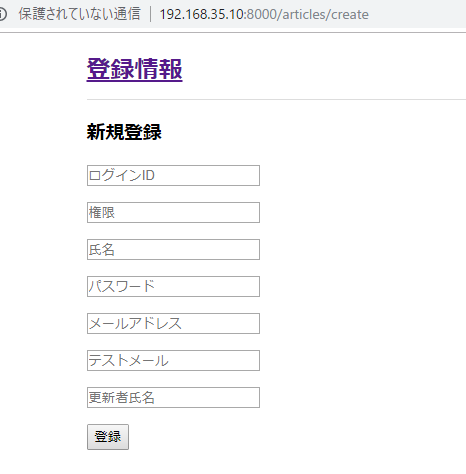
@section('content')
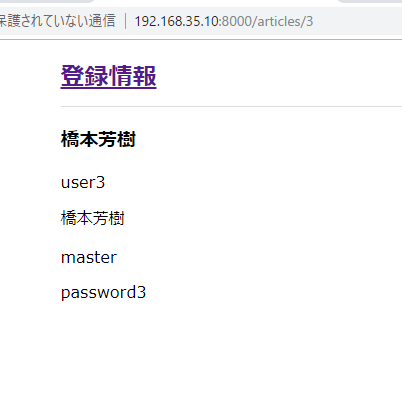
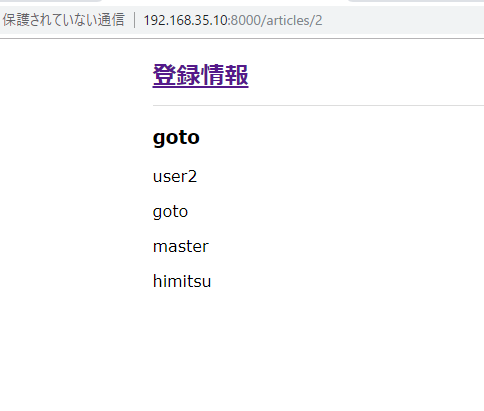
<h1><a href="/">登録情報</a></h1>
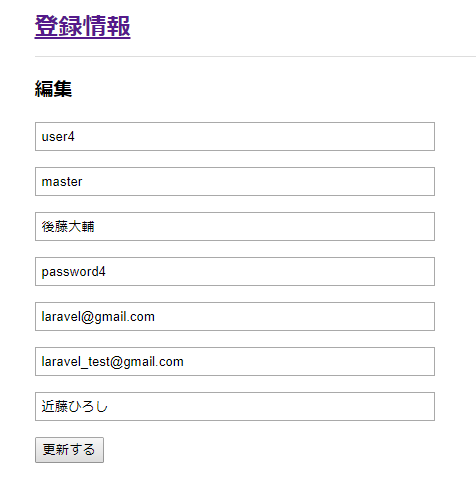
<h3>編集</h3>
<form method="post" action="{{ url('/articles', $article->id) }}">
{{ csrf_field()}}
{{ method_field('patch') }}
<p>
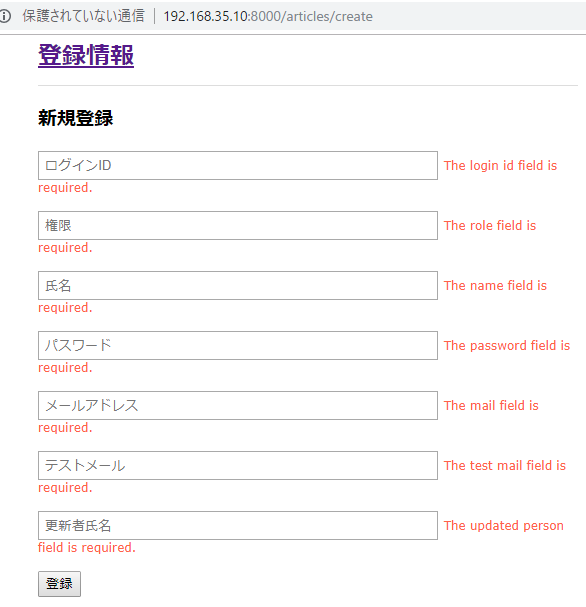
<input type="text" name="login_id" placeholder="ログインID" value="{{ old('login_id', $article->login_id) }}">
@if($errors->has('login_id'))
<span class="error">{{ $errors->first('login_id') }}</span>
@endif
</p>
<p>
<input type="text" name="role" placeholder="権限" value="{{ old('role', $article->role) }}">
@if($errors->has('role'))
<span class="error">{{ $errors->first('role') }}</span>
@endif
</p>
<p>
<input type="text" name="name" placeholder="氏名" value="{{ old('name', $article->name) }}">
@if($errors->has('name'))
<span class="error">{{ $errors->first('name') }}</span>
@endif
</p>
<p>
<input type="text" name="password" placeholder="パスワード" value="{{ old('password', $article->password) }}">
@if($errors->has('password'))
<span class="error">{{ $errors->first('password') }}</span>
@endif
</p>
<p>
<input type="text" name="mail" placeholder="メールアドレス" value="{{ old('mail', $article->mail) }}">
@if($errors->has('mail'))
<span class="error">{{ $errors->first('mail') }}</span>
@endif
</p>
<p>
<input type="text" name="test_mail" placeholder="テストメール" value="{{ old('test_mail', $article->test_mail) }}">
@if($errors->has('test_mail'))
<span class="error">{{ $errors->first('test_mail') }}</span>
@endif
</p>
<p>
<input type="text" name="updated_person" placeholder="更新者氏名" value="{{ old('updated_person', $article->updated_person) }}">
@if($errors->has('updated_person'))
<span class="error">{{ $errors->first('updated_person') }}</span>
@endif
</p>
<p>
<input type="submit" value="更新する">
</p>
</form>
@endsection
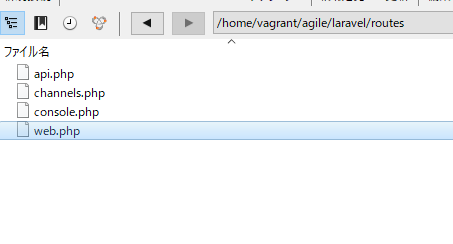
routing
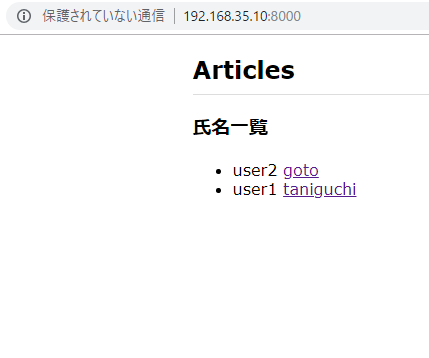
Route::get('/', 'ArticlesController@index');
Route::get('/articles/create', 'ArticlesController@create');
Route::get('/articles/{id}', 'ArticlesController@show')->where('post','[0-9]+');
Route::post('/articles', 'ArticlesController@store');
Route::get('/articles/{id}/edit', 'ArticlesController@edit');
リンク
controllerにidを渡して、controllerでeditにidを渡している。
editのroutingでidを元にパスを指定。
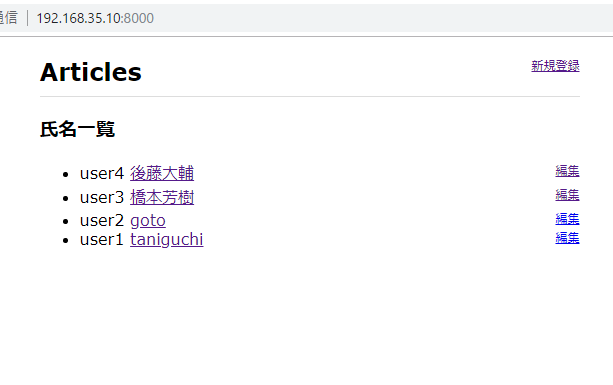
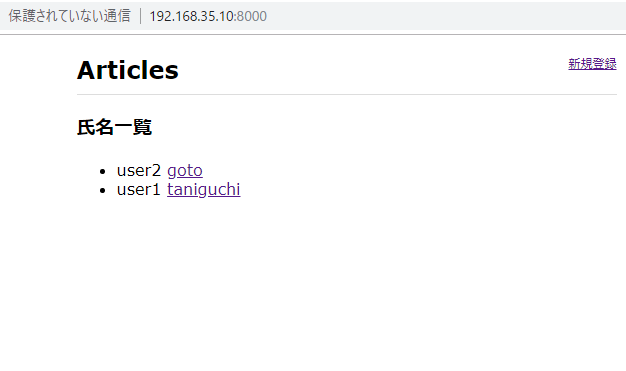
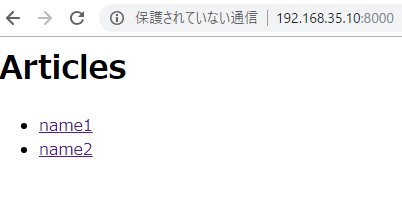
<ul>
		@foreach ($articles as $article)
		<li>{{$article->login_id}}  <a href="{{ action('ArticlesController@show', $article->id) }}">{{ $article->name}}</a><a href="{{ action('ArticlesController@edit', $article->id)}}" class="register">編集</a></li>
		@endforeach
	</ul>
わかったような、わからんような。
凄いな、この仕組み。