set_time_limit(0);
$zip_name = 'create_zip_'.date('Ymd').'.zip';
$zip_tmp_dir = dirname(__FILE__).'/tmp_zip/';
$zip_obj = new ZipArchive();
$result = $zip_obj -> open($zip_tmp_dir.$zip_name, ZIPARCHIVE::CREATE | ZIPARCHIVE::OVERWRITE);
if(!$result){
echo 'error code : '.$result;
exit();
}
$files[] = [
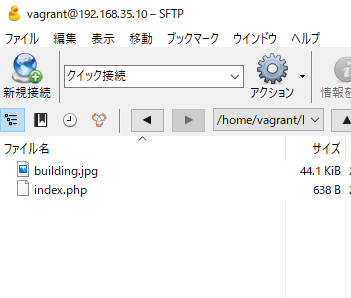
'zip_path' => 'building.jpg',
'file_path' => dirname(__FILE__)."/".'building.jpg'
];
foreach ($files as $file)
{
//ファイルを追加する場合
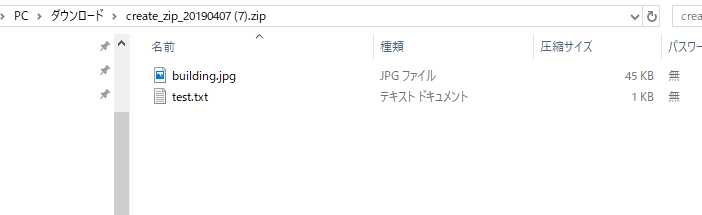
$zip_obj -> addFile($file['file_path'], $file['zip_path']);
}
$zip_obj -> addFromString('test.txt', 'test');
$zip_obj -> close();
header('Content-Type: application/force-download;');
header('Content-Length: '.filesize($zip_tmp_dir.$zip_name));
header('Content-Disposition: attachment; filename="'.$zip_name.'"');
readfile($zip_tmp_dir.$zip_name);
$files[] = [
	'zip_path' => ['building.jpg', 'monkey.jpg'],
	'file_path' =>  ['building.jpg', 'monkey.jpg']
];

foreach ($files as $file)
{
    //ファイルを追加する場合
    $zip_obj -> addFile( dirname(__FILE__)."/".$file['file_path'], $file['zip_path']);
}
[Sun Apr 7 16:33:50 2019] PHP Notice: Undefined index: /home/vagrant/local/app/test/file_path in /home/vagrant/local/app/test/index.php on line 24
[Sun Apr 7 16:33:50 2019] PHP Warning: ZipArchive::addFile() expects parameter 2 to be string, array given in /home/vagrant/local/app/test/index.php on line 24
うん、まー要するに配列で渡せば、zipで複数ダウンロードできるってわけね。
チェックボックスなら、POSTで対象ファイルを渡せばOK