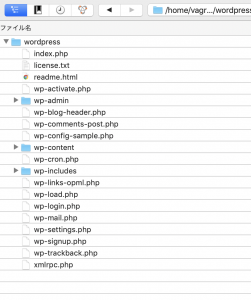
作成手順2からの続きです。
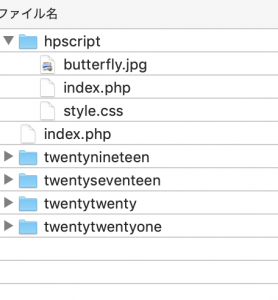
css, imgが読み取れてないので、パスにget_template_directory_uri();を追加します。
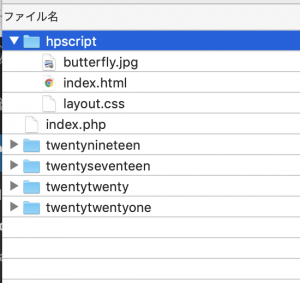
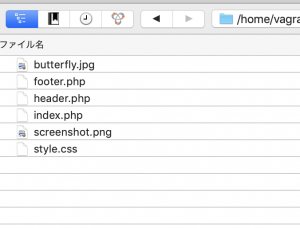
index.php
<link rel="stylesheet" href="<?php echo get_template_directory_uri(); ?>/style.css">
// 省略
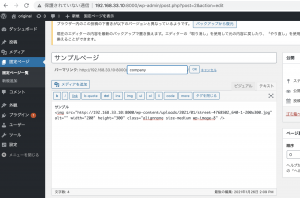
<img src="<?php echo get_template_directory_uri(); ?>/butterfly.jpg">
wp_headとwp_footerの追加
<?php wp_head(); ?>
<?php wp_footer(); ?>
ヘッダ上部に管理バーが表示されるようになる。
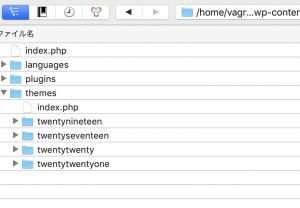
テンプレートは、header, footer, sidebar, indexなどに分割して、get_header();、get_footer();、get_sidebar();で呼び出すことができる。
header.php
<!DOCTYPE html>
<html lang="en">
<head>
<meta charset="UTF-8">
<meta name="viewport" content="width=device-width, initial-scale=1.0">
<link rel="stylesheet" href="style.css">
<title>Document</title>
</head>
<body>
<div class="wrapper">
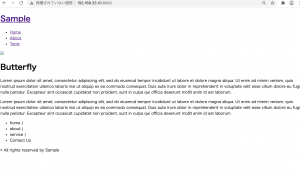
<header>
<h1 class="headline">
<a href="">Sample</a>
</h1>
<ul class="nav-list">
<li class="nav-list-item"><a href="">Home</a></li>
<li class="nav-list-item"><a href="">About</a></li>
<li class="nav-list-item"><a href="">Topic</a></li>
</ul>
</header>
footer.php
<footer>
<ul class="footer-menu">
<li>home |</li>
<li>about |</li>
<li>service |</li>
<li>Contact Us</li>
</ul>
<p>© All rights reserved by Sample</p>
</footer>
</div>
<?php wp_footer(); ?>
</body>
</html>
index.php
<?php get_header(); ?>
<!-- 上記が追記するコード -->
<section id="content">
<div class="main">
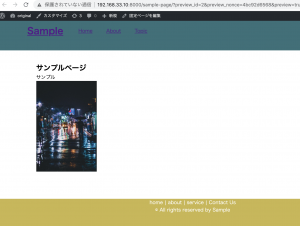
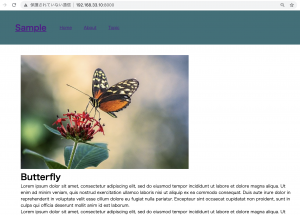
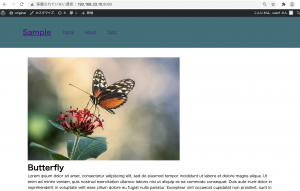
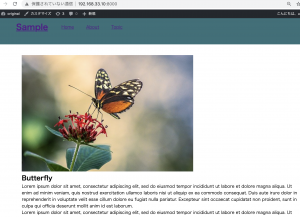
<img src="<?php echo get_template_directory_uri(); ?>/butterfly.jpg">
<h1>Butterfly</h1>
<p>Lorem ipsum dolor sit amet, consectetur adipiscing elit, sed do eiusmod tempor incididunt ut labore et dolore magna aliqua. Ut enim ad minim veniam, quis nostrud exercitation ullamco laboris nisi ut aliquip ex ea commodo consequat. Duis aute irure dolor in reprehenderit in voluptate velit esse cillum dolore eu fugiat nulla pariatur. Excepteur sint occaecat cupidatat non proident, sunt in culpa qui officia deserunt mollit anim id est laborum.</p>
<p>Lorem ipsum dolor sit amet, consectetur adipiscing elit, sed do eiusmod tempor incididunt ut labore et dolore magna aliqua. Ut enim ad minim veniam, quis nostrud exercitation ullamco laboris nisi ut aliquip ex ea commodo consequat. Duis aute irure dolor in reprehenderit in voluptate velit esse cillum dolore eu fugiat nulla pariatur. Excepteur sint occaecat cupidatat non proident, sunt in culpa qui officia deserunt mollit anim id est laborum.</p>
</div>
</section>
<!-- 下記が追記するコード -->
<?php get_footer(); ?>
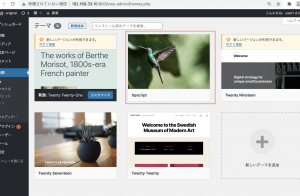
テーマを作って、共通化するところまではきました。ここまでは特にそんなにWordPressの恩恵はありません。
固定ページ、投稿ページを作っていきたい。