html
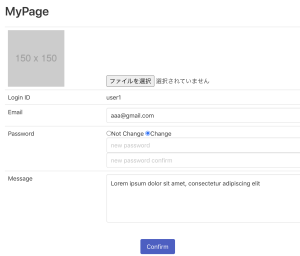
– uploadファイルがあればuploadファイル、元からセットされてらファイルがあればその画像、なければplaceholdeの画像を表示する
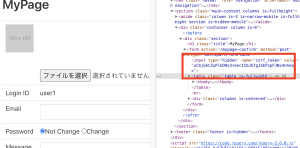
{{if .filepath}}
<img src="{{ .filepath }}" width="150px" height="150px" class="img-icon preview1">
{{else if .set_filepath}}
<img src="{{ .set_filepath }}" width="150px" height="150px" class="img-icon preview1">
{{else}}
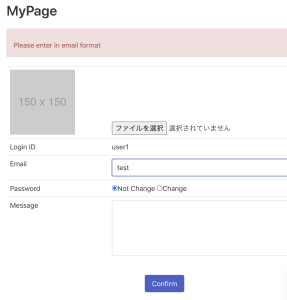
<img src="http://placehold.jp/150x150.png" class="img-icon">
{{end}}
普通にif, else ifで実装できますね。
controllerがそこそこ複雑になってきた。
djangoもそうだが、controllerを1ファイルでまとめると、縦に長くなるので、controllerを分けたいという欲求が少なからずある