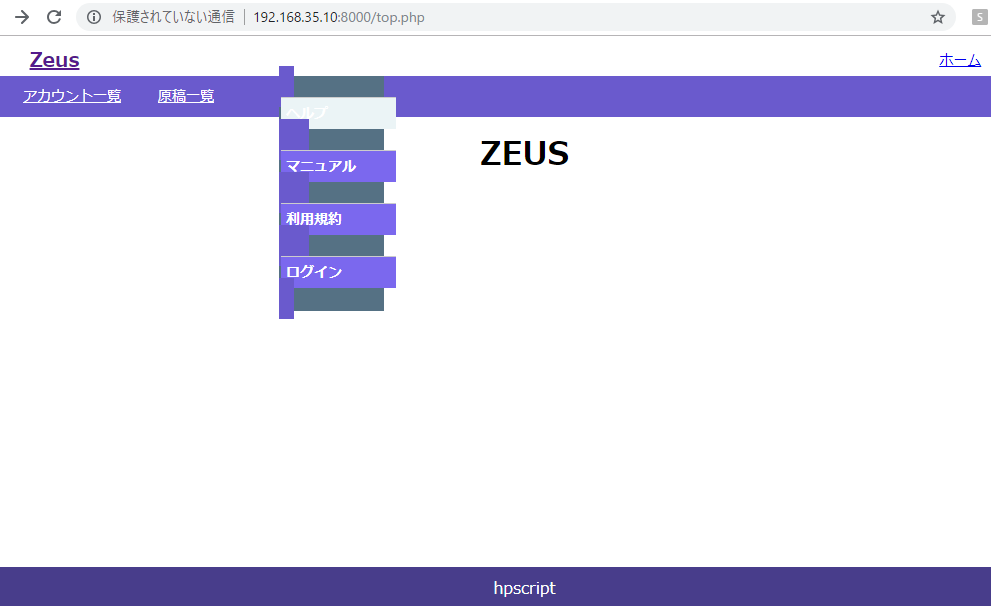
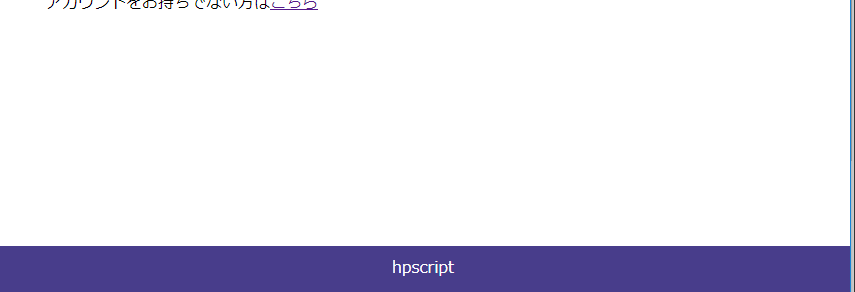
footer { position: fixed; bottom:0px; width: 100%; height: 30px; padding-top: 10px; padding-bottom: 10px; background: #483d8b; text-align: center; color: #fff; }
なるほど、position:fixed; とwidth:100%, height: npx;ね
ソフトウェアエンジニアの技術ブログ:Software engineer tech blog
随机应变 ABCD: Always Be Coding and … : хороший
footer { position: fixed; bottom:0px; width: 100%; height: 30px; padding-top: 10px; padding-bottom: 10px; background: #483d8b; text-align: center; color: #fff; }
なるほど、position:fixed; とwidth:100%, height: npx;ね
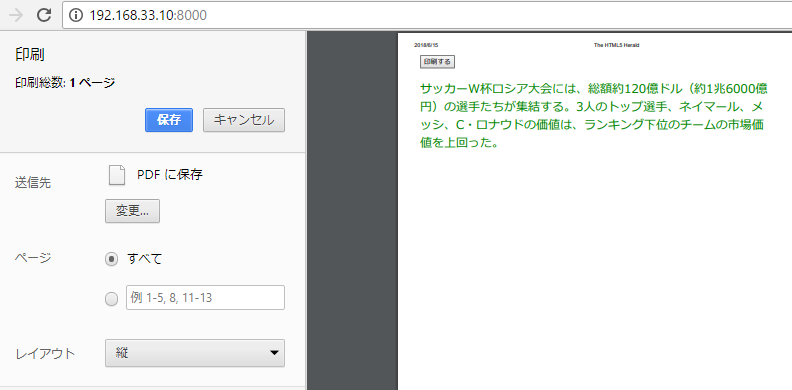
@media printで指定します。
<!doctype html> <html lang="en"> <head> <meta charset="utf-8"> <title>The HTML5 Herald</title> <meta name="description" content="The HTML5 Herald"> <link rel="stylesheet" href=""> <style> #content1 { color:blue; } @media print{ #content1{ color:green; font-size:24px; } } </style> </head> <body> <input type="button" value="印刷する" onclick="window.print();" /> <div id="content1"> <p>サッカーW杯ロシア大会には、総額約120億ドル(約1兆6000億円)の選手たちが集結する。3人のトップ選手、ネイマール、メッシ、C・ロナウドの価値は、ランキング下位のチームの市場価値を上回った。</p> </div> </body> </html>
font-size, font-colorが変わりました。
偶数なら tr:nth-child(even)、奇数なら tr:nth-child(odd)で指定します。
#table tr:nth-child(even) { background-color: #ECECEC; }
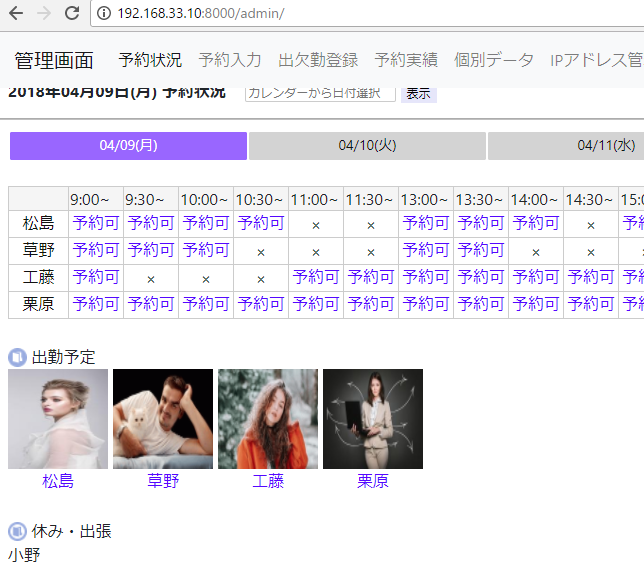
PC版
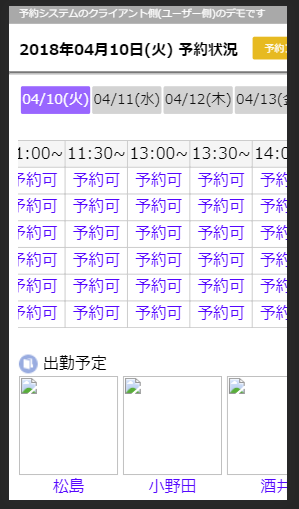
SP版
大分見た目が良くなった(笑)
さあ、次は、ドメインを取得して、Vagrant -> VPSのサーバー側の構築。
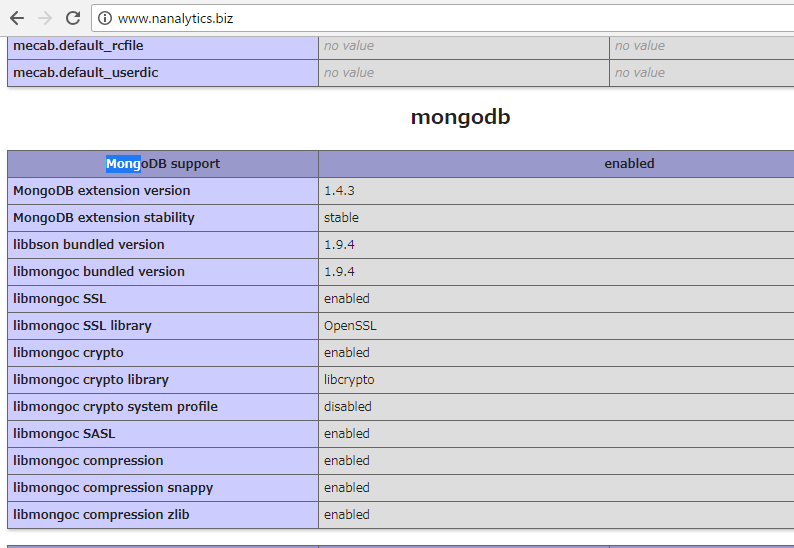
バーチャルホスト、mongoDB、php mongoDBドライバーのインストールまでは何も問題なく終了。
対象のセレクタに-webkit-overflow-scrolling: touch; を追加すると、スクロールした際になめらかな動きになります。
.profile-area{ -webkit-overflow-scrolling: touch; overflow: auto; white-space: nowrap; }
※jQueryで調べてしまいました。。
Navbar最上部固定ですが、bootstrap4ではbootstrap3から仕様が変更となり、navbar-fixed-topは効きません。
navbar-fixed-topではなく、fixed-topを使います。
<nav class="navbar navbar-expand-lg navbar-light bg-light fixed-top">
css側では、margin-top:70px;を設定します。
body { margin-top:70px; }
スクロールしても固定されるようになりました。
キャッ~
bootstrapcdnから、cssのパスを取得します。
https://www.bootstrapcdn.com/
https://stackpath.bootstrapcdn.com/bootstrap/4.0.0/css/bootstrap.min.css
cdn読み込みを書きます。
<link rel="stylesheet" type="text/css" href="https://stackpath.bootstrapcdn.com/bootstrap/4.0.0/css/bootstrap.min.css" />
documentのnavsを参考に当てはめていきます。
http://getbootstrap.com/docs/4.0/components/navs/
<link rel="stylesheet" type="text/css" href="https://stackpath.bootstrapcdn.com/bootstrap/4.0.0/css/bootstrap.min.css" /> <nav class="navbar navbar-expand-lg navbar-light bg-light"> <a class="navbar-brand" href="">管理画面</a> <button class="navbar-toggler" type="button" data-toggle="collapse" data-target="#navbarText" aria-controls="navbarText" aria-expanded="false" aria-label="Toggle navigation"> <span class="navbar-toggler-icon"></span> </button> <div class="collapse navbar-collapse" id="navbarText"> <ul class="navbar-nav mr-auto"> <li class="nav-item active"> <a class="nav-link" href="#">予約状況 <span class="sr-only">(current)</span></a> </li> <li class="nav-item"> <a class="nav-link" href="#">予約入力</a> </li> <li class="nav-item"> <a class="nav-link" href="#">出欠勤登録</a> </li> <li class="nav-item"> <a class="nav-link" href="#">予約実績</a> </li> <li class="nav-item"> <a class="nav-link" href="#">個別データ</a> </li> <li class="nav-item"> <a class="nav-link" href="#">IPアドレス管理</a> </li> <li class="nav-item"> <a class="nav-link" href="#">スタッフ管理</a> </li> </ul> <ul class="nav justify-content-end"> <li class="nav-item"> <a class="nav-link disabled" href="#">ログアウト</a> </li> </ul> </div> </nav> hogehoge
初期
bootstrap使用後
非常に良い!
tableをdivタグで囲って、以下のように、overflow:auto;とwhite-space:nowrap;を設定します。
html
<div id="id_name"> <table> </table> </div>
css
#id_name{ overflow: auto; white-space: nowrap; }
すると、他のコンテンツは崩れず、tableだけ横にスクロールできます。
knocks its down!
html
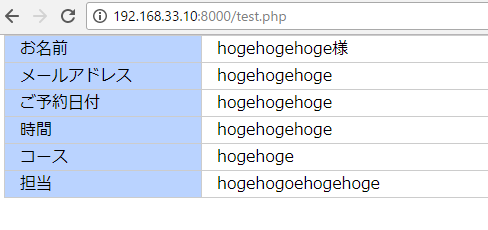
<div class="confirm"> <table> <tr><td>お名前</td><td>hogehogehoge様</td></tr> <tr><td>メールアドレス</td><td>hogehogehoge</td></tr> <tr><td>ご予約日付</td><td>hogehogehoge</td></tr> <tr><td>時間</td><td>hogehogehoge</td></tr> <tr><td>コース</td><td>hogehoge</td></tr> <tr><td>担当</td><td>hogehogoehogehoge</td></tr> </table><br> </div>
tr tdが左側、td+tdが右側になります。
.confirm table,.confirm td,.confirm th { border-collapse: collapse; border: 1px solid #CCCCCC; } .confirm tr td{ width:180px; padding-left:15px; background-color:#BAD3FF; } .confirm td+td{ width:600px; background-color:#fff; }
divタグの横並びで、border-collapse: separateを使った際に、囲ったエリアにborder-spacingを使うと、左右に余白ができてしまいます。
.class_areaname{ border-collapse: separate; border-spacing: 5px 0; } .class_name{ display: table-cell; }
そのため、各cell(divタグ)の方に、padding-right:;を設定すれば、左揃えになります。
.class_areaname{ border-collapse: separate; } .class_name{ display: table-cell; padding-right:5px; }
右だけ余白ができました。
nowrapを加えます
<td nowrap>hogehoge</td>
nowrap追加前
nowrap追加後
2~3日、ずっと悩んでました。。