### アプリケーションの登録
– プロジェクトフォルダのsettings.pyにアプリケーションを登録する
– INSTALLED_APPSに登録してtemplatesフォルダを検索できるようにする
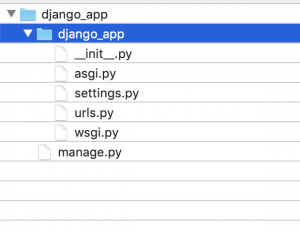
/django_app/settings.py
INSTALLED_APPS = [
    'django.contrib.admin',
    'django.contrib.auth',
    'django.contrib.contenttypes',
    'django.contrib.sessions',
    'django.contrib.messages',
    'django.contrib.staticfiles',
    'hello', # 追加
]
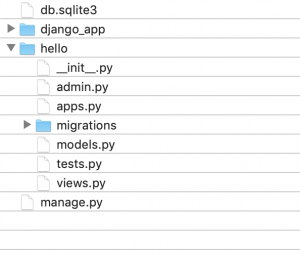
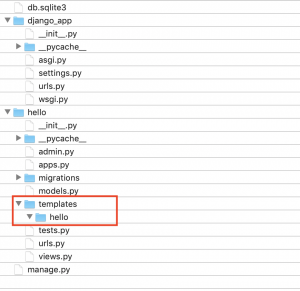
### テンプレートフォルダの作成
/django_app/hello/templates/hello
– 他のアプリケーションと間違わないように、templatesの下にアプリケーション名のフォルダを作成する
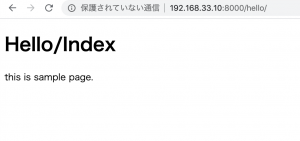
### index.htmlを作成
/hello/templates/hello/index.html
<!DOCTYPE html>
<html lang="en">
<head>
	<meta charset="UTF-8">
	<title>hello</title>
</head>
<body>
	<h1>hello/index</h1>
	<p>This is sample page.</p>
</body>
</html>
/hello/urls.py
urlpatterns = [
	path('', views.index, name='index'),
]
/hello/views.py
from django.shortcuts import render
from django.http import HttpResponse

def index(request):
	return render(request, 'hello/index.html')
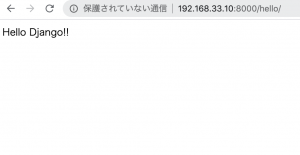
– render はテンプレートをレンダリングするのに使われる
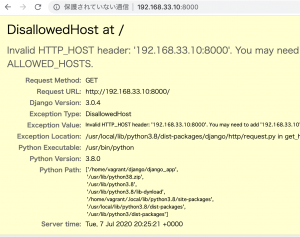
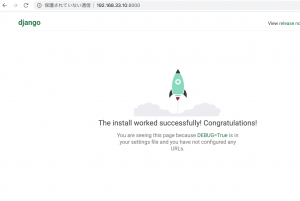
http://192.168.33.10:8000/hello/
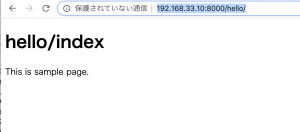
ほう、少し楽しくなってきました。