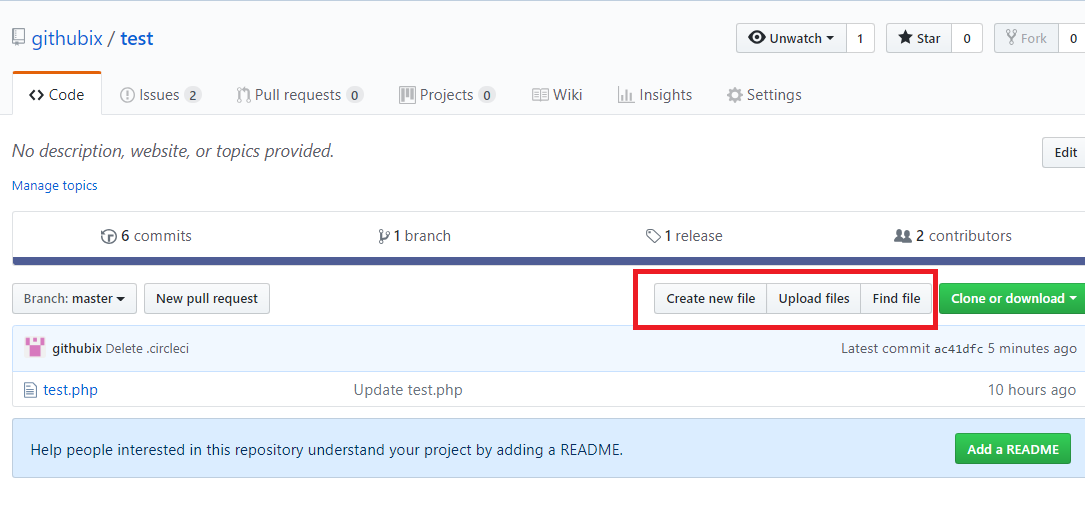
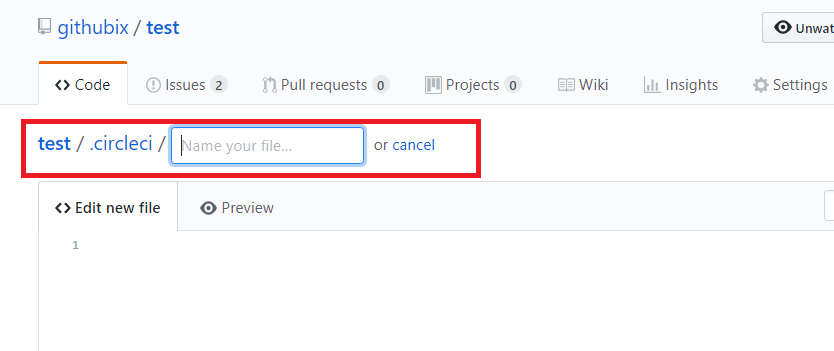
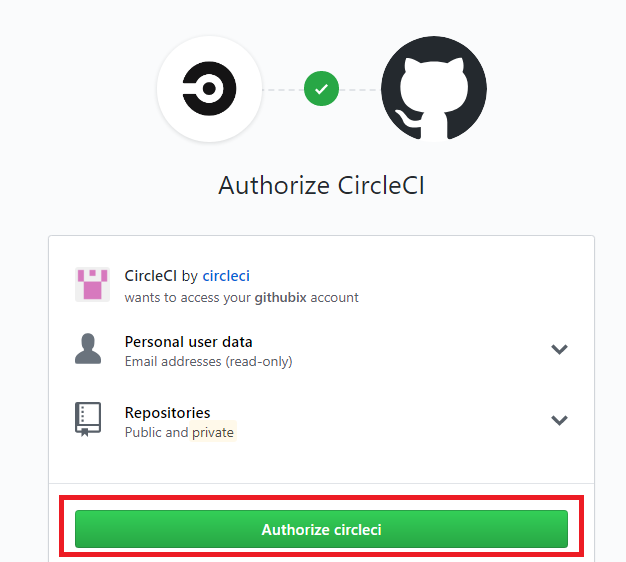
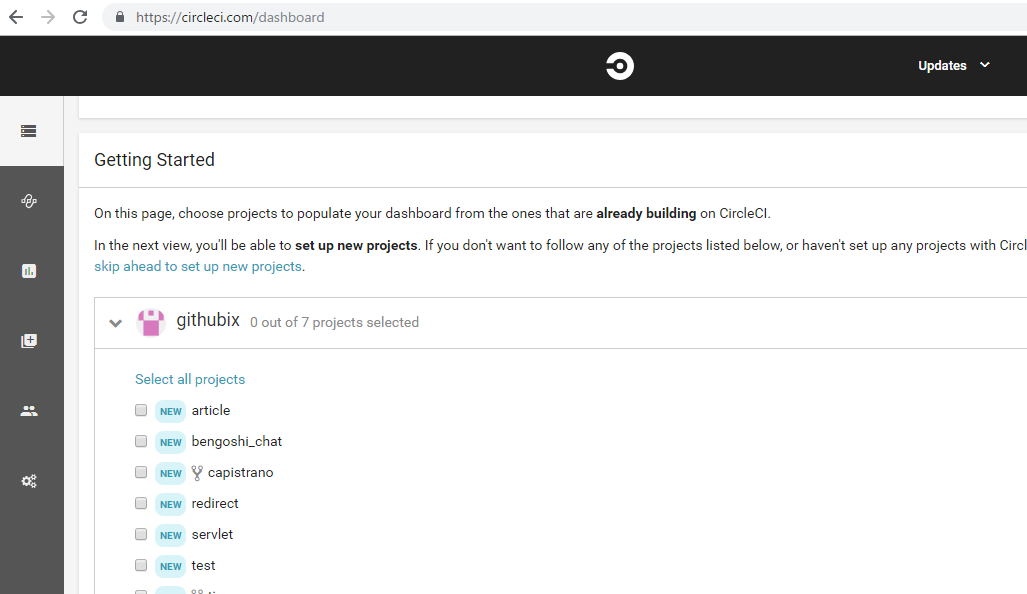
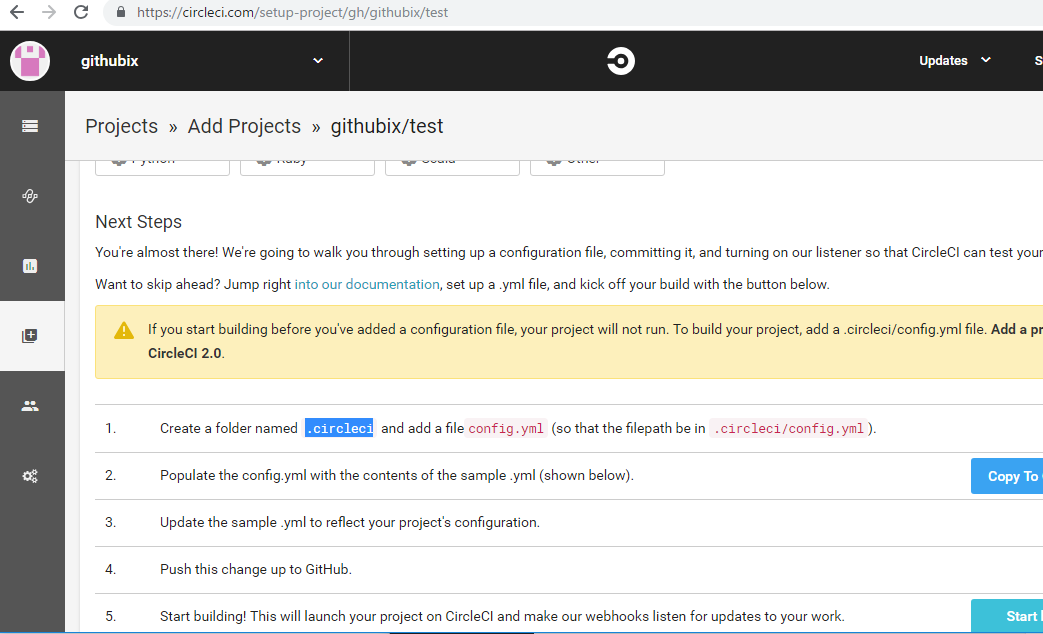
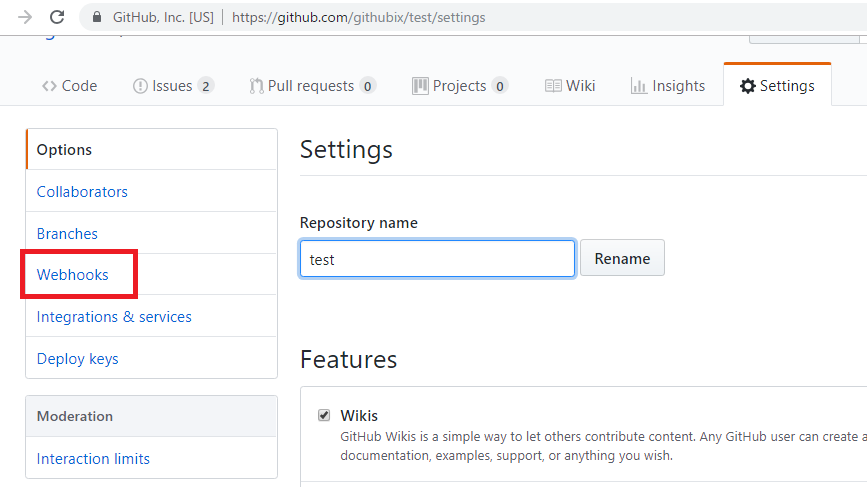
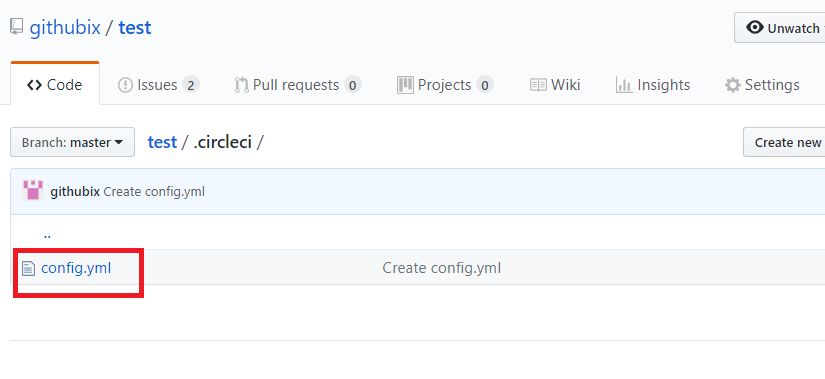
create new folder “.circleci” and new file “config.yml” followed instruction of CircleCI add Projects for target Github repository.
Here is config.yml
# PHP CircleCI 2.0 configuration file
#
# Check https://circleci.com/docs/2.0/language-php/ for more details
#
version: 2
jobs:
  build:
    docker:
      # specify the version you desire here
      - image: circleci/php:7.1-browsers

      # Specify service dependencies here if necessary
      # CircleCI maintains a library of pre-built images
      # documented at https://circleci.com/docs/2.0/circleci-images/
      # - image: circleci/mysql:9.4

    working_directory: ~/repo

    steps:
      - checkout

      # Download and cache dependencies
      - restore_cache:
          keys:
          - v1-dependencies-{{ checksum "composer.json" }}
          # fallback to using the latest cache if no exact match is found
          - v1-dependencies-

      - run: composer install -n --prefer-dist

      - save_cache:
          paths:
            - ./vendor
          key: v1-dependencies-{{ checksum "composer.json" }}

      # run tests!
      - run: phpunit
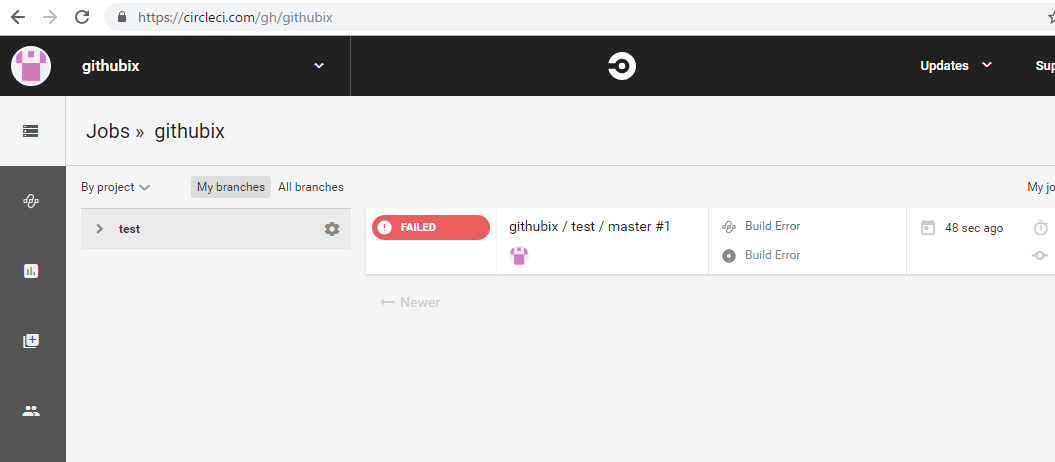
Update project file
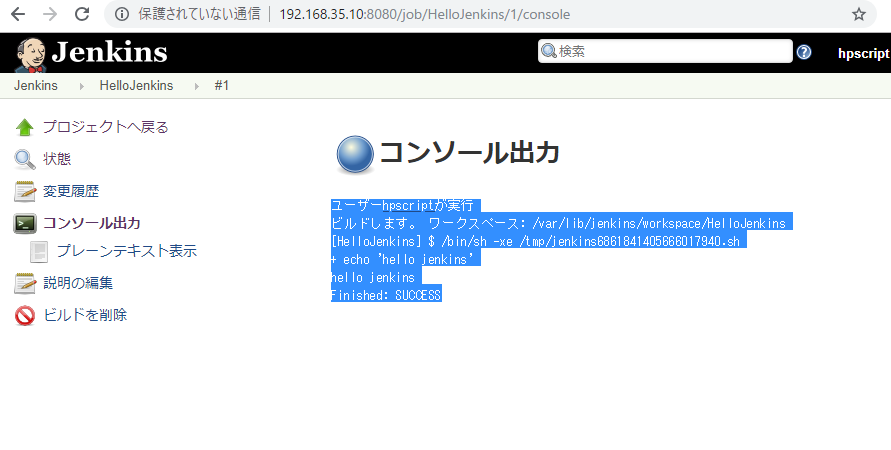
echo "This is circle ci test3!"
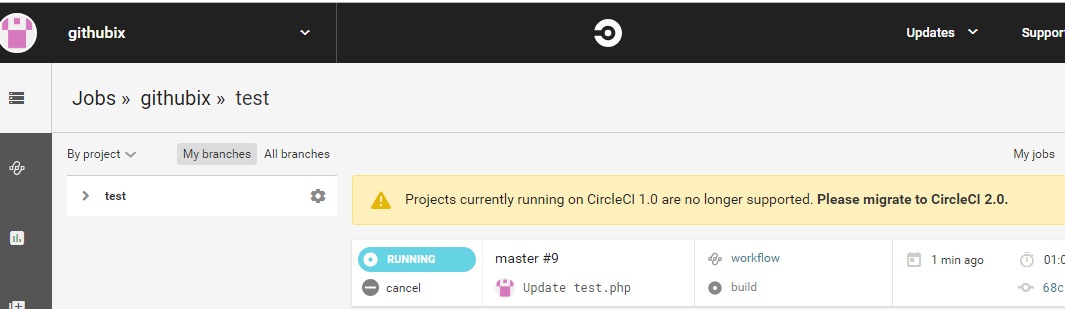
build
Somehow it seems like I understand or do not understand.
Now, we will start to touch Travis CI.