text apiから返ってきたjsonをdocument.getElementById(“text1”).innerHTMLで取得して、speechSynthesisを使います。
<?php
$key = 'hoge';
$host = "https://api.cognitive.microsofttranslator.com";
$path = "/translate?api-version=3.0";
$params = "&to=en";
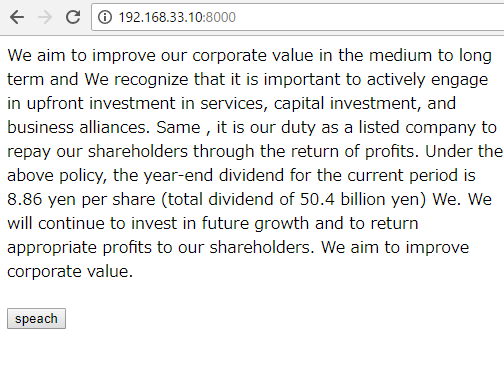
$text = "当社は中長期的かつ持続的な企業価値の向上を目指しており、そのためには、将来の成長を見据えた
サービスへの先行投資や設備投資、資本業務提携を積極的に行うことが重要だと認識しています。同時
に、利益還元を通じて株主の皆さまに報いることが上場会社としての責務と捉えています。
上記方針のもと、当期の期末配当金につきましては、1 株当たり8.86 円(配当金総額は504 億円)と
いたしました。
当社はこれからも、将来の成長のための投資を継続しながら、株主の皆さまへの適切な利益還元を行
うことにより、企業価値の向上を目指していきます。";
if(!function_exists('com_create_guid')){
function com_create_guid(){
return sprintf('%04x%04x-%04x-%04x-%04x-%04x%04x%04x',
mt_rand(0, 0xffff), mt_rand(0, 0xffff),
mt_rand(0, 0xffff),
mt_rand(0, 0x0fff) | 0x4000,
mt_rand(0, 0x3fff) | 0x8000,
mt_rand(0, 0xffff), mt_rand(0, 0xffff), mt_rand(0, 0xffff));
}
}
function Translate ($host, $path, $key, $params, $content) {
$headers = "Content-type: application/json\r\n" .
"Content-length: " . strlen($content) . "\r\n" .
"Ocp-Apim-Subscription-Key: $key\r\n" .
"X-ClientTraceId: " . com_create_guid() . "\r\n";
$options = array (
'http' => array (
'header' => $headers,
'method' => 'POST',
'content' => $content
)
);
$context = stream_context_create($options);
$result = file_get_contents ($host . $path . $params, false, $context);
return $result;
}
$requestBody = array (
array (
'Text' => $text,
),
);
$content = json_encode($requestBody);
$result = Translate($host, $path, $key, $params, $content);
$json = json_decode($result);
$newtext = $json[0]->translations[0]->text;
?>
<div id="text1">
<?php echo $newtext; ?>
</div>
<br>
<button id="btn">speach</button>
<script>
document.querySelector('#btn').onclick = function(){
var msg = new SpeechSynthesisUtterance();
msg.volume = 1;
msg.rate = 1;
msg.pitch = 2;
msg.lang = "en-US";
msg.text = document.getElementById("text1").innerHTML;
speechSynthesis.speak(msg);
}
</script>
こいつはすげー
$params = “&to=zh”; にすると、
————-
我们的目标是在中长期内提高公司的价值, 并 我们认识到, 积极参与服务、资本投资和商业联盟的前期投资是重要的。 相同 , 作为上市公司, 我们有责任通过利润回报回报股东。 在上述政策下, 本期年终股息为每股8.86 日元 (总股息为504亿日元) 我们。 我们将继续投资于未来的增长, 并将适当的利润返还给我们的股东。 我们的目标是提高企业价值。
————-
ざっとみたところ、良さそう。
これを日銀のStatements on Monetary Policyでやりたいと思います。