override func viewDidLoad() {
        super.viewDidLoad()
        let stringUrl = "http://hpscript.com/swift/index.php"
        let url = URL(string: stringUrl)
        let request = URLRequest(url: url!)

        let session = URLSession(configuration: URLSessionConfiguration.default, delegate: nil, delegateQueue: OperationQueue.main)

        let task:URLSessionDataTask = session.dataTask(with: request, completionHandler: {(data, response, error) in
            if error != nil {
                print(error!)
                return
            }

            DispatchQueue.main.async{

            }
        })
        task.resume()
        // Do any additional setup after loading the view, typically from a nib.
    }
banner

最近programing時間が減りすぎてる。やばい。
SwiftyJSONをダウンロードしよう
JSONにはSwiftyJSONを使っている、と言うことでgithubからswiftyJSONをダウンロードします。
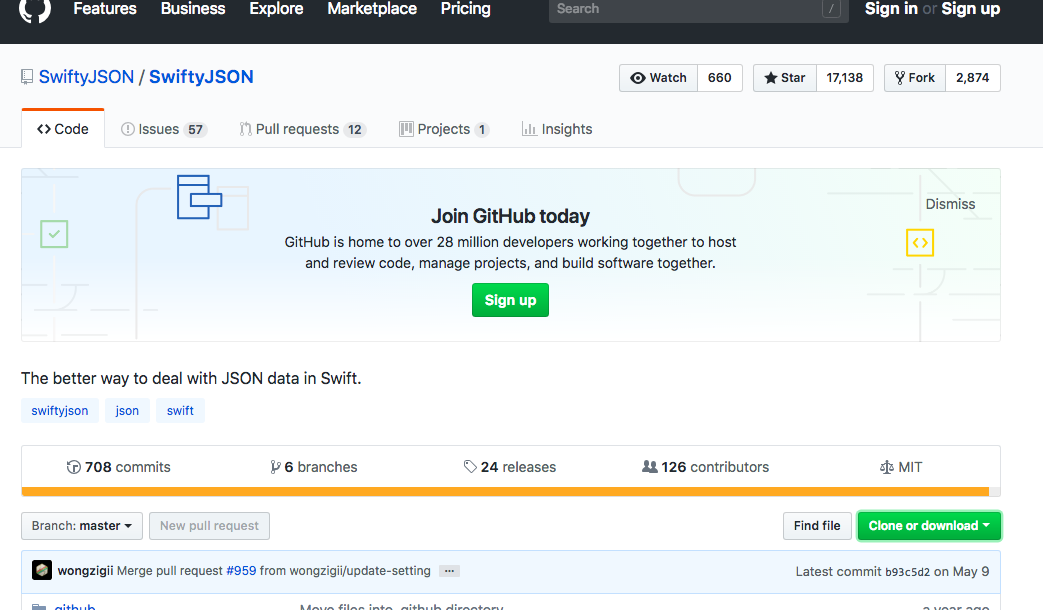
zipでdownloadして、SwiftyJSON-master -> Source のSwiftyJSON.swiftを抜き取ります。
Cannon EOS Kiss Digital X
一眼レフの話をしていたら、何故かCannon EOS Kiss Digital Xをいただきました。

少し試し撮りしましたが、630より面白いです。
表現の幅は広げたいですね。
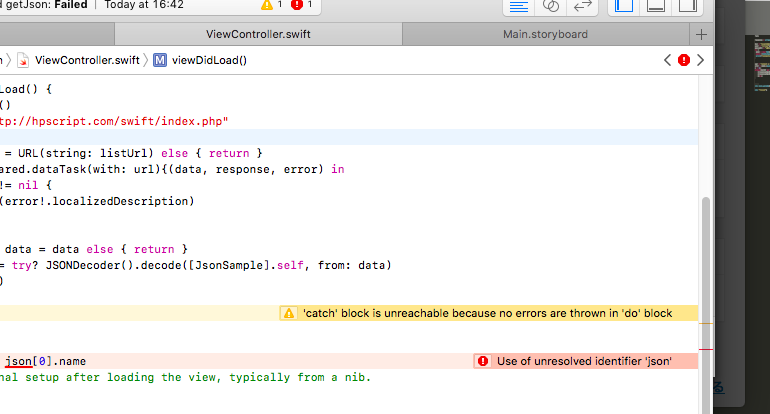
JSONDecoderがうまく行かない
override func viewDidLoad() {
        super.viewDidLoad()
        let listUrl = "http://hpscript.com/swift/index.php"
        do {
            guard let url = URL(string: listUrl) else { return }
            URLSession.shared.dataTask(with: url){(data, response, error) in
                if error != nil {
                    print(error!.localizedDescription)
                }

                guard let data = data else { return }
                let json = try? JSONDecoder().decode([JsonSample].self, from: data)
                }.resume()

        } catch{

        }
        self.label.text = json[0].name
        // Do any additional setup after loading the view, typically from a nib.
    }
なぜだ!!!!?
swift4でmysqlからfetchしたjsonを取得する
まず、mysqlからpdoでselectして、jsonにする。
$response = array();

$dsn = "mysql:dbname=app;host=";
$user = "";
$password = "";
try {
  $dbh = new PDO($dsn, $user, $password);
} catch (PDOException $e){
  print('connection failed:'.$e->getMessage());
}


$sql = "select * from swift";
$stmt = $dbh->query($sql);
$i = 0;
foreach($stmt as $value){
	$response[$i]['name'] = $value['name'];
	$response[$i]['member'] = $value['member'];
	$i++;
}


echo json_encode($response);

echo "finish";
勿論ここまではOK
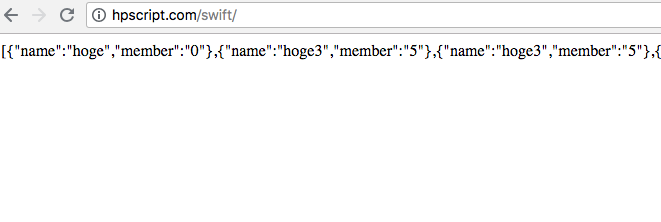
問題は、x-codeで取得して、どう表示するか。
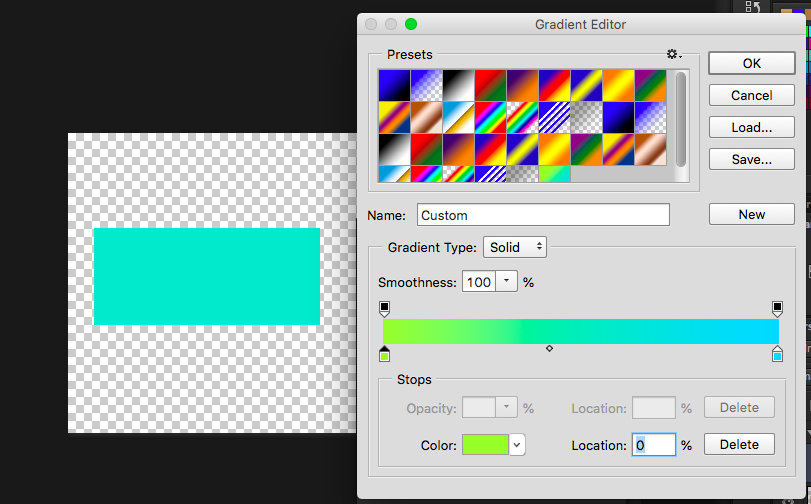
Gradient Editorの保存方法
new押下で保存できる。
black & white
かっこよくなりました。

次はボタンを作りたいですね。
はい。
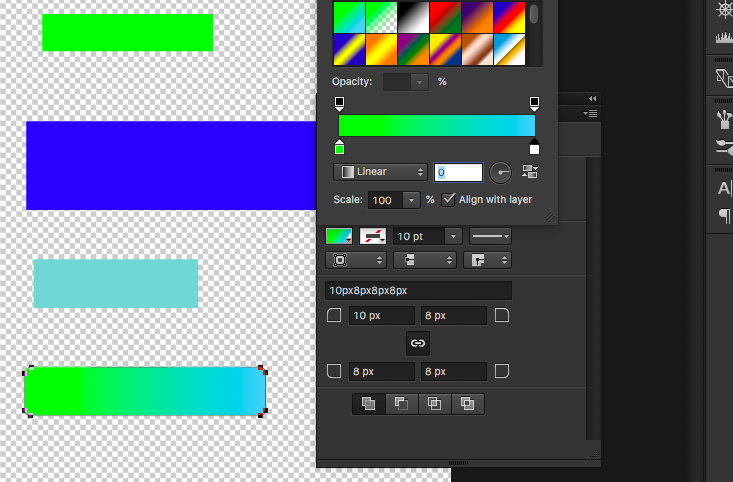
文字も入れたい。
支離滅裂になってきました。また明日やります。
swift4からmysqlにinsertする
uiview.controller
let URL_SAVE_BOY = "hoge"

    @IBOutlet weak var NameFeild: UITextField!
    @IBOutlet weak var oldFeild: UITextField!

    @IBAction func saveBtn(_ sender: Any) {
        let requestURL = NSURL(string: URL_SAVE_BOY)
        let request = NSMutableURLRequest(url: requestURL! as URL)

        request.httpMethod = "POST"

        let teamName = NameFeild.text
        let memberOld = oldFeild.text

        let postParameters = "name="+teamName!+"&old="+memberOld!;

        request.httpBody = postParameters.data(using: String.Encoding.utf8)

        let task = URLSession.shared.dataTask(with: request as URLRequest){
            data, response, error in

            if error != nil {
                print("error is \(error)")
                return;
            }

            do {
                let myJSON = try JSONSerialization.jsonObject(with: data!, options: .mutableContainers) as? NSDictionary

                if let parseJSON = myJSON {
                    var msg : String!
                    msg = parseJSON["message"] as! String?
                    print(msg)
                }
            } catch {
                print(error)
            }
        }
        task.resume()
    }
php側
$response = array();

if($_SERVER['REQUEST_METHOD'] == 'POST'){
	$teamName = $_POST['name'];
	$member = $_POST['old'];
}

$dsn = "mysql:dbname=db;host=hostname";
$user = "username";
$password = "pwd";
try {
  $dbh = new PDO($dsn, $user, $password);
} catch (PDOException $e){
  print('connection failed:'.$e->getMessage());
}


$sql = "insert into swift (name, member) VALUES (:name, :member)";
$stmt = $dbh->prepare($sql);
$stmt->bindParam(':name', $teamName, PDO::PARAM_STR);
$stmt->bindValue(':member', $member, PDO::PARAM_INT);

$stmt->execute();

	$response['api'] = "succeeded";
	$response['member'] = $member . " years old!";
	echo json_encode($response);

echo "finish";
エミュレーターでyyyy, 55と入れます。
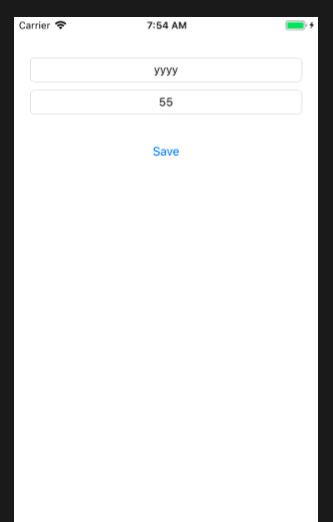
DB側
今回は,phpadmin
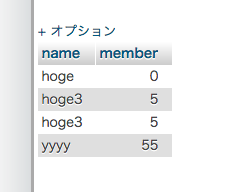
ちゃんと入っています。
次は、
1.mysqlからfetch。
2.配列をtable viewから表示
3.ec2から接続する
4.androidのDB接続
5.photoshopのエレメントをxcodeに乗せてく
6.app構築
7.app storeに申請
ってところか。
う〜、、、やること思ってたより多い。
table view
table viewでインド人に作ってもらった。
import UIKit

class CategoryListVC: UIViewController,UITableViewDataSource,UITableViewDelegate {

    //MARK:- IBOutlets
    @IBOutlet var tblCategoryList: UITableView!

    //MARK:- Variables
    var arrCategoryListData = NSMutableArray()


    override func viewDidLoad() {
        super.viewDidLoad()

        self.setupUI()
    }

    override func didReceiveMemoryWarning() {
        super.didReceiveMemoryWarning()
        // Dispose of any resources that can be recreated.
    }

    //MARK:- SetUp UI
    func setupUI() -> Void {

        self.tblCategoryList.delegate = self
        self.tblCategoryList.dataSource = self

        self.arrCategoryListData = [["Name":"Motors"],["Name":"Fashion"],["Name":"Electronics"],["Name":"Collectibles & Art"],["Name":"Home & Garden"],["Name":"Sporting Goods"],["Name":"Toys & Hobbies"],["Name":"Bussiness & Industrial"],["Name":"Music"]]
        self.tblCategoryList.reloadData()

    }


    //MARK:- UITableView Related Methods
    func tableView(_ tableView: UITableView, heightForRowAt indexPath: IndexPath) -> CGFloat {
        return 50
    }

    func tableView(_ tableView: UITableView, numberOfRowsInSection section: Int) -> Int {
        return self.arrCategoryListData.count
    }

    func tableView(_ tableView: UITableView, cellForRowAt indexPath: IndexPath) -> UITableViewCell {

        let cell = tableView.dequeueReusableCell(withIdentifier: "TableViewFOrCategoryListing", for: indexPath) as! TableViewFOrCategoryListing

        guard let dictCell = self.arrCategoryListData.object(at: indexPath.row) as? NSDictionary else {
            return cell
        }

        if let price = dictCell.value(forKey: "Name") {
            cell.lblCategoryName.text = String(describing: price)
        }

        return cell
    }

    func tableView(_ tableView: UITableView, didSelectRowAt indexPath: IndexPath) {
        tableView.deselectRow(at: indexPath, animated: true)

        guard let dictCell = self.arrCategoryListData.object(at: indexPath.row) as? NSDictionary else {
            return
        }

        if let objView = self.storyboard?.instantiateViewController(withIdentifier: "ViewController") as? ViewController {

            objView.dictForCategoryDetails = dictCell
            self.navigationController?.pushViewController(objView, animated: true)
        }

    }


}

class TableViewFOrCategoryListing: UITableViewCell {

    @IBOutlet var lblCategoryName: UILabel!

}
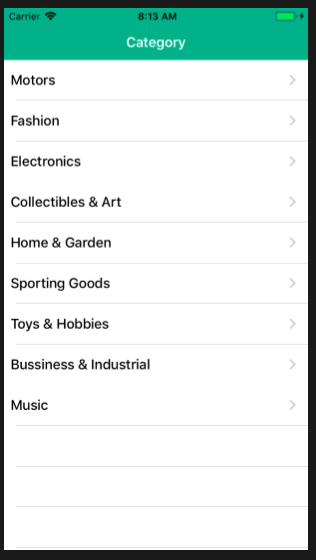

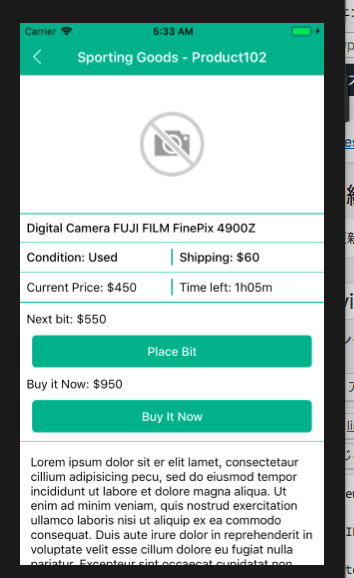
やべー、俺も早く頑張らないと。。
ec2でgit
$ git version
git version 2.14.4
共有リポジトリをつくる。
bareリポジトリは、ワーキングコピーを持たないリポジトリ
sharedオプションをつけないと,ファイルパーミッションが無くてpushできなくなってしまう
mkdir test.git
cd test.git
git --bare init --shared
git clone ../git/test.git

git remote add origin
git push -u origin master
$ git push origin master
The authenticity of host ‘()’ can’t be established.
何!?
