<head>
<link href="asset/css/remodal.css" rel="stylesheet">
<link href="asset/css/remodal-default-theme.css" rel="sytlesheet">
</head>
<body>
<div class="remodal-bg">
  <a href="#modal">モーダル1</a>
</div>

<div class="remodal" data-remodal-id="modal">
  <button data-remodal-action="close" class="remodal-close"></button>
  <h1>Remodal</h1>
  <p>
    Responsive, lightweight, fast, synchronized with CSS animations, fully customizable modal window plugin with declarative configuration and hash tracking.
  </p>
  <br>
  <button data-remodal-action="cancel" class="remodal-cancel">Cancel</button>
  <button data-remodal-action="confirm" class="remodal-confirm">OK</button>
</div>

<script
  src="https://code.jquery.com/jquery-3.3.1.min.js"
  integrity="sha256-FgpCb/KJQlLNfOu91ta32o/NMZxltwRo8QtmkMRdAu8="
  crossorigin="anonymous"></script>
<script src="asset/js/remodal.js"></script>
<script>
	$('[data-remodal-id=modal]').remodal();
</script>
</body>
ん、上手くいってない!? 何故?
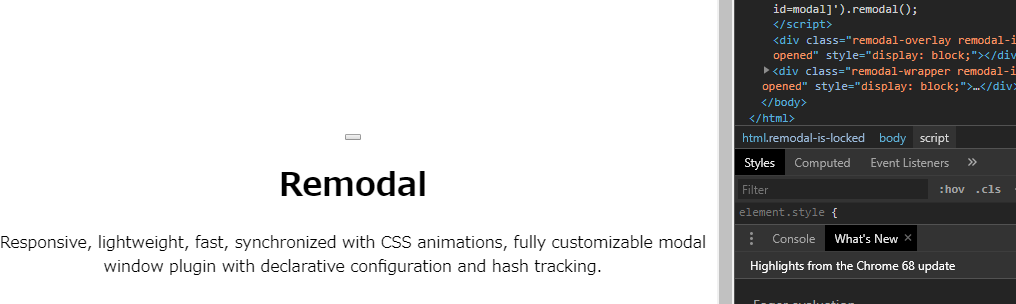
色々試した挙句
よくみたら、rel=”sytlesheet”ってなってる。
cssが効いてない。
<head>
	<link href="asset/css/remodal.css" rel="stylesheet">
	<link href="asset/css/remodal-default-theme.css" rel="stylesheet">
</head>
逆説的だが、エラーを出すと、プラグインの理解が深まるという。。。なんちゅーこっちゃ。
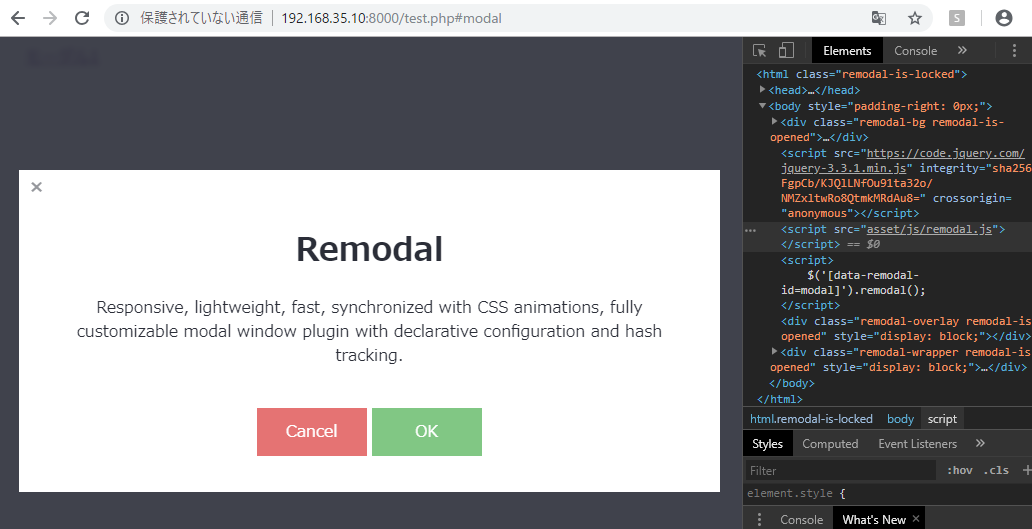
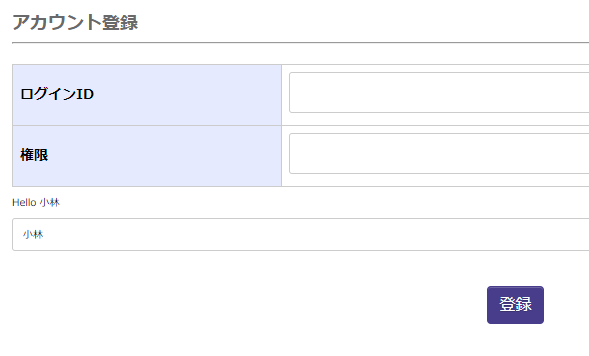
さて、これを実装していきます。