-IE8以前をサポートするかどうか
-2.X系と3.X系ではサポートしているブラウザに違いはなし。設計が見直し
3系
非推奨になっていたAPIが削除
IE9 以降
Chrome、Edge、Firefox、Safari の最新版とそのひとつ前のバージョン
Operaの最新版
iOS 7 以上のモバイルSafari
Android 4.0以上
ほう~
随机应变 ABCD: Always Be Coding and … : хороший

-IE8以前をサポートするかどうか
-2.X系と3.X系ではサポートしているブラウザに違いはなし。設計が見直し
3系
非推奨になっていたAPIが削除
IE9 以降
Chrome、Edge、Firefox、Safari の最新版とそのひとつ前のバージョン
Operaの最新版
iOS 7 以上のモバイルSafari
Android 4.0以上
ほう~
まず、質問1がある。
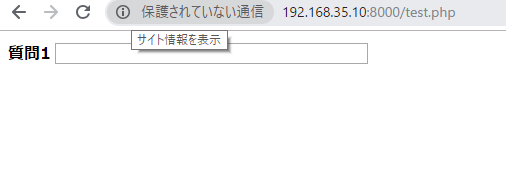
<div id="app">
    <table>
		<tr>
          <th>質問1</th><td><input type="text" size="40" value="" v-model="message"></td>
    	</tr>
    	<tr v-if="message">
          <th>質問2</th><td><input type="text" size="40" value=""></td>
    	</tr>
	</table>
</div>
<script src="https://cdn.jsdelivr.net/npm/vue/dist/vue.js"></script>
<script src="asset/js/main.js"></script>
(function(){
	'use strict';

	var vm = new Vue({
			el: '#app',
			data: {
				message: ""
			}
	});
})();
質問1に値を入力すると、質問2が表示される。
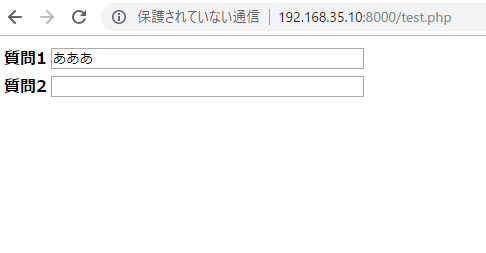
天才!
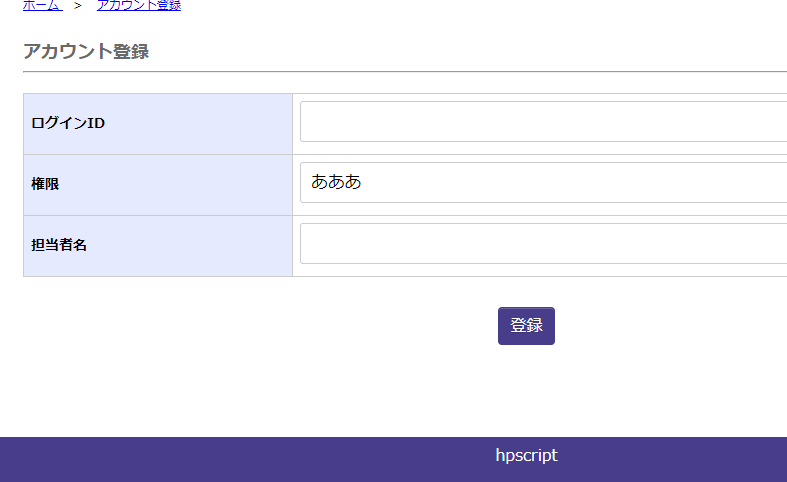
同様に、権限を入力すると、担当者名が表示される。
<div id="content">
      <h2>アカウント登録</h2>
      <hr>
      <form action="" method="post" id="form1">
      <table id="tbl">
        <tr>
          <th>ログインID</th><td><input type="text" name="login" size="40"  value=""></td>
        </tr>
        <tr>
          <th>権限</th><td><input type="text" name="password" size="40" value="" v-model="message"></td>
        </tr>
        <tr v-if="message">
          <th>担当者名</th><td><div id="app"><input type="text" name="password" size="40" value="" ></div></td>
        </tr>
      </table>
おおおおおおおおおおおおおおお
おもろいやんけ!
OKOK!
vue.jsでやりたいこと
– 新規登録画面で入力fromに値が入力されたら、別のフォームを表示する
main.jsをつくる
bodyの閉じタグの前で、vue.jsのcdnとmain.jsを読み込みます。
<!-- 共通フッター -->
  	<footer>
  		hpscript
  	</footer>
    <!-- / 共通フッター -->

    <script src="https://cdn.jsdelivr.net/npm/vue/dist/vue.js"></script>
    <script src="js/main.js"></script>
  </body>
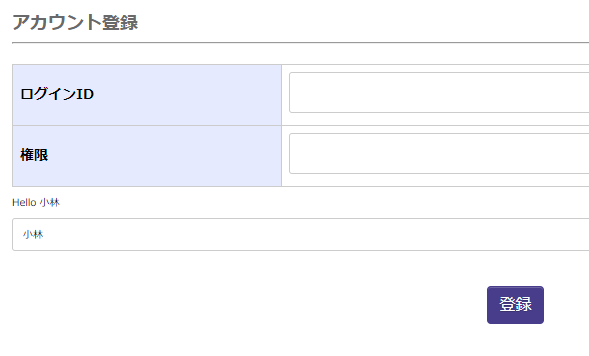
vue.jsを書いていきます。
<div id="app">
        <p>Hello {{ name}} </p>
        <p><input type="text" v-model="name"></p>
      </div>
main.js
(function(){
	'use strict';

	var vm = new Vue({
			el: '#app',
			data: {
				name: 'yoshi'
			}
	});
})();
とりあえずvue.jsが動くところまではきました。
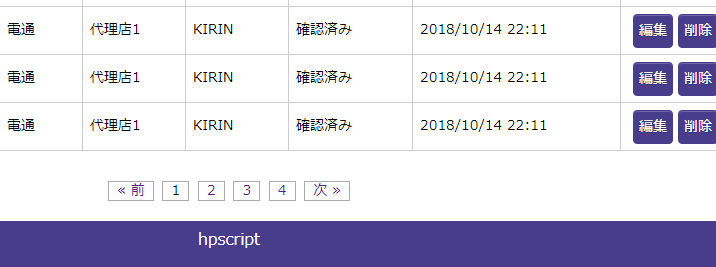
html
<!-- ページネーション -->
<div class="pageNav">
<ul class="pageNav01">
<li><a href="">« 前</a></li>
<li><span>1</span></li>
<li><a href="">2</a></li>
<li><a href="">3</a></li>
<li><a href="">4</a></li>
<li><a href="">次 »</a></li>
</ul>
</div>
<!-- / ページネーション -->
css
ul.pageNav01 {
	margin: 0 0 10px;
	padding: 10px 10px 5px;
	text-align: center;
}
ul.pageNav01 li{
	display: inline;
	margin: 0 2px;
	padding: 0;
}
ul.pageNav01 li span,
ul.pageNav01 li a{
	display: inline-block;
	margin-bottom:5px;
	padding: 1px 8px;
	background: #fff;
	border: 1px solid #aaa;
	text-decoration: none;
	vertical-align: middle;
}
ul.pageNav01 li a:hover{
	background: #eeeff7;
	border-color: #00f;
}
うーん、border solidはいらない気もするが、まーいいか。
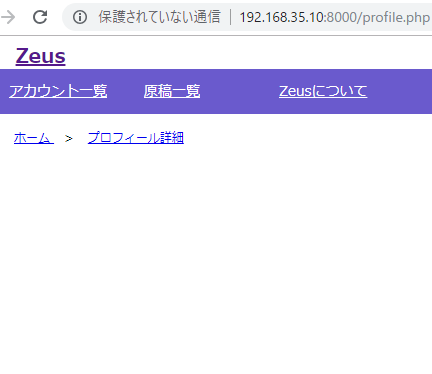
まずhtml
<div id="content">
      <h2>プロフィール詳細</h2>
      <hr>
      <table id="tbl">
        <tr>
          <th>ログインID</th><td>user1</td>
        </tr>
        <tr>
          <th>ログインID</th><td>user1</td>
        </tr>
        <tr>
          <th>ログインID</th><td>user1</td>
        </tr>
      </table>
    </div>
css
#content table#tbl{
	width:100%;
	margin: 20px 0;
	border-top: 1px solid #ccc;
	border-left: 1px solid #ccc;
	border-spacing: 0;
}
#content table#tbl tr th,
#content table#tbl tr td{
	border-bottom: 1px solid #ccc;
	border-right: 1px solid #ccc;
	border-spacing: 0.5em;
	padding: 5px;
}
#content table#tbl tr th {
	background: #e6eaff;
	width:20%;
}
あれ、おかしい、思ったより悪くない。。それはそれでなんかあかんな
とりあえずlaravelをイメージしながら仮データを入れていきます。
まずhtml
<!-- パンくず -->
    <ul class="breadcrumb">
      <li itemscope="itemscope" itemtype="http://data-vocabulary.org/Breadcrumb" >
        <a href="/top" itemprop="url">
          <span itemprop="title">ホーム</span>
        </a>
      </li>
      <li itemscope="itemscope" itemtype="http://data-vocabulary.org/Breadcrumb" >
        <a href="/top" itemprop="url">
          <span itemprop="title">プロフィール詳細</span>
        </a>
      </li>
    </ul>
    <!-- / パンくず -->
続いてcss
:before、content:none なんて書き方あるんですな。ひょえーーーーーーーーー
ul.breadcrumb {
	margin-left:10px;
}
ul.breadcrumb li{
	display: inline;
	margin-left: 10px;
	font-size: 12px;
}
ul.breadcrumb li:before{
	margin-right: 10px;
	content:" > ";
}
ul.breadcrumb li:first-child:before{
	content: none;
}
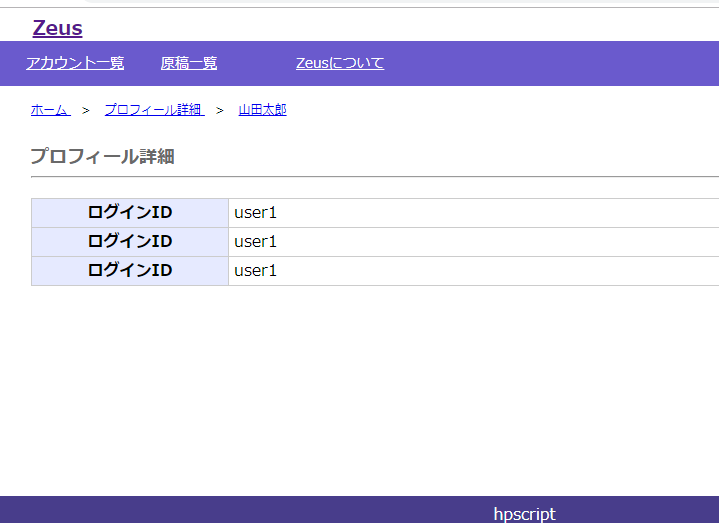
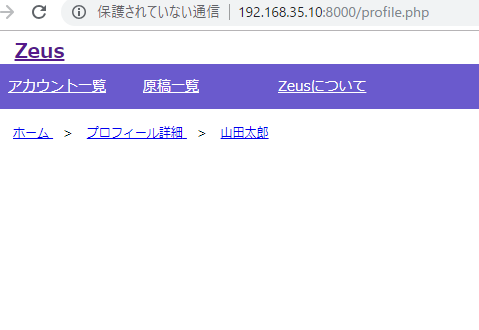
view
cssは触らずhtmlだけ編集します。
<!-- パンくず -->
    <ul class="breadcrumb">
      <li itemscope="itemscope" itemtype="http://data-vocabulary.org/Breadcrumb" >
        <a href="/top" itemprop="url">
          <span itemprop="title">ホーム</span>
        </a>
      </li>
      <li itemscope="itemscope" itemtype="http://data-vocabulary.org/Breadcrumb" >
        <a href="/top" itemprop="url">
          <span itemprop="title">プロフィール詳細</span>
        </a>
      </li>
      <li itemscope="itemscope" itemtype="http://data-vocabulary.org/Breadcrumb" >
        <a href="/top" itemprop="url">
          <span itemprop="title">山田太郎</span>
        </a>
      </li>
    </ul>
    <!-- / パンくず -->
ほーーーーーーーー
#content #top-main {
	margin-top: 80px;
	background-color: #e6e6fa;
	padding: 20px;
}
#content #top-main h2 {
	margin-bottom: 5px;
}

#news_h {
	margin-top: 20px;
	padding-left: 20px;
	padding-top: 2px;
	padding-bottom: 2px;
	background-color:#a9a9a9;
}
#news_t {
	margin-top: 20px;
	padding-left: 20px;
}
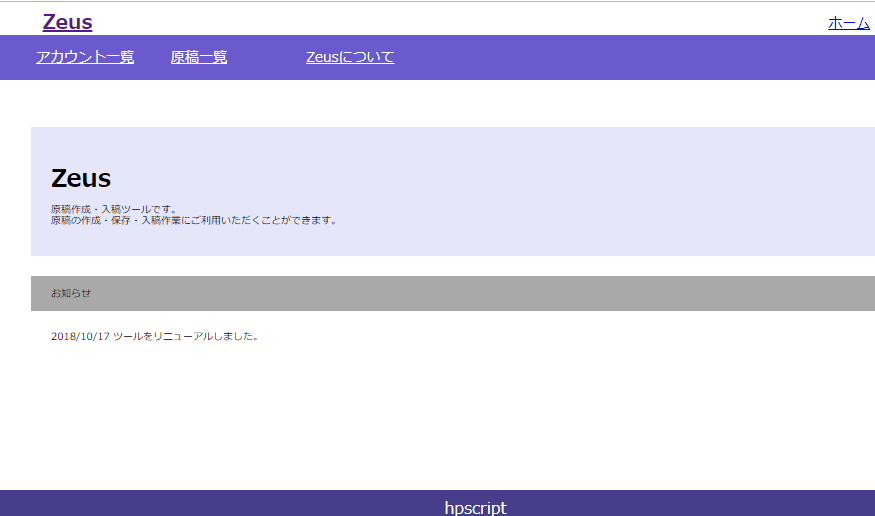
あら、topページできました。
続いて、詳細ページテンプレートを作っていきます。
CSSはハイフン(foo-bar)1、JavaScriptはCamel(fooBar)、Rubyはsnake(foo_bar)文化。
ということで、ハイフンで書いていきます。
<div id="content">
      <div id="top-main">
         <h2>Zeus</h2>
         <p>hogehoge。</p>
      </div>
    </div>
チャンネルを作っていきます。
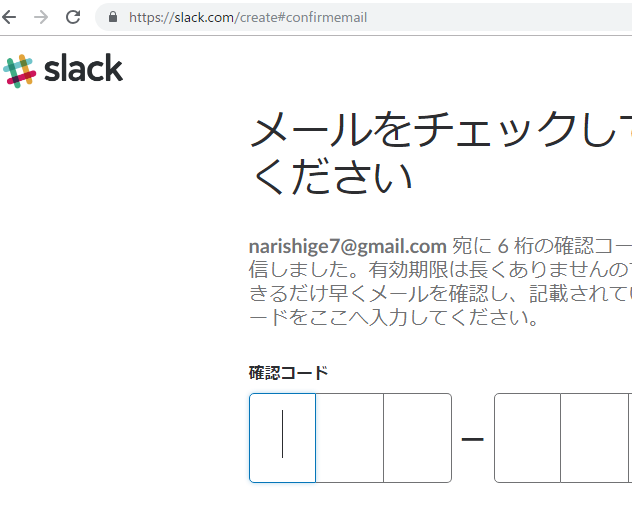
チャンネルができました。
web hook用のURLを取得する為に、以下のURLを叩く
https://slack.com/services/new/incoming-webhook
ほうほう、簡単に取得できそうです。
Incoming Webhooks are a simple way to post messages from external sources into Slack. They make use of normal HTTP requests with a JSON payload, which includes the message and a few other optional details described later.
Message Attachments can also be used in Incoming Webhooks to display richly-formatted messages that stand out from regular chat messages.
curl -X POST --data-urlencode "payload={\"channel\": \"#general\", \"username\": \"webhookbot\", \"text\": \"これは webhookbot という名のボットから #general に投稿されています。\", \"icon_emoji\": \":ghost:\"}" https://hooks.slack.com/services/hoge/hoge/hogehoge
vagrantからpostします。
[vagrant@localhost ~]$ curl -X POST –data-urlencode “payload={\”channel\”: \”#general\”, \”username\”: \”webhookbot\”, \”text\”: \”これは webhookbot という名のボットから #general に投稿されています。\”, \”icon_emoji\”: \”:ghost:\”}” https://hooks.slack.com/services/hoge/hoge/hogehoge
ok
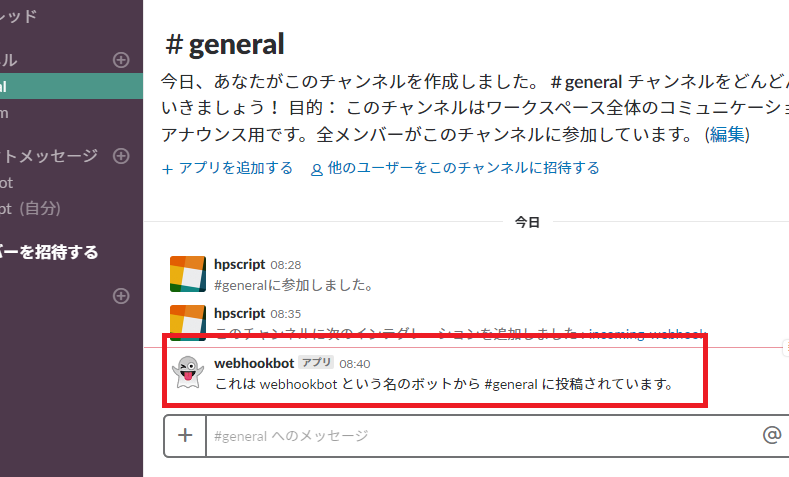
通知されました!Wow!素晴らしい!
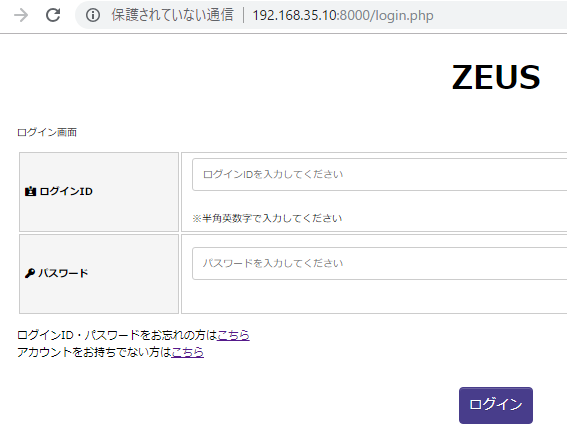
<body>
  	<h1>ZEUS</h1>
    <div id="content">
  	<p>ログイン画面</p>
  	<form action="" method="post" id="form">
      <table>
        <tr>
          <th><label for="login"><i class="fas fa-id-card-alt"></i> ログインID</label></th>
          <td><input type="text" name="login" size="40" placeholder="ログインIDを入力してください"><br>※半角英数字で入力してください</td>
        </tr>
        <tr>
          <th><label for="password"><i class="fas fa-key"></i> パスワード</label></th>
          <td><input type="text" name="password" size="40" placeholder="パスワードを入力してください"></td>
        </tr>
      </table>
  	<p class="sm">ログインID・パスワードをお忘れの方は<a href="">こちら</a><br>
  	   アカウントをお持ちでない方は<a href="">こちら</a></p><br>
       <div class="button_wrapper">
         <button type="submit" value="送信" id="square_btn">ログイン</button>
       </div>
    </form>
    </div>
  	<footer>
  		hpscript
  	</footer>
  </body>
なるほど、思ったより全然いい感じじゃないっすか~パイセン