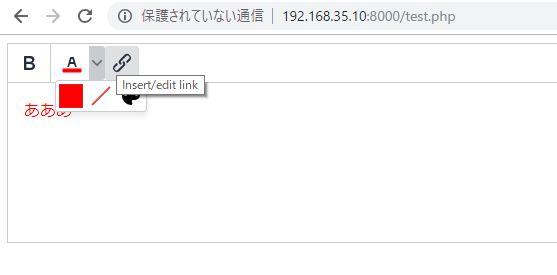
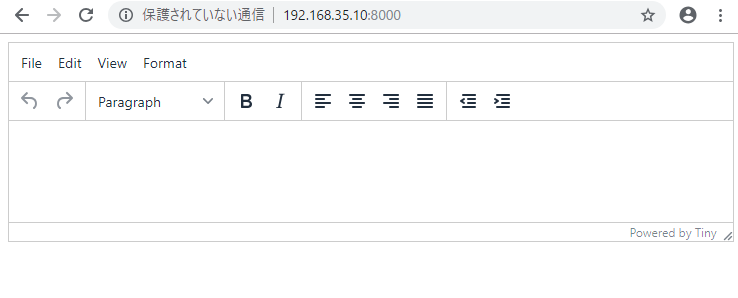
I want to customize link pulugin JS of tinymce.
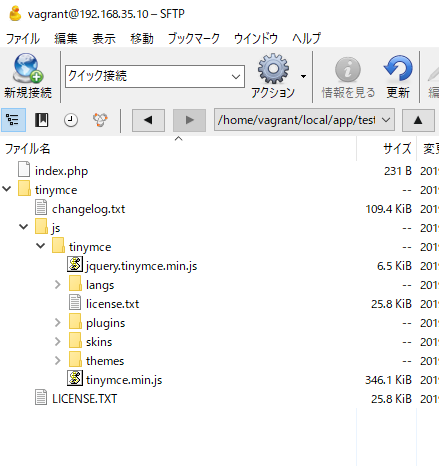
Let’s look at source code, pulugin.min.js
/**
* Copyright (c) Tiny Technologies, Inc. All rights reserved.
* Licensed under the LGPL or a commercial license.
* For LGPL see License.txt in the project root for license information.
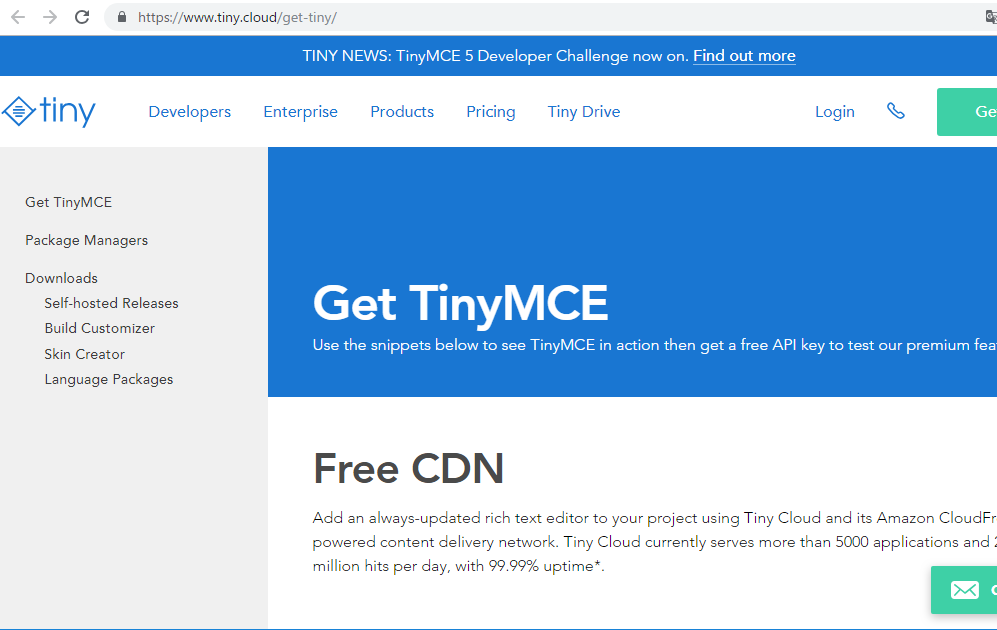
* For commercial licenses see https://www.tiny.cloud/
*
* Version: 5.0.0-1 (2019-02-04)
*/
!function(){“use strict”;var n,t,e,r,o,i=tinymce.util.Tools.resolve(“tinymce.PluginManager”),u=tinymce.util.Tools.resolve(“tinymce.util.VK”),a=function(n){return n.target_list},c=function(n){return n.rel_list},l=function(n){return n.link_class_list},h=function(n){return”boolean”==typeof n.link_assume_external_targets&&n.link_assume_external_targets},f=function(n){return”boolean”==typeof n.link_context_toolbar&&n.link_context_toolbar},s=function(n){return n.link_list},p=function(n){return”string”==typeof n.default_link_target},v=function(n){return n.default_link_target},g=a,d=function(n){return!1!==a(n)},m=c,y=function(n){return c(n)!==undefined},k=l,x=function(n){return l(n)!==undefined},b=function(n){return!1!==n.link_title},O=function(n){return”boolean”==typeof n.allow_unsafe_link_target&&n.allow_unsafe_link_target},w=function(n){return!0===n.link_quicklink},_=tinymce.util.Tools.resolve(“tinymce.dom.DOMUtils”),A=tinymce.util.Tools.resolve(“tinymce.Env”),C=function(n){if(!A.ie||10‘),o.close()}}var i,u},T=tinymce.util.Tools.resolve(“tinymce.util.Tools”),N=function(n,t){var e,r,o=[“noopener”],i=n?n.split(/\s+/):[],u=function(n){return n.filter(function(n){return-1===T.inArray(o,n)})};return(i=t?(e=u(e=i)).length?e.concat(o):o:u(i)).length?(r=i,T.trim(r.sort().join(” “))):””},S=function(n,t){return t=t||n.selection.getNode(),D(t)?n.dom.select(“a[href]”,t)[0]:n.dom.getParent(t,”a[href]”)},M=function(n){return n&&”A”===n.nodeName&&n.href},D=function(n){return n&&”FIGURE”===n.nodeName&&/\bimage\b/i.test(n.className)},z=function(n,t){var e,r;(r=n.dom.select(“img”,t)[0])&&(e=n.dom.getParents(r,”a[href]”,t)[0])&&(e.parentNode.insertBefore(r,e),n.dom.remove(e))},E=function(n,t,e){var r,o;(o=n.dom.select(“img”,t)[0])&&(r=n.dom.create(“a”,e),o.parentNode.insertBefore(r,o),r.appendChild(o))},L=function(i,u){return function(o){i.undoManager.transact(function(){var n=i.selection.getNode(),t=S(i,n),e={href:o.href,target:o.target?o.target:null,rel:o.rel?o.rel:null,”class”:o[“class”]?o[“class”]:null,title:o.title?o.title:null};if(!y(i.settings)&&!1===O(i.settings)){var r=N(e.rel,”_blank”===e.target);e.rel=r||null}o.href===u.href&&(u.attach(),u={}),t?(i.focus(),o.hasOwnProperty(“text”)&&(“innerText”in t?t.innerText=o.text:t.textContent=o.text),i.dom.setAttribs(t,e),i.selection.select(t),i.undoManager.add()):D(n)?E(i,n,e):o.hasOwnProperty(“text”)?i.insertContent(i.dom.createHTML(“a”,e,i.dom.encode(o.text))):i.execCommand(“mceInsertLink”,!1,e)})}},U=function(t){return function(){t.undoManager.transact(function(){var n=t.selection.getNode();D(n)?z(t,n):t.execCommand(“unlink”)})}},P=function(n){return 0]+>[^<]+<\/a>$/.test(n)||-1===n.indexOf(“href=”)))},q=S,I=function(n,t){var e=t?t.innerText||t.textContent:n.getContent({format:”text”});return e.replace(/\uFEFF/g,””)},j=N,V=function(){for(var n=[],t=0;t