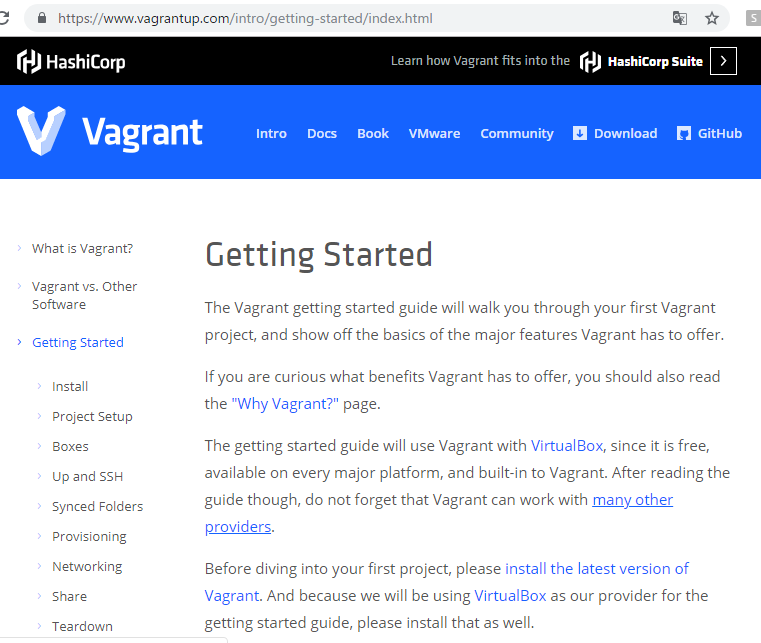
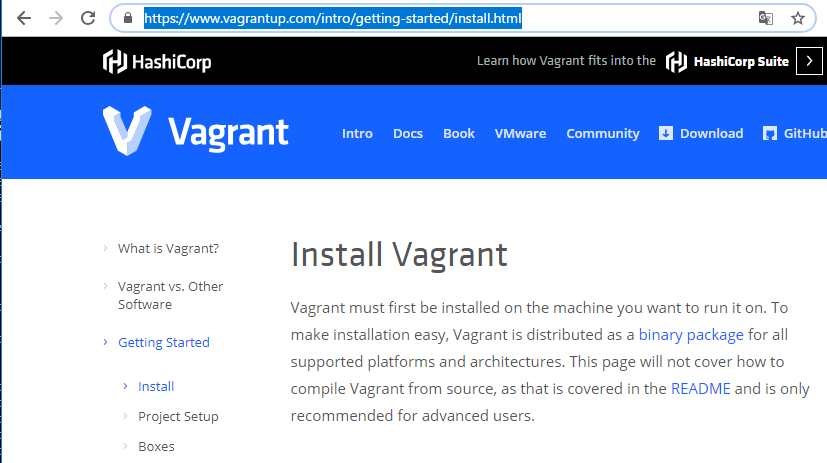
さあ、公式ドキュメントを見てみましょう
https://www.vagrantup.com/intro/getting-started/install.html
installといっても、普通にインストールするだけでしょ。
ダウンロードページ
https://www.vagrantup.com/downloads.html
Debian, Windows, Centos, Linux, macOSがあります。
一般的には、macかwindowsでしょう。好きな人はcentos, linuxでしょう。Debian使ってる人は見たことないっすね。
vagrantのgithub
hashicorp / vagrant
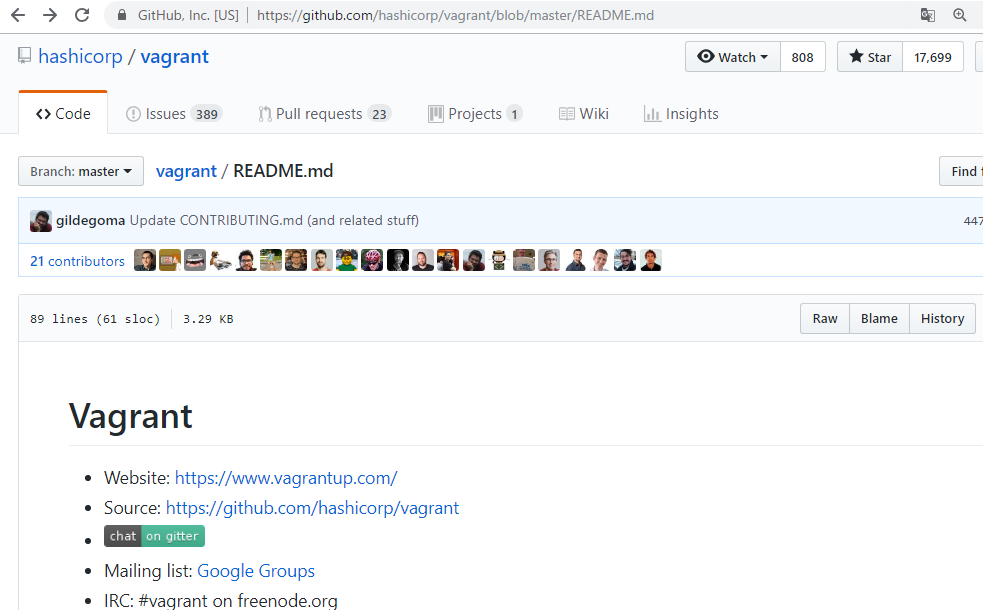
ossでここで開発してるようです。issuesが346ありますね。hashicorpのプロダクトですが、企業での開発と全く同じようです。
例https://github.com/hashicorp/vagrant/issues/10503
# -*- mode: ruby -*-
# vi: set ft=ruby :

Vagrant.configure("2") do |config|

  config.vm.define "master" do |master|
    master.vm.box = "centos/7"
    master.vm.network "private_network", bridge: "Default Switch"

    master.vm.provider "hyperv" do |hv|
      hv.vmname = "myVM"
      hv.memory = 2048
      hv.maxmemory = 4096
      hv.enable_virtualization_extensions = true
      hv.cpus = 2
      hv.linked_clone = true
    end

    master.vm.synced_folder ".", "/vagrant", type: "smb", mount_options: ['vers=3.0'], smb_username: "<myuser>", smb_password: "<mypass>"

    master.vm.hostname = "myVM"
  end
end
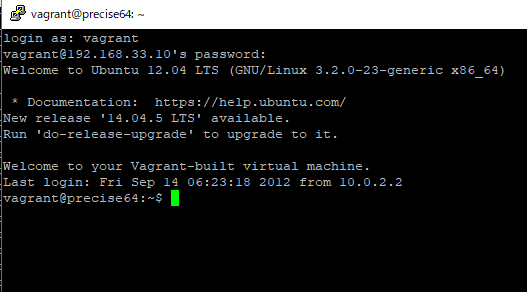
installの確認
vagrantをインストールしたらコマンドラインでvagrantと打ち込んでインストールの確認をします。
下記のようなテキストが出てきたらOKです。
Usage: vagrant [options]
-v, –version Print the version and exit.
-h, –help Print this help.
Common commands:
box manages boxes: installation, removal, etc.
connect connect to a remotely shared Vagrant environment
destroy stops and deletes all traces of the vagrant machine
global-status outputs status Vagrant environments for this user
halt stops the vagrant machine
help shows the help for a subcommand
init initializes a new Vagrant environment by creating a Vagrantfile
login log in to HashiCorp’s Vagrant Cloud
package packages a running vagrant environment into a box
plugin manages plugins: install, uninstall, update, etc.
port displays information about guest port mappings
powershell connects to machine via powershell remoting
provision provisions the vagrant machine
push deploys code in this environment to a configured destination
rdp connects to machine via RDP
reload restarts vagrant machine, loads new Vagrantfile configuration
resume resume a suspended vagrant machine
sandbox
share share your Vagrant environment with anyone in the world
snapshot manages snapshots: saving, restoring, etc.
ssh connects to machine via SSH
ssh-config outputs OpenSSH valid configuration to connect to the machine
status outputs status of the vagrant machine
suspend suspends the machine
up starts and provisions the vagrant environment
validate validates the Vagrantfile
vbguest plugin: vagrant-vbguest: install VirtualBox Guest Additions to the machine
version prints current and latest Vagrant version
For help on any individual command run `vagrant COMMAND -h`
Additional subcommands are available, but are either more advanced
or not commonly used. To see all subcommands, run the command
`vagrant list-commands`.