Logstashはjava8のインストールが必要らしい
[vagrant@localhost ~]$ java -version
openjdk version “1.8.0_191”
OpenJDK Runtime Environment (build 1.8.0_191-b12)
OpenJDK 64-Bit Server VM (build 25.191-b12, mixed mode)
OK
[vagrant@localhost ~]$ sudo rpm –import https://artifacts.elastic.co/GPG-KEY-elasticsearch
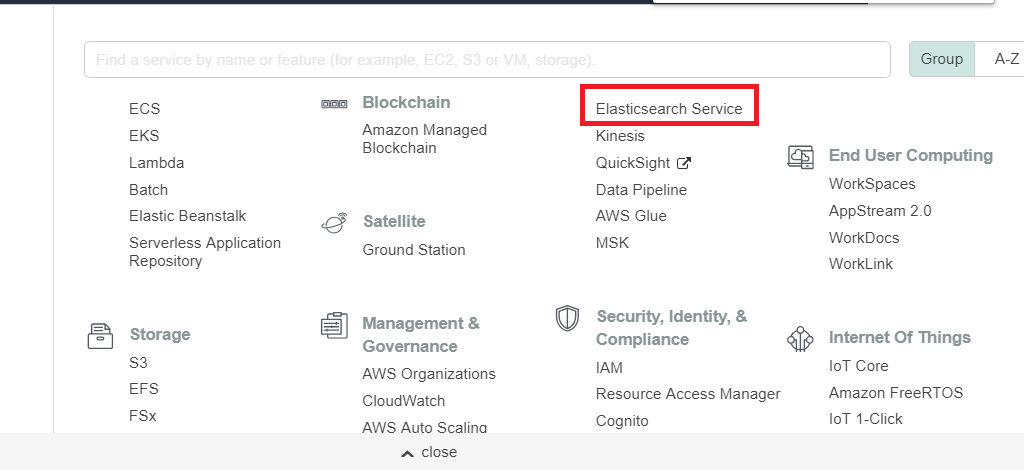
[vagrant@localhost ~]$ sudo yum install logstash
読み込んだプラグイン:fastestmirror
インストール処理の設定をしています
Determining fastest mirrors
* base: ftp.nara.wide.ad.jp
* extras: ftp.nara.wide.ad.jp
* remi-safe: ftp.riken.jp
* updates: ftp.nara.wide.ad.jp
base | 3.7 kB 00:00
extras | 3.4 kB 00:00
jenkins | 2.9 kB 00:00
jenkins/primary_db | 127 kB 00:01
mariadb | 2.9 kB 00:00
mysql-connectors-community | 2.5 kB 00:00
mysql-connectors-community/primary_db | 36 kB 00:00
mysql-tools-community | 2.5 kB 00:00
mysql-tools-community/primary_db | 49 kB 00:00
mysql56-community | 2.5 kB 00:00
mysql56-community/primary_db | 261 kB 00:00
nginx | 2.9 kB 00:00
nginx/primary_db | 49 kB 00:00
nodesource | 2.5 kB 00:00
remi-safe | 3.0 kB 00:00
remi-safe/primary_db | 1.2 MB 00:00
updates | 3.4 kB 00:00
updates/primary_db | 3.7 MB 00:04
パッケージ logstash は利用できません。
エラー: 何もしません
なにいいいいいいいいいいいいいいいいいいい
なぜだああああああああああああああああああああああああああああああああ
もうヤダ。気分転換に日本橋のアンテナショップ行こ。