“/etc/sudoers” is the configuration file that describe the users that can be changed with the sudo command and the commands that can be executed.
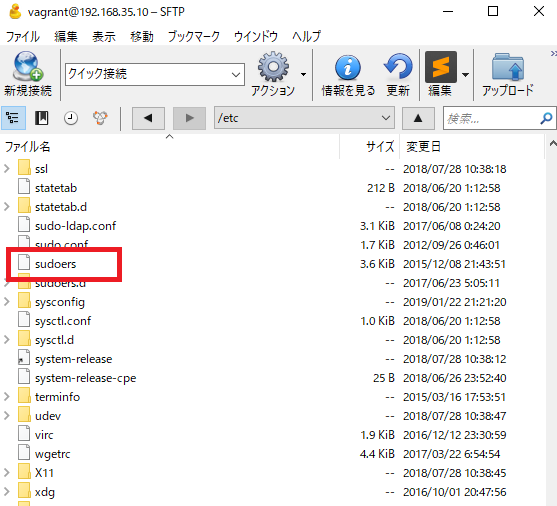
[vagrant@localhost ~]$ sudo cat /etc/sudoers
## Sudoers allows particular users to run various commands as
## the root user, without needing the root password.
##
## Examples are provided at the bottom of the file for collections
## of related commands, which can then be delegated out to particular
## users or groups.
##
## This file must be edited with the 'visudo' command.

## Host Aliases
## Groups of machines. You may prefer to use hostnames (perhaps using
## wildcards for entire domains) or IP addresses instead.
# Host_Alias     FILESERVERS = fs1, fs2
# Host_Alias     MAILSERVERS = smtp, smtp2

## User Aliases
## These aren't often necessary, as you can use regular groups
## (ie, from files, LDAP, NIS, etc) in this file - just use %groupname
## rather than USERALIAS
# User_Alias ADMINS = jsmith, mikem


## Command Aliases
## These are groups of related commands...

## Networking
# Cmnd_Alias NETWORKING = /sbin/route, /sbin/ifconfig, /bin/ping, /sbin/dhclient, /usr/bin/net, /sbin/iptables, /usr/bin/rfcomm, /usr/bin/wvdial, /sbin/iwconfig, /sbin/mii-tool

## Installation and management of software
# Cmnd_Alias SOFTWARE = /bin/rpm, /usr/bin/up2date, /usr/bin/yum

## Services
# Cmnd_Alias SERVICES = /sbin/service, /sbin/chkconfig

## Updating the locate database
# Cmnd_Alias LOCATE = /usr/bin/updatedb

## Storage
# Cmnd_Alias STORAGE = /sbin/fdisk, /sbin/sfdisk, /sbin/parted, /sbin/partprobe, /bin/mount, /bin/umount

## Delegating permissions
# Cmnd_Alias DELEGATING = /usr/sbin/visudo, /bin/chown, /bin/chmod, /bin/chgrp

## Processes
# Cmnd_Alias PROCESSES = /bin/nice, /bin/kill, /usr/bin/kill, /usr/bin/killall

## Drivers
# Cmnd_Alias DRIVERS = /sbin/modprobe

# Defaults specification

#
# Refuse to run if unable to disable echo on the tty.
#
Defaults   !visiblepw

#
# Preserving HOME has security implications since many programs
# use it when searching for configuration files. Note that HOME
# is already set when the the env_reset option is enabled, so
# this option is only effective for configurations where either
# env_reset is disabled or HOME is present in the env_keep list.
#
Defaults    always_set_home

Defaults    env_reset
Defaults    env_keep =  "COLORS DISPLAY HOSTNAME HISTSIZE INPUTRC KDEDIR LS_COLORS"
Defaults    env_keep += "MAIL PS1 PS2 QTDIR USERNAME LANG LC_ADDRESS LC_CTYPE"
Defaults    env_keep += "LC_COLLATE LC_IDENTIFICATION LC_MEASUREMENT LC_MESSAGES"
Defaults    env_keep += "LC_MONETARY LC_NAME LC_NUMERIC LC_PAPER LC_TELEPHONE"
Defaults    env_keep += "LC_TIME LC_ALL LANGUAGE LINGUAS _XKB_CHARSET XAUTHORITY"

#
# Adding HOME to env_keep may enable a user to run unrestricted
# commands via sudo.
#
# Defaults   env_keep += "HOME"

Defaults    secure_path = /sbin:/bin:/usr/sbin:/usr/bin

## Next comes the main part: which users can run what software on
## which machines (the sudoers file can be shared between multiple
## systems).
## Syntax:
##
##      user    MACHINE=COMMANDS
##
## The COMMANDS section may have other options added to it.
##
## Allow root to run any commands anywhere
root    ALL=(ALL)       ALL

## Allows members of the 'sys' group to run networking, software,
## service management apps and more.
# %sys ALL = NETWORKING, SOFTWARE, SERVICES, STORAGE, DELEGATING, PROCESSES, LOCATE, DRIVERS

## Allows people in group wheel to run all commands
# %wheel        ALL=(ALL)       ALL

## Same thing without a password
# %wheel        ALL=(ALL)       NOPASSWD: ALL

## Allows members of the users group to mount and unmount the
## cdrom as root
# %users  ALL=/sbin/mount /mnt/cdrom, /sbin/umount /mnt/cdrom

## Allows members of the users group to shutdown this system
# %users  localhost=/sbin/shutdown -h now

## Read drop-in files from /etc/sudoers.d (the # here does not mean a comment)
#includedir /etc/sudoers.d
おう、なんか凄いことになってるな。Cmndが多いな。