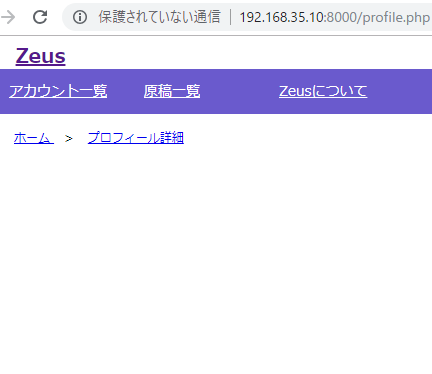
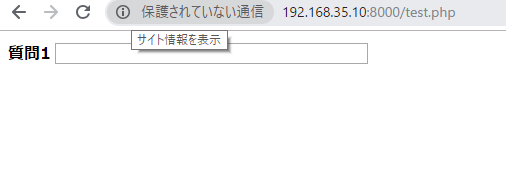
まず、質問1がある。
<div id="app">
<table>
<tr>
<th>質問1</th><td><input type="text" size="40" value="" v-model="message"></td>
</tr>
<tr v-if="message">
<th>質問2</th><td><input type="text" size="40" value=""></td>
</tr>
</table>
</div>
<script src="https://cdn.jsdelivr.net/npm/vue/dist/vue.js"></script>
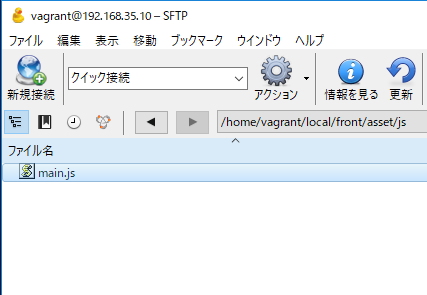
<script src="asset/js/main.js"></script>
(function(){
	'use strict';

	var vm = new Vue({
			el: '#app',
			data: {
				message: ""
			}
	});
})();
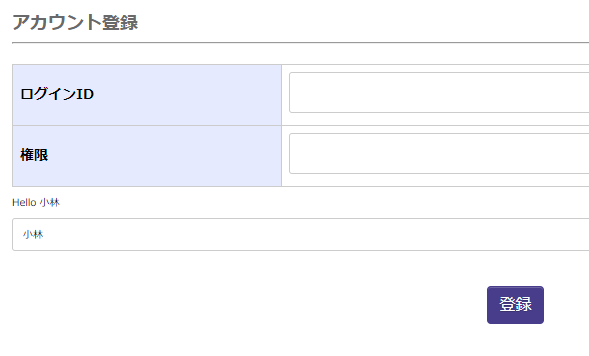
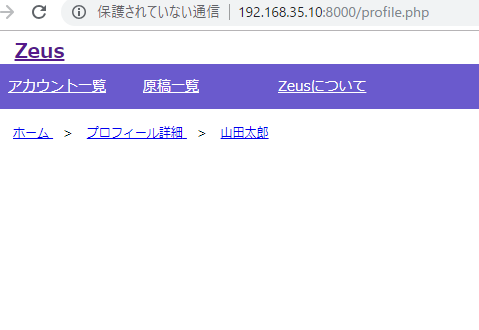
質問1に値を入力すると、質問2が表示される。
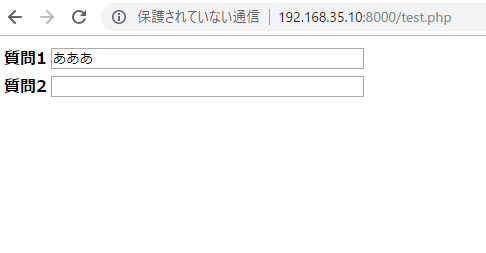
天才!
同様に、権限を入力すると、担当者名が表示される。
<div id="content">
      <h2>アカウント登録</h2>
      <hr>
      <form action="" method="post" id="form1">
      <table id="tbl">
        <tr>
          <th>ログインID</th><td><input type="text" name="login" size="40"  value=""></td>
        </tr>
        <tr>
          <th>権限</th><td><input type="text" name="password" size="40" value="" v-model="message"></td>
        </tr>
        <tr v-if="message">
          <th>担当者名</th><td><div id="app"><input type="text" name="password" size="40" value="" ></div></td>
        </tr>
      </table>
おおおおおおおおおおおおおおお
おもろいやんけ!
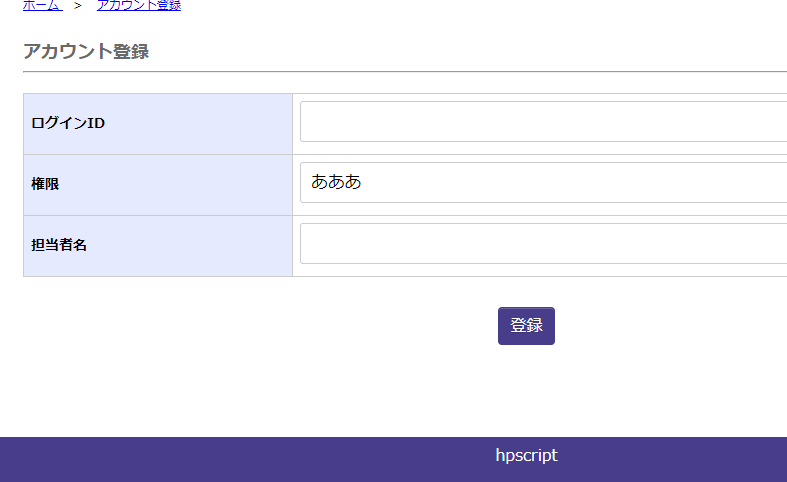
OKOK!