設定ファイル
laravel/app/Http/Middleware/TrustProxies.php ※変更
// protected $headers = [
    //     Request::HEADER_FORWARDED => 'FORWARDED',
    //     Request::HEADER_X_FORWARDED_FOR => 'X_FORWARDED_FOR',
    //     Request::HEADER_X_FORWARDED_HOST => 'X_FORWARDED_HOST',
    //     Request::HEADER_X_FORWARDED_PORT => 'X_FORWARDED_PORT',
    //     Request::HEADER_X_FORWARDED_PROTO => 'X_FORWARDED_PROTO',
    // ];
    protected $headers = Request::HEADER_X_FORWARDED_ALL;
laravel/config/hashing.php ※新規
return [
'driver'=>'argon',
];
laravel/config/logging.php ※新規
return [

'default'=>env('LOG_CHANNEL', 'stack'),

'channels' => [
 'stack'=> [
 	'driver'=>'stack',
 	'channels'=>['daily'],
 ],

 'single'=>[
 	'driver'=>'single',
 	'path'=> storage_path('logs/laravel.log'),
 	'level'=>'debug',
 ],

 'daily'=>[
 	'driver'=>'daily',
 	'path'=>storage_path('logs/laravel.log'),
 	'level'=>'debug',
 	'days'=> 30,
 ],

 slack=>[
 	'driver'=>'slack',
 	'url'=>env('LOG_SLACK_WEBHOOK_URL'),
 	'username'=>'Laravel_log',
 	'emoji'=>'.boom:',
 	'level'=>'critical',
 ],

 'syslog'=>[
 	'driver'=>'syslog',
 	'level'=>'debug',
 ],

 'errorlog'=>[
 	'driver'=>'errorlog',
 	'level'=>'debug',
 ],
],

];
laravel/config/app.php ※コメントアウト
// 'log' => env('APP_LOG', 'single'),
    // 'log_level' => env('APP_LOG_LEVEL', 'debug'),
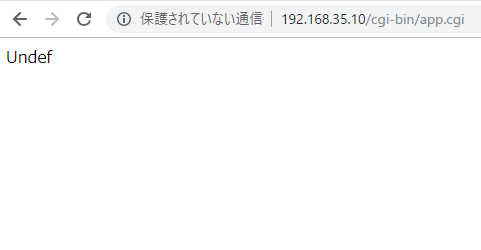
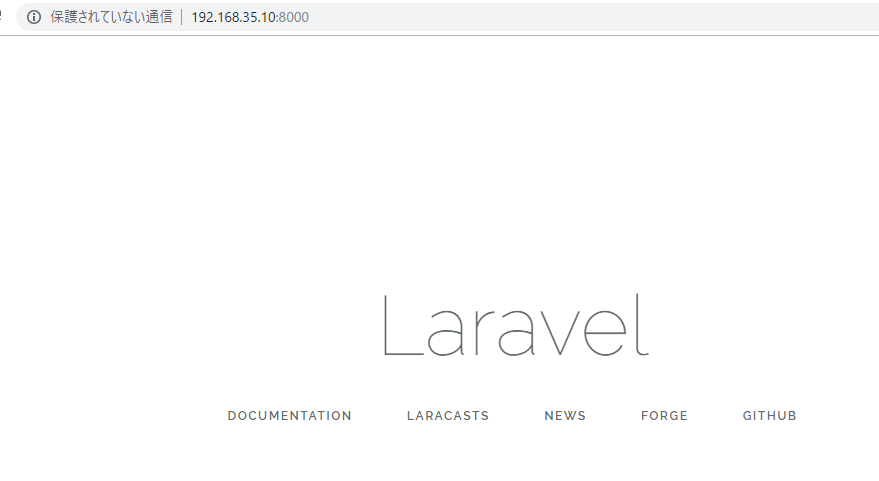
[vagrant@localhost blog]$ php artisan serve –host 192.168.35.10 –port 8000
PHP Notice: Use of undefined constant slack – assumed ‘slack’ in /home/vagrant/local/app/laravel/blog/config/logging.php on line 25
Laravel development server started:
[Sun Apr 14 15:33:10 2019] PHP Notice: Use of undefined constant slack – assumed ‘slack’ in /home/vagrant/local/app/laravel/blog/config/logging.php on line 25
[Sun Apr 14 15:33:12 2019] PHP Notice: Use of undefined constant slack – assumed ‘slack’ in /home/vagrant/local/app/laravel/blog/config/logging.php on line 25
[Sun Apr 14 15:33:13 2019] 192.168.35.1:61897 [200]: /favicon.ico
これはやらんとわからんなー