preg_match("/^([a-zA-Z0-9])+([a-zA-Z0-9\?\*\[|\]%'=~^\{\}\/\+!#&\$\._-])*@([a-zA-Z0-9_-])+\.([a-zA-Z0-9\._-]+)+$/", $mailaddress)
あれ。。。
随机应变 ABCD: Always Be Coding and … : хороший

preg_match("/^([a-zA-Z0-9])+([a-zA-Z0-9\?\*\[|\]%'=~^\{\}\/\+!#&\$\._-])*@([a-zA-Z0-9_-])+\.([a-zA-Z0-9\._-]+)+$/", $mailaddress)
あれ。。。
The -V option is used to search for non-matching ones.
[vagrant@localhost ses]$ grep gmail sendmail.cgi
$to = ‘hoge@gmail.org’;
[vagrant@localhost ses]$ grep -v print sendmail.cgi
なるほど、一致しないものね。使い勝手がいいですね。
Allow declaration of constants at compile time.
use constant PI => 4 * atan2(1, 1);
use constant DEBUG => 0;

print "Pi equals ", PI, "...\n" if DEBUG;

use constant{
	SEC => 0,
	MIN => 1,
	HOUR => 2,
	MDAY => 3,
	MON => 4,
	YEAR => 5,
	WDAY => 6,
	YDAY => 7,
	ISDST => 8,
};

use constant WEEKDAYS => qw(
	Sunday Monday Tuesday Wednesday Thursday Friday Saturday
);

print "Today is ", (WEEKDAYS)[ (localtime)[WDAY]], ".\";
Dovecot is an IMAP and POP3 server that runs on Unix-like operating systems. It is designed and developed with security system in mind, and is developed and released by Timo Sirainen etal.
#!/usr/bin/perl

require 'getformdata.pl';

# sendmailパス
$sendmail = '/usr/sbin/sendmail';

# フォームデータの取得
%form = plab::getformdata();

# 個々の変数にコピー
$name = $form{'name'};
$from = $form{'from'};
$subject = $form{'subject'};
$message = $form{'message'};

# メールの送信先は固定
$to = 'hoge@gmail.org';

# Fromメールアドレスが空だとエラーになるので、
# 空なら仮に送信先アドレスを入れる
if($from eq ""){
	$from = $to;
}

# sendmailを書き込みオープンする
if(! open(MAIL, "|$sendmail -t")){
	# sendmailの起動ができませんでした
	print "Content-type: text/html\n";
	print "\n";
	print "メール送信に失敗しました。";

	# CGI終了
	exit;
}

# チェック
$name =~ s/\r|\n//g;
$from =~ s/\r|\n//g;
$to =~ s/\r|\n//g;
$subject =~ s/\r|\n//g;

# ヒアドキュメントを作る
$mailtext = <<"EOM";
From: $name<$from>
To: <$to>
Subject: $subject
Content-Transfer-Encoding: 7bit
Content-Type: text/plain; charset="ISO-2022-JP"

$message
EOM

# パイプを通してsendmailにデータを渡す
print MAIL $mailtext;

close MAIL;
print "Content-type: text/html\n";
print "\n";
print "メールを送信しました。ありがとうございました";

exit;
sendmailはperlと関係なくメール送信プログラム
npm install の–saveオプションって何?
-> パッケージをインストールして、package.jsonに書き込む
[vagrant@localhost ses]$ npm -v
6.1.0
[vagrant@localhost ses]$ npm install aws-sdk –save
npm WARN saveError ENOENT: no such file or directory, open ‘/home/vagrant/local/app/test/package.json’
npm notice created a lockfile as package-lock.json. You should commit this file.
npm WARN enoent ENOENT: no such file or directory, open ‘/home/vagrant/local/app/test/package.json’
npm WARN test No description
npm WARN test No repository field.
npm WARN test No README data
npm WARN test No license field.
+ aws-sdk@2.487.0
added 39 packages from 85 contributors, removed 30 packages, updated 1 package and audited 52 packages in 30.333s
found 0 vulnerabilities
あれ、package.jsonがないです。
AWS credentialsを設定し、メール送信する
var AWS = require('aws-sdk');
AWS.config.update({region: 'us-east-1'});

var ses = new AWS.SES();

var params = {
	Destination: {
		ToAddresses: [ 'hoge@example.com' ]
	},
	Message: {
			Body: {
				Text: {
						Data: 'hello SES',
						Charset: 'utf-8'
				}
			},
			Subject: {
				Data: 'Hello',
				Charset: 'utf-8'
			}
	},
	Source: 'jiro@example.com'
};

ses.sendEmail(params, function(err, data){
	if(err) console.log(err, err.stack);
	else console.log(data);
});
jsonか。。
コマンドラインで「$_」は一つ前の引数
[vagrant@localhost test]$ echo  hoge && echo $_
hoge
hoge
$_でhogeを引っ張てきている
mkdirでやると、
[vagrant@localhost test]$ mkdir ses && cd $_
[vagrant@localhost ses]$
おお、なんか素晴らしいですね。
Amazon Simple Email Service (SES) is Amazon’s email sending service.
Weight charge system, no minimum fee required.
Free quota is 62,000 transmissions / month from EC2 and 1,000 receptions / month.
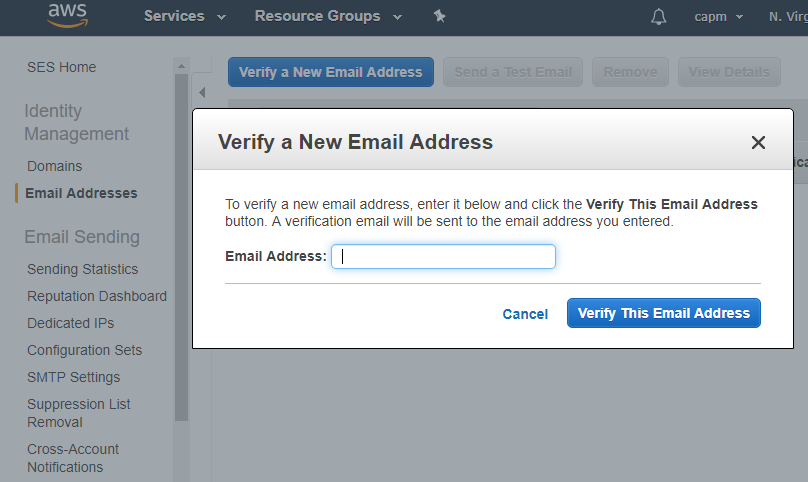
Amazon SES Sandbox
– In order to prevent fraud and to avoid SPAM accreditation from ISPs, new user accounts are placed in a sandbox (environment for verification purposes) and limited in part by behavior.
– Emails can be sent and received only from verified email addresses or verified domains.
– You can send up to 200 messages per day, up to one message per second.
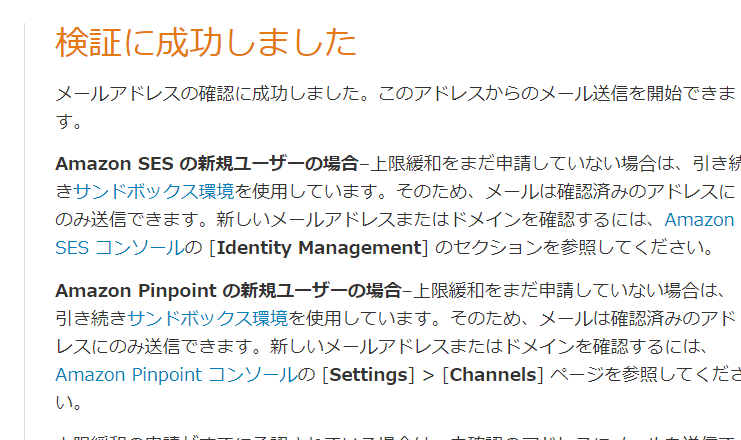
– If you move the account out out of the sandbox, it will work in the unrestricted environment.
– It will take 1 business day to proceed.
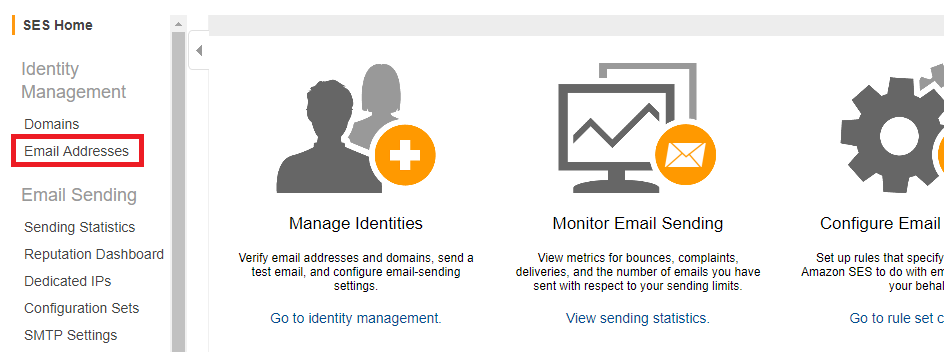
Identity
– Case- insensitive combination of domain and email address. (user@example.com and USER@example.com have different identities)
Domain Key Identification Mail(DKIM)
– It is a standard for the ISP to prove that senders have signed e-mail messages so that they are genuine and have not been tampered with by a third party during transmission.

Open an internet connection or Unix domain socket connection.
$fp = fsockopen("www.example.com", 80, $errno, $errstr, 30);
if(!$fp){
	echo "$errstr ($errno)<br>\n";
} else {
	$out = "GET / HTTP/1.1\r\n";
	$out .= "Host: www.example.com\r\n";
	$out .= "Connection: Close\r\n\r\n";
	fwrite($fp, $out);
	while (!feof($fp)){
		echo fget($fp, 128);
	}
	fclose($fp);
}
An MX record is a record that defines the mail destination host name for the target domain.
The mail transfer destination host name needs to be registered in A record. Refers to the A record set by the customer and acquires the IP address of the mail server. Therefore, please note that it will not operate normally if A record is not set.
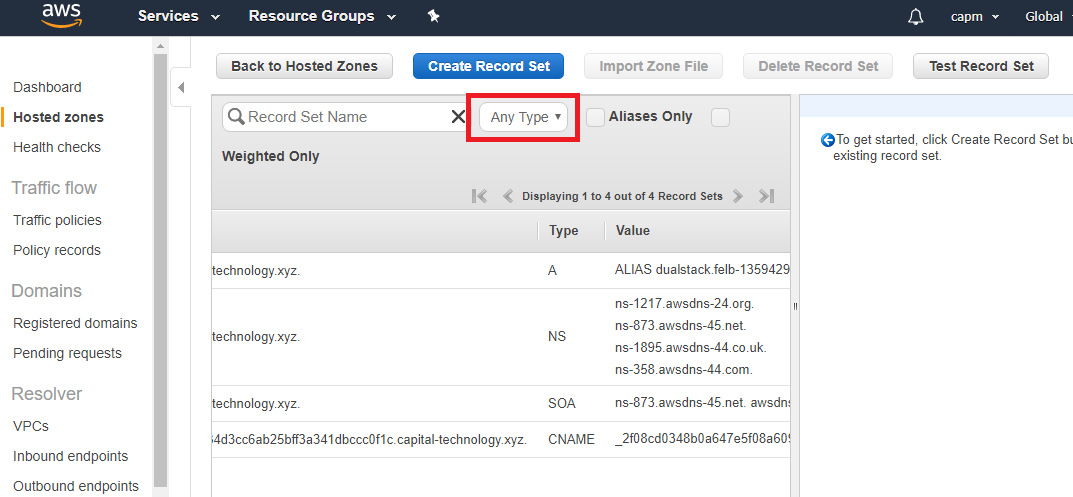
配送先のメールサーバーを決定する際に使用。
ということは、配送先メールサーバーのAレコードって認識であってる?
あれ、結構複雑だなー