ヤフーショッピングの買い物カゴの挙動を調査する
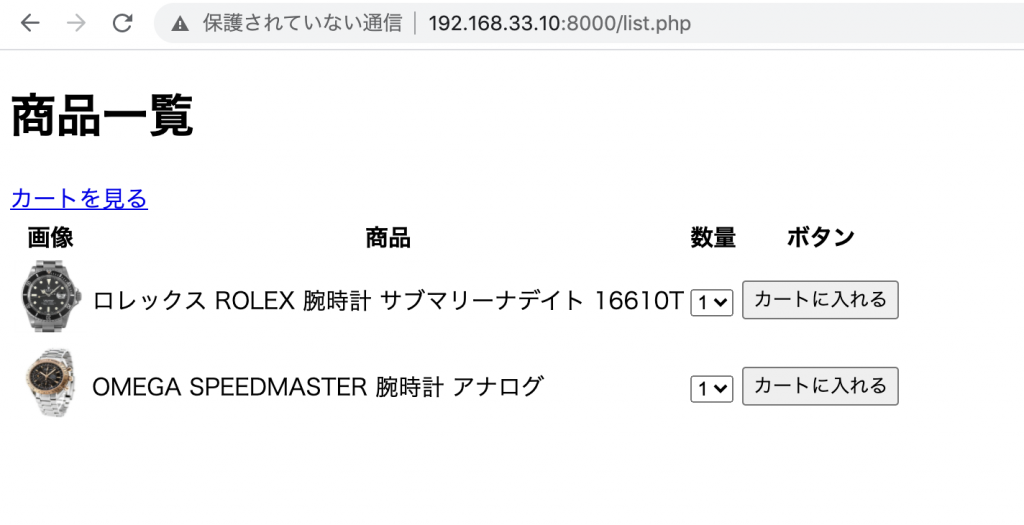
### 商品詳細ページ
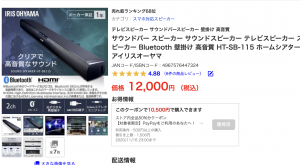
yahooも商品ID:523085をURLにしています。
https://store.shopping.yahoo.co.jp/insair-y/523085.html
https://store.shopping.yahoo.co.jp/${shopID}/${itemID}.html
vwitem:523085, vwcatalog:insair-y, vwquantity
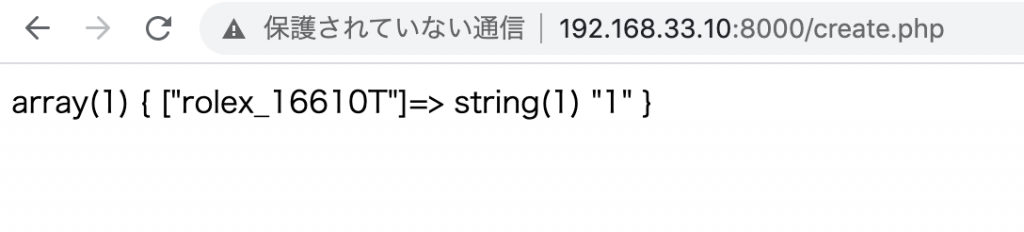
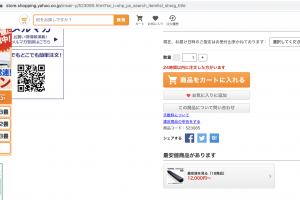
addcartでカートに商品を入れている。
<form name="addCart" action="https://order.shopping.yahoo.co.jp/cgi-bin/cart-form" method="post" accept-charset="EUC-JP" onsubmit="return false;">


<input name="vwitem" type="hidden" value="523085">
<input name="vwcatalog" type="hidden" value="insair-y">
<input name=".autodone" type="hidden" value="https://store.shopping.yahoo.co.jp/insair-y/523085.html">

// 省略
<input name="vwquantity" type="text" value="1" class="elTextBox" maxlength="3" onclick="this.select(0, this.value.length);" data-updown-quantity-box="">
js
$(function() {
    YAHOO.JP.shp.common.getSeleptah.init({
        domain     : 'https://store.shopping.yahoo.co.jp',
        deviceType : 'pc',
        position   : 1,
        moduleNum  : 5,
        itemId     : 'insair-y_523085',
        pcatId     : '22664',
        genre      : '49495',
        brand      : '113',
        price      : 12000,
        service    : 'shp',
        targetId   : 'seleptahItems',
        apicrumb    : 'hogehoge',
        ruleBucketId : '',
    });
});
商品をカートに入れる
<p class="elWrpButton" id="cartbtn">
        <a href="javascript:void(0);" class="elCartButton elButton" data-ylk="sec:cartbtn;slk:addcart;pos:0;">
            <span>商品をカートに入れる</span>
        </a>
    </p>
Commerce21iframeJsの記載があり、Commerce21をベンダーに使っている様に見える。
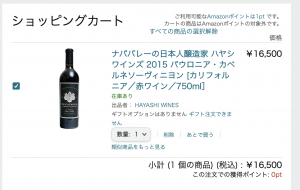
### ショッピングカート
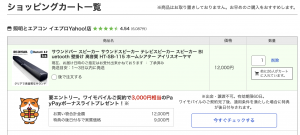
数量変更
<a href="javascript:void(0);" style="display:none;" id="afterBuy-insair-y-0" data-ylk="slk:buyltr;pos:1"></a>                                     <script>
                                        document.write('<ul class="elFunction"><li class="elLater"><label><input type="checkbox" name="chk-insair-y-0" value="サウンドバー スピーカー サウンドスピーカー テレビスピーカー スピーカー Bluetooth 壁掛け 高音質 HT-SB-115  ホームシアター アイリスオーヤマ"><span class="elLabel">後で注文する</span></label></li></ul>');
                                    </script>
削除
<script>
                        document.write('<input type="text" name="item_num-0" id="dcNum03hogehoge" maxlength="3" class="dcNum dcMeiryo" value="1" >\
                        <input type="submit"name="delete-293201139" value="削除" class="dcOrderDelete" id="dhogehoge" data-ylk="slk:delete;pos:1">');
                        </script>
js
item: [{name: "サウンドバー スピーカー サウンドスピーカー テレビスピーカー スピーカー Bluetooth 壁掛け 高音質 HT-SB-115 ホームシアター アイリスオーヤマ", id: "insair-y_523085", store_id: "insair-y", product_category: "22664", price: 12000, num: 1, sum_price: 12000, point: 120, rate_point: 1}]
商品詳細とカートの挙動は大枠は掴めたので次はテストコードと行きたい。