@AppStorageはデータを永続化するUserDefaultsから値を読み込みする
UserDefaultはアプリで利用する値を保存する機能
L ここではtimer_valueというkeyにtimeValueの初期時10を導入している
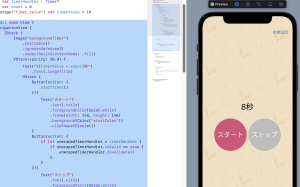
    @State var timerHandler : Timer?
    @State var count = 0
    @AppStorage("timer_value") var timerValue = 10
1秒ごとに呼び出してcountを+1とし、残り0でタイマーを止める
    func countDownTimer() {
        count += 1

        if timerValue - count <= 0 {
            timerHandler?.invalidate()
        }
    }
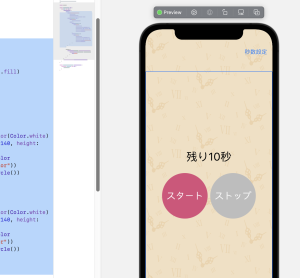
タイマー開始
    func startTimer() {
        if let unwrapedTimerHandler = timerHandler {
            if unwrapedTimerHandler.isValid == true {
                return
            }
        }

        if timerValue - count <= 0 {
            count = 0
        }

        timerHandler = Timer.scheduledTimer(withTimeInterval: 1, repeats: true){
            _ in

            countDownTimer()
        }
    }
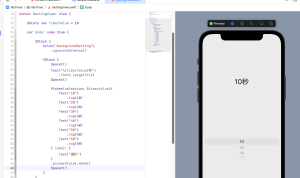
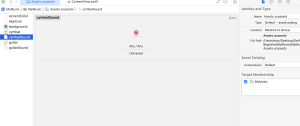
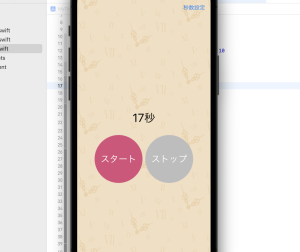
### タイマーの保存
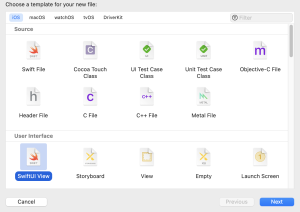
SettingView.swift
@AppStorage("timer_value") var timerValue = 10
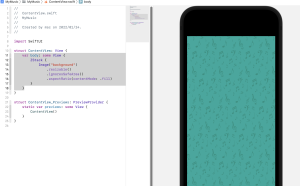
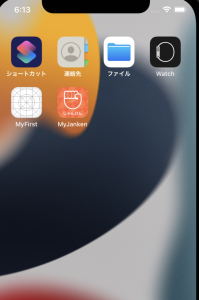
シミュレータで確認する
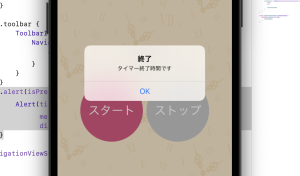
### アラートの表示
            .alert(isPresented: $showAlert){
                Alert(title: Text("終了"),
                      message: Text("タイマー終了時間です"),
                      dismissButton: .default(Text("OK")))
            }
すげえええええええええええ