vagrant upとvagrant ssh

vagrant のbootの方法

$ vagrant up

sshでコマンドラインから接続できる。

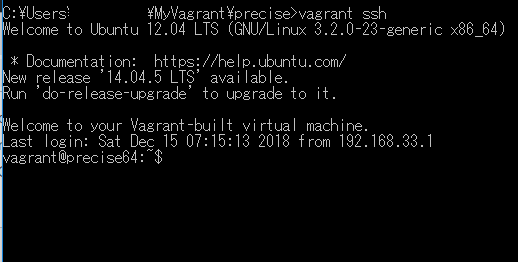
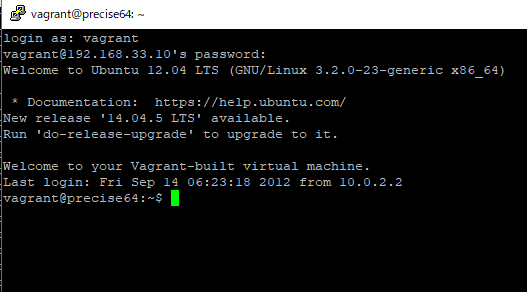
>vagrant ssh
Welcome to Ubuntu 12.04 LTS (GNU/Linux 3.2.0-23-generic x86_64)

 * Documentation:  https://help.ubuntu.com/
New release '14.04.5 LTS' available.
Run 'do-release-upgrade' to upgrade to it.

Welcome to your Vagrant-built virtual machine.
Last login: Sat Dec 15 07:15:13 2018 from 192.168.33.1

exitでログアウトします。

vagrant@precise64:~$ exit
logout
Connection to 127.0.0.1 closed.

ほーーーーーーーーー

vagrantのboxを追加、作成する方法: 公式サイトより

vagrant公式サイトより、vagrant boxの追加、作成方法を見てみましょう。
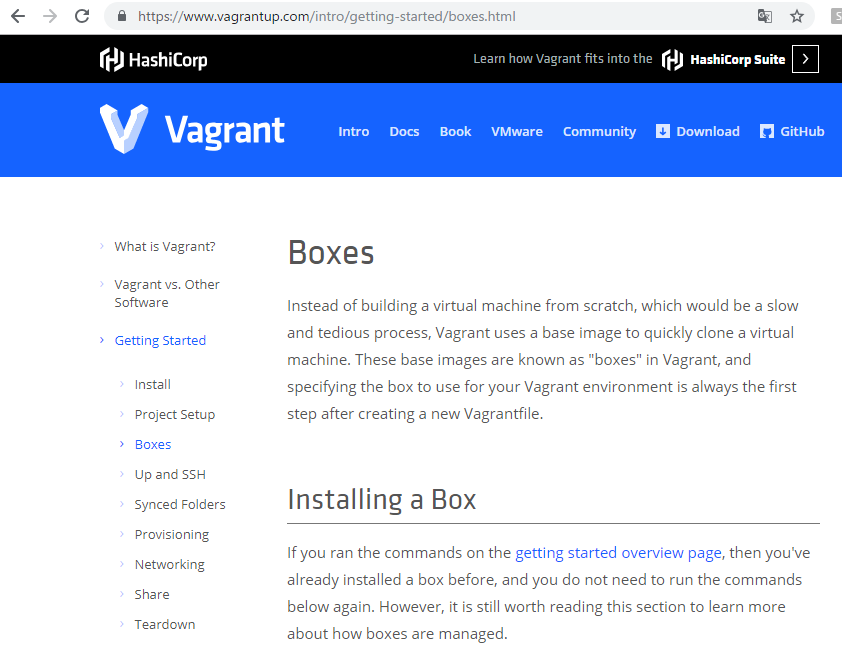
vagrant boxes.html

Vagrant uses a base image to quickly clone a virtual machine.
スクラッチからつくるのは面倒なので、cloneすると書いてます。賢いというか、エンジニアっぽい発想ですね。

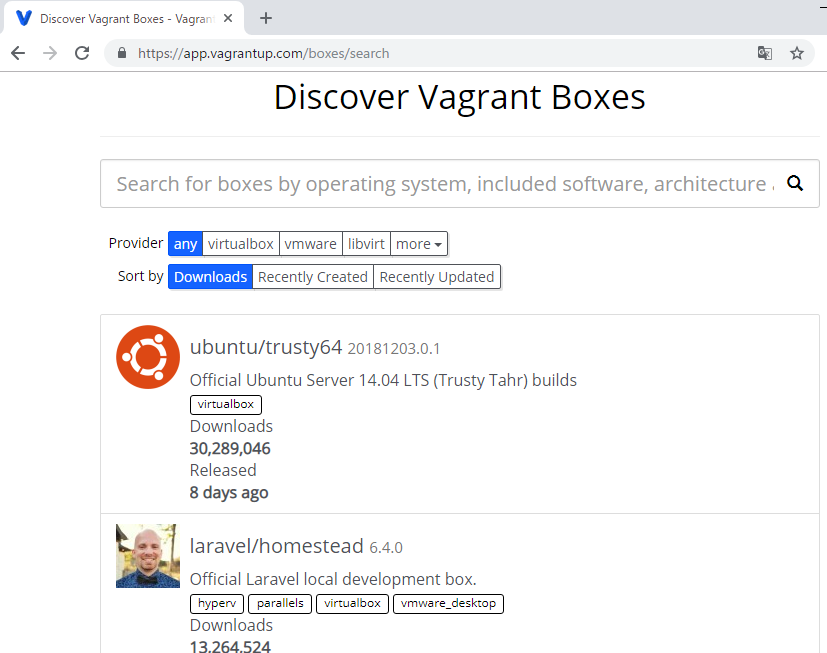
hashi corpのbox search
https://app.vagrantup.com/boxes/search

ubunt/trusty64, centos7などありますねー

あれ、ちょっと待て、

Laravel すげーダウンロードされてんじゃん、マジかよ。。ショック。誰だ、このdeveloperっぽいアイコンは??

基本的に、boxからdownloadする。dockerのimageみたいな感じだな。

boxはusernameとboxからなる
hashicorp/precise64 だと、hashicorpがusernameでprecise64がbox
laravel/homestead はlaravelがusernameでhomesteadがbox なるほどにゃー

boxの使い方
vagrant fileのコメントアウトを取ると以下のようになりますね。

Vagrant.configure("2") do |config|
  config.vm.box = "hashicorp/precise64"
end

versionを指定する場合
box_versionを書く

Vagrant.configure("2") do |config|
  config.vm.box = "hashicorp/precise64"
  config.vm.box_version = "1.1.0"
end

インストールするURLを指定する場合
vm.box_urlを書く

Vagrant.configure("2") do |config|
  config.vm.box = "hashicorp/precise64"
  config.vm.box_url = "https://vagrantcloud.com/hashicorp/precise64"
end

box catalogにあれば、インストールできる。
うーん、しかし、点と点が線になる瞬間はちょっとびっくりしますな。

vagrant initとは?

vagrant initとは何でしょうか?
vagrantの公式ドキュメントを見てみましょう。
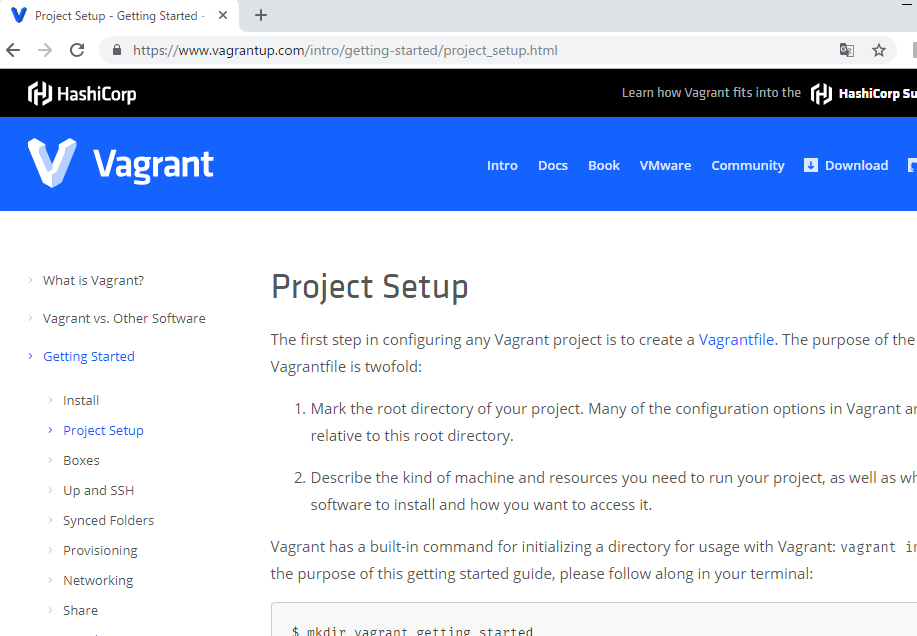
Project Setup

vagrant file作成の意図について説明があります。

The first step in configuring any Vagrant project is to create a Vagrantfile. The purpose of the Vagrantfile is twofold:

1. Mark the root directory of your project. Many of the configuration options in Vagrant are relative to this root directory.

2. Describe the kind of machine and resources you need to run your project, as well as what software to install and how you want to access it.

Vagrant has a built-in command for initializing a directory for usage with Vagrant: vagrant init. For the purpose of this getting started guide, please follow along in your terminal:

目的は
ルートディレクトリを決定すること
プロジェクトに必要なマシン、ソフトウェアを記載すること

vagrant fileには例えば、centosのどのバージョンをインストールするかなどを記載します。

例では、以下のようにprecise64のインストールを扱っています。

vagrant init hashicorp/precise64

実際にやってみましょう。

>vagrant init /hashicorp/precise64
A `Vagrantfile` has been placed in this directory. You are now
ready to `vagrant up` your first virtual environment! Please read
the comments in the Vagrantfile as well as documentation on
`vagrantup.com` for more information on using Vagrant.

簡単ですね。

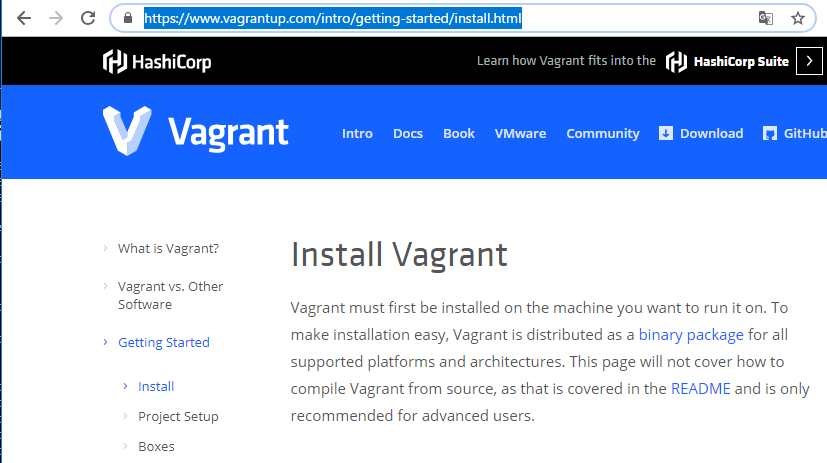
Vagrant Install

さあ、公式ドキュメントを見てみましょう
https://www.vagrantup.com/intro/getting-started/install.html

installといっても、普通にインストールするだけでしょ。

ダウンロードページ
https://www.vagrantup.com/downloads.html
Debian, Windows, Centos, Linux, macOSがあります。
一般的には、macかwindowsでしょう。好きな人はcentos, linuxでしょう。Debian使ってる人は見たことないっすね。

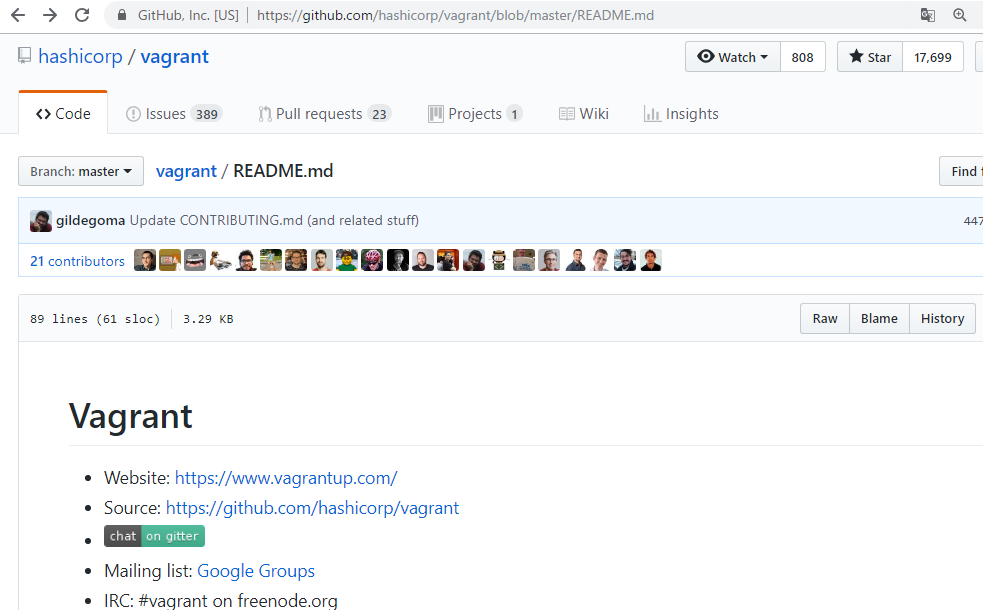
vagrantのgithub
hashicorp / vagrant

ossでここで開発してるようです。issuesが346ありますね。hashicorpのプロダクトですが、企業での開発と全く同じようです。

例https://github.com/hashicorp/vagrant/issues/10503

# -*- mode: ruby -*-
# vi: set ft=ruby :

Vagrant.configure("2") do |config|

  config.vm.define "master" do |master|
    master.vm.box = "centos/7"
    master.vm.network "private_network", bridge: "Default Switch"

    master.vm.provider "hyperv" do |hv|
      hv.vmname = "myVM"
      hv.memory = 2048
      hv.maxmemory = 4096
      hv.enable_virtualization_extensions = true
      hv.cpus = 2
      hv.linked_clone = true
    end

    master.vm.synced_folder ".", "/vagrant", type: "smb", mount_options: ['vers=3.0'], smb_username: "<myuser>", smb_password: "<mypass>"

    master.vm.hostname = "myVM"
  end
end

installの確認
vagrantをインストールしたらコマンドラインでvagrantと打ち込んでインストールの確認をします。
下記のようなテキストが出てきたらOKです。
Usage: vagrant [options] []

-v, –version Print the version and exit.
-h, –help Print this help.

Common commands:
box manages boxes: installation, removal, etc.
connect connect to a remotely shared Vagrant environment
destroy stops and deletes all traces of the vagrant machine
global-status outputs status Vagrant environments for this user
halt stops the vagrant machine
help shows the help for a subcommand
init initializes a new Vagrant environment by creating a Vagrantfile
login log in to HashiCorp’s Vagrant Cloud
package packages a running vagrant environment into a box
plugin manages plugins: install, uninstall, update, etc.
port displays information about guest port mappings
powershell connects to machine via powershell remoting
provision provisions the vagrant machine
push deploys code in this environment to a configured destination
rdp connects to machine via RDP
reload restarts vagrant machine, loads new Vagrantfile configuration
resume resume a suspended vagrant machine
sandbox
share share your Vagrant environment with anyone in the world
snapshot manages snapshots: saving, restoring, etc.
ssh connects to machine via SSH
ssh-config outputs OpenSSH valid configuration to connect to the machine
status outputs status of the vagrant machine
suspend suspends the machine
up starts and provisions the vagrant environment
validate validates the Vagrantfile
vbguest plugin: vagrant-vbguest: install VirtualBox Guest Additions to the machine
version prints current and latest Vagrant version

For help on any individual command run `vagrant COMMAND -h`

Additional subcommands are available, but are either more advanced
or not commonly used. To see all subcommands, run the command
`vagrant list-commands`.

Vagrant initでvagrantの初期化

Vagrant initでvagrantを初期化し、vagrant fileを作ります。

公式ドキュメントに沿って実行しましょう。
getting-started

1.マウントするフォルダを作成
ローカルのコマンドライン
>mkdir precise
>cd precise

2.vagrant init
vagrant fileを作ります。
>vagrant init hashicorp/precise64
A `Vagrantfile` has been placed in this directory. You are now
ready to `vagrant up` your first virtual environment! Please read
the comments in the Vagrantfile as well as documentation on
`vagrantup.com` for more information on using Vagrant.

3.vagrant up
コマンドラインで vagrant upと打ち込みます。
ubuntu 12.04 LTS 64-bitが入る様です。最初のvagrant upは時間がかかります。
After running the above two commands, you will have a fully running virtual machine in VirtualBox running Ubuntu 12.04 LTS 64-bit.

>vagrant up
Bringing machine ‘default’ up with ‘virtualbox’ provider…
==> default: Box ‘hashicorp/precise64’ could not be found. Attempting to find and install…
default: Box Provider: virtualbox
default: Box Version: >= 0
==> default: Loading metadata for box ‘hashicorp/precise64’
default: URL: https://vagrantcloud.com/hashicorp/precise64
==> default: Adding box ‘hashicorp/precise64’ (v1.1.0) for provider: virtualbox
default: Downloading: https://vagrantcloud.com/hashicorp/boxes/precise64/versions/1.1.0/providers/virtualbox.box
default: Progress: 100% (Rate: 3371k/s, Estimated time remaining: –:–:–)
==> default: Successfully added box ‘hashicorp/precise64’ (v1.1.0) for ‘virtualbox’!
==> default: Importing base box ‘hashicorp/precise64’…
==> default: Matching MAC address for NAT networking…
==> default: Checking if box ‘hashicorp/precise64’ is up to date…
==> default: Setting the name of the VM: precise_default_1544857642397_69575
==> default: Clearing any previously set network interfaces…
==> default: Preparing network interfaces based on configuration…
default: Adapter 1: nat
default: Adapter 2: hostonly
==> default: Forwarding ports…
default: 22 (guest) => 2222 (host) (adapter 1)
==> default: Booting VM…
==> default: Waiting for machine to boot. This may take a few minutes…
default: SSH address: 127.0.0.1:2222
default: SSH username: vagrant
default: SSH auth method: private key
default:
default: Vagrant insecure key detected. Vagrant will automatically replace
default: this with a newly generated keypair for better security.
default:
default: Inserting generated public key within guest…
default: Removing insecure key from the guest if it’s present…
default: Key inserted! Disconnecting and reconnecting using new SSH key…
==> default: Machine booted and ready!
[default] GuestAdditions versions on your host (5.1.26) and guest (4.2.0) do not match.
Reading package lists…
Building dependency tree…
Reading state information…
The following extra packages will be installed:
fakeroot linux-headers-3.2.0-23 make patch
Suggested packages:
make-doc diffutils-doc
The following NEW packages will be installed:
dkms fakeroot linux-headers-3.2.0-23 linux-headers-3.2.0-23-generic make
patch
0 upgraded, 6 newly installed, 0 to remove and 66 not upgraded.
Need to get 12.7 MB of archives.
After this operation, 68.5 MB of additional disk space will be used.
Get:1 http://us.archive.ubuntu.com/ubuntu/ precise/main make amd64 3.81-8.1ubuntu1 [118 kB]
Get:2 http://us.archive.ubuntu.com/ubuntu/ precise/main patch amd64 2.6.1-3 [80.2 kB]
Get:3 http://us.archive.ubuntu.com/ubuntu/ precise/main dkms all 2.2.0.3-1ubuntu3 [73.1 kB]
Get:4 http://us.archive.ubuntu.com/ubuntu/ precise/main fakeroot amd64 1.18.2-1 [87.2 kB]
Get:5 http://us.archive.ubuntu.com/ubuntu/ precise/main linux-headers-3.2.0-23 all 3.2.0-23.36 [11.4 MB]
Get:6 http://us.archive.ubuntu.com/ubuntu/ precise/main linux-headers-3.2.0-23-generic amd64 3.2.0-23.36 [947 kB]
dpkg-preconfigure: unable to re-open stdin: No such file or directory
Fetched 12.7 MB in 56s (226 kB/s)
Selecting previously unselected package make.
(Reading database … 51095 files and directories currently installed.)
Unpacking make (from …/make_3.81-8.1ubuntu1_amd64.deb) …
Selecting previously unselected package patch.
Unpacking patch (from …/patch_2.6.1-3_amd64.deb) …
Selecting previously unselected package dkms.
Unpacking dkms (from …/dkms_2.2.0.3-1ubuntu3_all.deb) …
Selecting previously unselected package fakeroot.
Unpacking fakeroot (from …/fakeroot_1.18.2-1_amd64.deb) …
Selecting previously unselected package linux-headers-3.2.0-23.
Unpacking linux-headers-3.2.0-23 (from …/linux-headers-3.2.0-23_3.2.0-23.36_all.deb) …
Selecting previously unselected package linux-headers-3.2.0-23-generic.
Unpacking linux-headers-3.2.0-23-generic (from …/linux-headers-3.2.0-23-generic_3.2.0-23.36_amd64.deb) …
Processing triggers for man-db …
Setting up make (3.81-8.1ubuntu1) …
Setting up patch (2.6.1-3) …
Setting up dkms (2.2.0.3-1ubuntu3) …
Setting up fakeroot (1.18.2-1) …
update-alternatives: using /usr/bin/fakeroot-sysv to provide /usr/bin/fakeroot (fakeroot) in auto mode.
Setting up linux-headers-3.2.0-23 (3.2.0-23.36) …
Setting up linux-headers-3.2.0-23-generic (3.2.0-23.36) …
Examining /etc/kernel/header_postinst.d.
run-parts: executing /etc/kernel/header_postinst.d/dkms 3.2.0-23-generic /boot/vmlinuz-3.2.0-23-generic
Copy iso file C:\Program Files\Oracle\VirtualBox\VBoxGuestAdditions.iso into the box /tmp/VBoxGuestAdditions.iso
mount: warning: /mnt seems to be mounted read-only.
Installing Virtualbox Guest Additions 5.1.26 – guest version is 4.2.0
Verifying archive integrity… All good.
Uncompressing VirtualBox 5.1.26 Guest Additions for Linux………..
VirtualBox Guest Additions installer
Removing installed version 4.2.0 of VirtualBox Guest Additions…
Copying additional installer modules …
Installing additional modules …
vboxadd.sh: Starting the VirtualBox Guest Additions.

Could not find the X.Org or XFree86 Window System, skipping.
An error occurred during installation of VirtualBox Guest Additions 5.1.26. Some functionality may not work as intended.
In most cases it is OK that the “Window System drivers” installation failed.
vboxadd.sh: Starting the VirtualBox Guest Additions.
vboxadd.sh: failed: modprobe vboxsf failed.

Could not find the X.Org or XFree86 Window System, skipping.
Got different reports about installed GuestAdditions version:
Virtualbox on your host claims: 4.2.0
VBoxService inside the vm claims: 5.1.26
Going on, assuming VBoxService is correct…
Got different reports about installed GuestAdditions version:
Virtualbox on your host claims: 4.2.0
VBoxService inside the vm claims: 5.1.26
Going on, assuming VBoxService is correct…
Got different reports about installed GuestAdditions version:
Virtualbox on your host claims: 4.2.0
VBoxService inside the vm claims: 5.1.26
Going on, assuming VBoxService is correct…
Restarting VM to apply changes…
==> default: Attempting graceful shutdown of VM…
==> default: Booting VM…
==> default: Waiting for machine to boot. This may take a few minutes…
default: SSH address: 127.0.0.1:2222
default: SSH username: vagrant
default: SSH auth method: private key
default: Warning: Connection reset. Retrying…
==> default: Machine booted and ready!
==> default: Checking for guest additions in VM…
==> default: Configuring and enabling network interfaces…
==> default: Mounting shared folders…
default: /vagrant =>

puttyでログインする

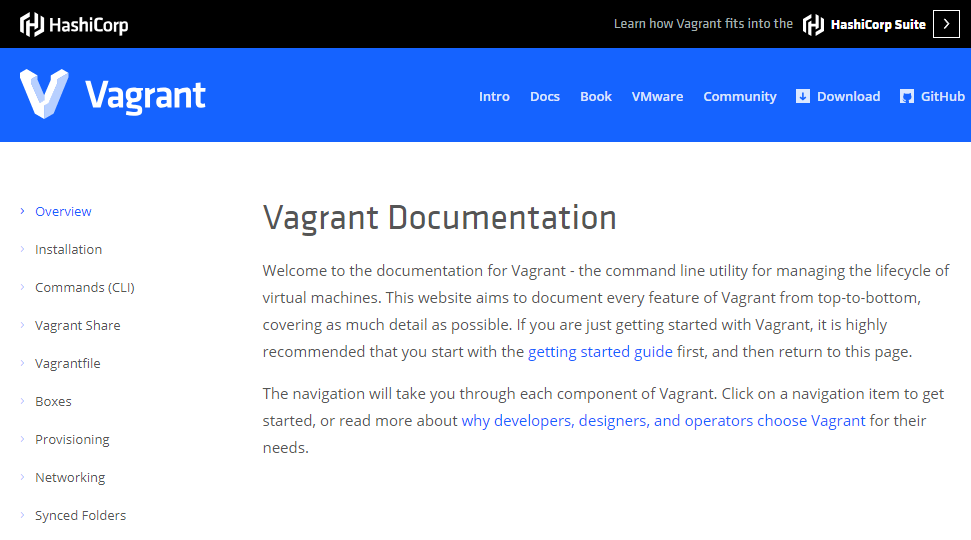
vagrantの公式サイトのdocsを見てみよう

公式サイトにアクセスします。

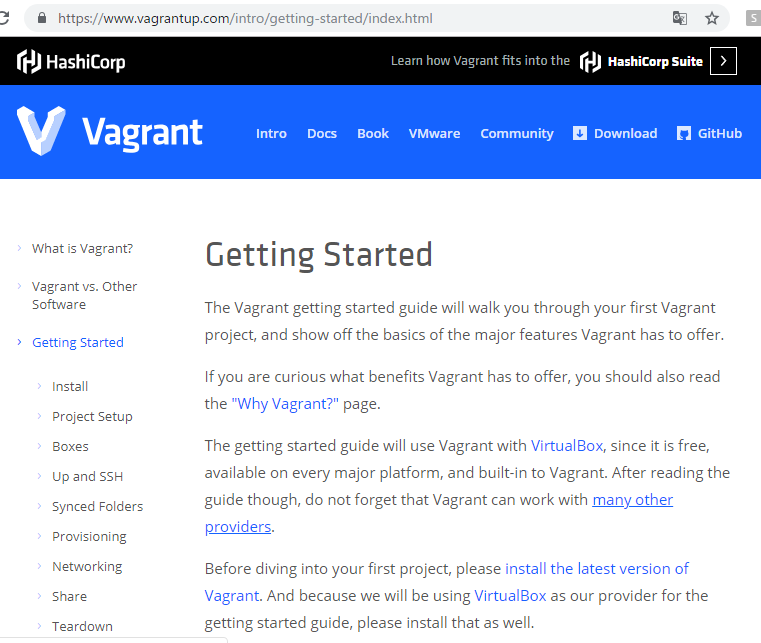
ざっと流し読みしてみたい思います。見出しは、
overview, installation, Commands(CLI), VagrantShare, Vagrantfile, Boxes, Provisioning, Networking, Synced Folders, Multi-Machine, Providers, Plugins, Push, Triggers, Other とあります。順番に見ましょうか。

Overview
まず、初めて見るなら、getting startedのページを見よ、と書いている。

Getting Started
おい、ちょっとまて、凄い重要なこと書いてあるやんけ。

今週末は、vagrantやるかー

vagrantファイルの中身

vagrantファイルの中身を見ていきましょう。
Vagrantfile
rubyで書かれているっぽいですね。1行ずつ見ていきたいと思います。

# -*- mode: ruby -*-
# vi: set ft=ruby :

# All Vagrant configuration is done below. The "2" in Vagrant.configure
# configures the configuration version (we support older styles for
# backwards compatibility). Please don't change it unless you know what
# you're doing.
Vagrant.configure("2") do |config|
  # The most common configuration options are documented and commented below.
  # For a complete reference, please see the online documentation at
  # https://docs.vagrantup.com.

  # Every Vagrant development environment requires a box. You can search for
  # boxes at https://atlas.hashicorp.com/search.
  config.vm.box = "bento/centos-6.8"

  # Disable automatic box update checking. If you disable this, then
  # boxes will only be checked for updates when the user runs
  # `vagrant box outdated`. This is not recommended.
  # config.vm.box_check_update = false

  # Create a forwarded port mapping which allows access to a specific port
  # within the machine from a port on the host machine. In the example below,
  # accessing "localhost:8080" will access port 80 on the guest machine.
  # config.vm.network "forwarded_port", guest: 80, host: 8080

  # Create a private network, which allows host-only access to the machine
  # using a specific IP.
  config.vm.network "private_network", ip: "192.168.33.10"

  # Create a public network, which generally matched to bridged network.
  # Bridged networks make the machine appear as another physical device on
  # your network.
  # config.vm.network "public_network"

  # Share an additional folder to the guest VM. The first argument is
  # the path on the host to the actual folder. The second argument is
  # the path on the guest to mount the folder. And the optional third
  # argument is a set of non-required options.
  # config.vm.synced_folder "../data", "/vagrant_data"

  # Provider-specific configuration so you can fine-tune various
  # backing providers for Vagrant. These expose provider-specific options.
  # Example for VirtualBox:
  #
  # config.vm.provider "virtualbox" do |vb|
  #   # Display the VirtualBox GUI when booting the machine
  #   vb.gui = true
  #
  #   # Customize the amount of memory on the VM:
  #   vb.memory = "2048"
  # end
  #
  # View the documentation for the provider you are using for more
  # information on available options.

  # Define a Vagrant Push strategy for pushing to Atlas. Other push strategies
  # such as FTP and Heroku are also available. See the documentation at
  # https://docs.vagrantup.com/v2/push/atlas.html for more information.
  # config.push.define "atlas" do |push|
  #   push.app = "YOUR_ATLAS_USERNAME/YOUR_APPLICATION_NAME"
  # end

  # Enable provisioning with a shell script. Additional provisioners such as
  # Puppet, Chef, Ansible, Salt, and Docker are also available. Please see the
  # documentation for more information about their specific syntax and use.
  # config.vm.provision "shell", inline: <<-SHELL
  #   apt-get update
  #   apt-get install -y apache2
  # SHELL
end
&#91;/ruby&#93;

<pre>
-*- mode: ruby -*-
vi: set ft=ruby :
</pre>
rubyで書かれている、ということでしょうか。

<pre>
# All Vagrant configuration is done below. The "2" in Vagrant.configure
# configures the configuration version (we support older styles for
# backwards compatibility). Please don't change it unless you know what
# you're doing.
</pre>
configuration versionが"2"だといってます。


Vagrant.configure("2") do |config|
end

この中に記載してください。と書いている。

  # The most common configuration options are documented and commented below.
  # For a complete reference, please see the online documentation at
  # https://docs.vagrantup.com.

vagrantの公式ドキュメントです。これは後で見ましょう。マニアックになってきた。

  # Every Vagrant development environment requires a box. You can search for
  # boxes at https://atlas.hashicorp.com/search.
  config.vm.box = "bento/centos-6.8"

これはosです。ここでは、contos-6.8を使用しています。

  # Disable automatic box update checking. If you disable this, then
  # boxes will only be checked for updates when the user runs
  # `vagrant box outdated`. This is not recommended.
  # config.vm.box_check_update = false

osのアップデートです。vagrant box outdatedでアップデートできるが非推奨と書いてあります。そりゃそーでしょうね。

  # Create a forwarded port mapping which allows access to a specific port
  # within the machine from a port on the host machine. In the example below,
  # accessing "localhost:8080" will access port 80 on the guest machine.
  # config.vm.network "forwarded_port", guest: 80, host: 8080

ポートフォワーディング 8080

  # Create a private network, which allows host-only access to the machine
  # using a specific IP.
  config.vm.network "private_network", ip: "192.168.33.10"

ホストのみがアクセスできるip

  # Create a public network, which generally matched to bridged network.
  # Bridged networks make the machine appear as another physical device on
  # your network.
  # config.vm.network "public_network"

bridge ip

  # Share an additional folder to the guest VM. The first argument is
  # the path on the host to the actual folder. The second argument is
  # the path on the guest to mount the folder. And the optional third
  # argument is a set of non-required options.
  # config.vm.synced_folder "../data", "/vagrant_data"

マウントするフォルダーの指定
mountとは設置すること、などの意味
最初の引数はホストのフォルダ、2つめのパスはマウント対象のフォルダ

# Provider-specific configuration so you can fine-tune various
  # backing providers for Vagrant. These expose provider-specific options.
  # Example for VirtualBox:

プロバイダーのコンフィギュレーション

  # config.vm.provider "virtualbox" do |vb|
  #   # Display the VirtualBox GUI when booting the machine
  #   vb.gui = true
  #
  #   # Customize the amount of memory on the VM:
  #   vb.memory = "2048"
  # end

gui true, memory 2048

  # View the documentation for the provider you are using for more
  # information on available options.

ドキュメントに他の情報

  # Define a Vagrant Push strategy for pushing to Atlas. Other push strategies
  # such as FTP and Heroku are also available. See the documentation at
  # https://docs.vagrantup.com/v2/push/atlas.html for more information.
  # config.push.define "atlas" do |push|
  #   push.app = "YOUR_ATLAS_USERNAME/YOUR_APPLICATION_NAME"
  # end

atlas atlas Not Foundじゃんか!!

  # Enable provisioning with a shell script. Additional provisioners such as
  # Puppet, Chef, Ansible, Salt, and Docker are also available. Please see the
  # documentation for more information about their specific syntax and use.
  # config.vm.provision "shell", inline: <<-SHELL
  #   apt-get update
  #   apt-get install -y apache2
  # SHELL

プロビジョニングも可能
shell, puppet, chef, ansible, salt, docker
これこれ

config.vm.provision "shell", inline: <<-SHELL
  #   apt-get update
  #   apt-get install -y apache2
  # SHELL

shellのサンプルですね。

vagrantファイルの中身、ちゃんと見たの初めてだけど、割とベーシックなこと書いてるやんけ。もっと難しいことかと思ってた。