vagrantファイルの中身を見ていきましょう。
Vagrantfile
rubyで書かれているっぽいですね。1行ずつ見ていきたいと思います。
# -*- mode: ruby -*-
# vi: set ft=ruby :
# All Vagrant configuration is done below. The "2" in Vagrant.configure
# configures the configuration version (we support older styles for
# backwards compatibility). Please don't change it unless you know what
# you're doing.
Vagrant.configure("2") do |config|
  # The most common configuration options are documented and commented below.
  # For a complete reference, please see the online documentation at
  # https://docs.vagrantup.com.
  # Every Vagrant development environment requires a box. You can search for
  # boxes at https://atlas.hashicorp.com/search.
  config.vm.box = "bento/centos-6.8"
  # Disable automatic box update checking. If you disable this, then
  # boxes will only be checked for updates when the user runs
  # `vagrant box outdated`. This is not recommended.
  # config.vm.box_check_update = false
  # Create a forwarded port mapping which allows access to a specific port
  # within the machine from a port on the host machine. In the example below,
  # accessing "localhost:8080" will access port 80 on the guest machine.
  # config.vm.network "forwarded_port", guest: 80, host: 8080
  # Create a private network, which allows host-only access to the machine
  # using a specific IP.
  config.vm.network "private_network", ip: "192.168.33.10"
  # Create a public network, which generally matched to bridged network.
  # Bridged networks make the machine appear as another physical device on
  # your network.
  # config.vm.network "public_network"
  # Share an additional folder to the guest VM. The first argument is
  # the path on the host to the actual folder. The second argument is
  # the path on the guest to mount the folder. And the optional third
  # argument is a set of non-required options.
  # config.vm.synced_folder "../data", "/vagrant_data"
# Provider-specific configuration so you can fine-tune various
  # backing providers for Vagrant. These expose provider-specific options.
  # Example for VirtualBox:
#
  # config.vm.provider "virtualbox" do |vb|
  #   # Display the VirtualBox GUI when booting the machine
  #   vb.gui = true
  #
  #   # Customize the amount of memory on the VM:
  #   vb.memory = "2048"
  # end
#
  # View the documentation for the provider you are using for more
  # information on available options.
  # Define a Vagrant Push strategy for pushing to Atlas. Other push strategies
  # such as FTP and Heroku are also available. See the documentation at
  # https://docs.vagrantup.com/v2/push/atlas.html for more information.
  # config.push.define "atlas" do |push|
  #   push.app = "YOUR_ATLAS_USERNAME/YOUR_APPLICATION_NAME"
  # end
  # Enable provisioning with a shell script. Additional provisioners such as
  # Puppet, Chef, Ansible, Salt, and Docker are also available. Please see the
  # documentation for more information about their specific syntax and use.
  # config.vm.provision "shell", inline: <<-SHELL
  #   apt-get update
  #   apt-get install -y apache2
  # SHELL
end
[/ruby]
<pre>
-*- mode: ruby -*-
vi: set ft=ruby :
</pre>
rubyで書かれている、ということでしょうか。
<pre>
# All Vagrant configuration is done below. The "2" in Vagrant.configure
# configures the configuration version (we support older styles for
# backwards compatibility). Please don't change it unless you know what
# you're doing.
</pre>
configuration versionが"2"だといってます。
Vagrant.configure("2") do |config|
end
この中に記載してください。と書いている。
# The most common configuration options are documented and commented below.
# For a complete reference, please see the online documentation at
# https://docs.vagrantup.com.
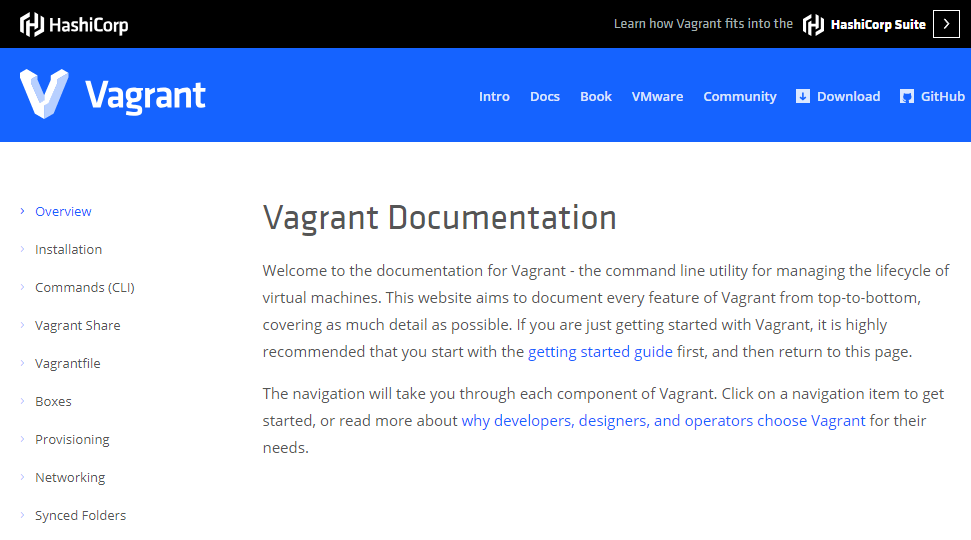
vagrantの公式ドキュメントです。これは後で見ましょう。マニアックになってきた。
# Every Vagrant development environment requires a box. You can search for
# boxes at https://atlas.hashicorp.com/search.
config.vm.box = "bento/centos-6.8"
これはosです。ここでは、contos-6.8を使用しています。
# Disable automatic box update checking. If you disable this, then
# boxes will only be checked for updates when the user runs
# `vagrant box outdated`. This is not recommended.
# config.vm.box_check_update = false
osのアップデートです。vagrant box outdatedでアップデートできるが非推奨と書いてあります。そりゃそーでしょうね。
# Create a forwarded port mapping which allows access to a specific port
# within the machine from a port on the host machine. In the example below,
# accessing "localhost:8080" will access port 80 on the guest machine.
# config.vm.network "forwarded_port", guest: 80, host: 8080
ポートフォワーディング 8080
# Create a private network, which allows host-only access to the machine
# using a specific IP.
config.vm.network "private_network", ip: "192.168.33.10"
ホストのみがアクセスできるip
# Create a public network, which generally matched to bridged network.
# Bridged networks make the machine appear as another physical device on
# your network.
# config.vm.network "public_network"
bridge ip
# Share an additional folder to the guest VM. The first argument is
# the path on the host to the actual folder. The second argument is
# the path on the guest to mount the folder. And the optional third
# argument is a set of non-required options.
# config.vm.synced_folder "../data", "/vagrant_data"
マウントするフォルダーの指定
mountとは設置すること、などの意味
最初の引数はホストのフォルダ、2つめのパスはマウント対象のフォルダ
# Provider-specific configuration so you can fine-tune various
# backing providers for Vagrant. These expose provider-specific options.
# Example for VirtualBox:
プロバイダーのコンフィギュレーション
# config.vm.provider "virtualbox" do |vb|
# # Display the VirtualBox GUI when booting the machine
# vb.gui = true
#
# # Customize the amount of memory on the VM:
# vb.memory = "2048"
# end
gui true, memory 2048
# View the documentation for the provider you are using for more
# information on available options.
ドキュメントに他の情報
# Define a Vagrant Push strategy for pushing to Atlas. Other push strategies
# such as FTP and Heroku are also available. See the documentation at
# https://docs.vagrantup.com/v2/push/atlas.html for more information.
# config.push.define "atlas" do |push|
# push.app = "YOUR_ATLAS_USERNAME/YOUR_APPLICATION_NAME"
# end
atlas atlas Not Foundじゃんか!!
# Enable provisioning with a shell script. Additional provisioners such as
# Puppet, Chef, Ansible, Salt, and Docker are also available. Please see the
# documentation for more information about their specific syntax and use.
# config.vm.provision "shell", inline: <<-SHELL
# apt-get update
# apt-get install -y apache2
# SHELL
プロビジョニングも可能
shell, puppet, chef, ansible, salt, docker
これこれ
config.vm.provision "shell", inline: <<-SHELL
  #   apt-get update
  #   apt-get install -y apache2
  # SHELL
shellのサンプルですね。
vagrantファイルの中身、ちゃんと見たの初めてだけど、割とベーシックなこと書いてるやんけ。もっと難しいことかと思ってた。

