Rhino

Rhino is an open source JavaScript implementation that is being developed. Rhino is written in Java and is managed and distributed by the Mozilla Foundation. The Mozilla Foundation also provides software called SpiderMonkey implemented in C language.

The development of Rhino was launched by Netscape Communications in 1997, and after being transferred to the Mozilla Foundation in 1998 it became open source software. The name of Rhino was from the animal drawn on the cover of JavaScript book published by O’Reilly.

$ sudo yum install rhino

インストール:
  rhino.noarch 0:1.7R4-4.el6

依存性関連をインストールしました:
  jline.noarch 0:0.9.94-0.8.el6

完了しました!

Inside of tinymce’s js

I want to customize link pulugin JS of tinymce.
Let’s look at source code, pulugin.min.js

/**
* Copyright (c) Tiny Technologies, Inc. All rights reserved.
* Licensed under the LGPL or a commercial license.
* For LGPL see License.txt in the project root for license information.
* For commercial licenses see https://www.tiny.cloud/
*
* Version: 5.0.0-1 (2019-02-04)
*/
!function(){“use strict”;var n,t,e,r,o,i=tinymce.util.Tools.resolve(“tinymce.PluginManager”),u=tinymce.util.Tools.resolve(“tinymce.util.VK”),a=function(n){return n.target_list},c=function(n){return n.rel_list},l=function(n){return n.link_class_list},h=function(n){return”boolean”==typeof n.link_assume_external_targets&&n.link_assume_external_targets},f=function(n){return”boolean”==typeof n.link_context_toolbar&&n.link_context_toolbar},s=function(n){return n.link_list},p=function(n){return”string”==typeof n.default_link_target},v=function(n){return n.default_link_target},g=a,d=function(n){return!1!==a(n)},m=c,y=function(n){return c(n)!==undefined},k=l,x=function(n){return l(n)!==undefined},b=function(n){return!1!==n.link_title},O=function(n){return”boolean”==typeof n.allow_unsafe_link_target&&n.allow_unsafe_link_target},w=function(n){return!0===n.link_quicklink},_=tinymce.util.Tools.resolve(“tinymce.dom.DOMUtils”),A=tinymce.util.Tools.resolve(“tinymce.Env”),C=function(n){if(!A.ie||10‘),o.close()}}var i,u},T=tinymce.util.Tools.resolve(“tinymce.util.Tools”),N=function(n,t){var e,r,o=[“noopener”],i=n?n.split(/\s+/):[],u=function(n){return n.filter(function(n){return-1===T.inArray(o,n)})};return(i=t?(e=u(e=i)).length?e.concat(o):o:u(i)).length?(r=i,T.trim(r.sort().join(” “))):””},S=function(n,t){return t=t||n.selection.getNode(),D(t)?n.dom.select(“a[href]”,t)[0]:n.dom.getParent(t,”a[href]”)},M=function(n){return n&&”A”===n.nodeName&&n.href},D=function(n){return n&&”FIGURE”===n.nodeName&&/\bimage\b/i.test(n.className)},z=function(n,t){var e,r;(r=n.dom.select(“img”,t)[0])&&(e=n.dom.getParents(r,”a[href]”,t)[0])&&(e.parentNode.insertBefore(r,e),n.dom.remove(e))},E=function(n,t,e){var r,o;(o=n.dom.select(“img”,t)[0])&&(r=n.dom.create(“a”,e),o.parentNode.insertBefore(r,o),r.appendChild(o))},L=function(i,u){return function(o){i.undoManager.transact(function(){var n=i.selection.getNode(),t=S(i,n),e={href:o.href,target:o.target?o.target:null,rel:o.rel?o.rel:null,”class”:o[“class”]?o[“class”]:null,title:o.title?o.title:null};if(!y(i.settings)&&!1===O(i.settings)){var r=N(e.rel,”_blank”===e.target);e.rel=r||null}o.href===u.href&&(u.attach(),u={}),t?(i.focus(),o.hasOwnProperty(“text”)&&(“innerText”in t?t.innerText=o.text:t.textContent=o.text),i.dom.setAttribs(t,e),i.selection.select(t),i.undoManager.add()):D(n)?E(i,n,e):o.hasOwnProperty(“text”)?i.insertContent(i.dom.createHTML(“a”,e,i.dom.encode(o.text))):i.execCommand(“mceInsertLink”,!1,e)})}},U=function(t){return function(){t.undoManager.transact(function(){var n=t.selection.getNode();D(n)?z(t,n):t.execCommand(“unlink”)})}},P=function(n){return 0]+>[^<]+<\/a>$/.test(n)||-1===n.indexOf(“href=”)))},q=S,I=function(n,t){var e=t?t.innerText||t.textContent:n.getContent({format:”text”});return e.replace(/\uFEFF/g,””)},j=N,V=function(){for(var n=[],t=0;t

Customize TinyMCE

<!DOCTYPE html>
<html>
<head>
	<meta charset="UTF-8">
	<script src="tinymce/js/tinymce/tinymce.min.js"></script>
	<script>
		tinymce.init({
			selector:"#tiny",
			menubar: false,
			 plugins: "textcolor link",
       		 toolbar: [ 
            "bold",
            "forecolor link"
        ],
        statusbar: false,
		});
	</script>
</head>
<body>
	<textarea id="tiny" name=""></textarea>
</body>
</html>

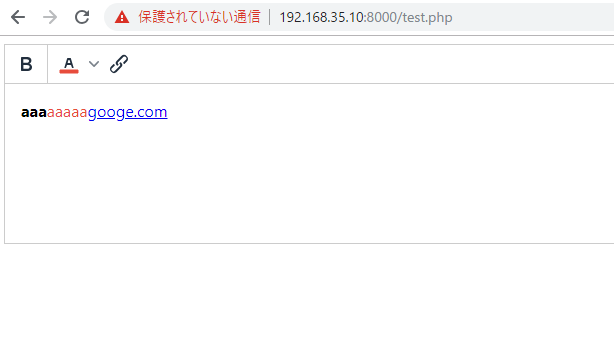
なんだこれ、すげー簡単じゃん。やられたー
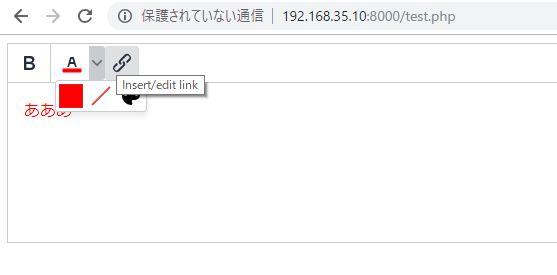
色を赤だけ、linkからtitleを外したい。

公式ドキュメントを見ます。
https://www.tiny.cloud/docs/configure/content-appearance/#text_color

	<script>
		tinymce.init({
			selector:"#tiny",
			menubar: false,
			 plugins: "textcolor link",
       		 toolbar: [ 
            "bold",
            "forecolor link"
        ],
        color_map:[
        	"FF0000", "Red",
        ],
        statusbar: false,
		});
	</script>

ぎゃあああああああああああああああああああ

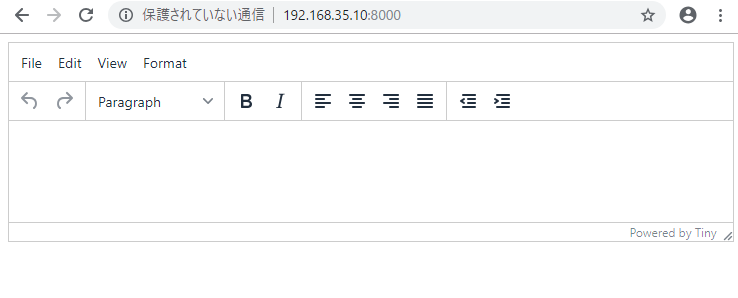
Download TinyMCE, and set it for vagrant

TinyMCE is a library of editors that you can edit while viewing sentences like blogs and word.
(It is made with JavaScript, license is LGPL)

– Abundant functions including plug-ins
– High quality is adopted for WordPress etc.
– You can flexibly customize such as adding toolbars, replacing and deleting button positions, adding own buttons

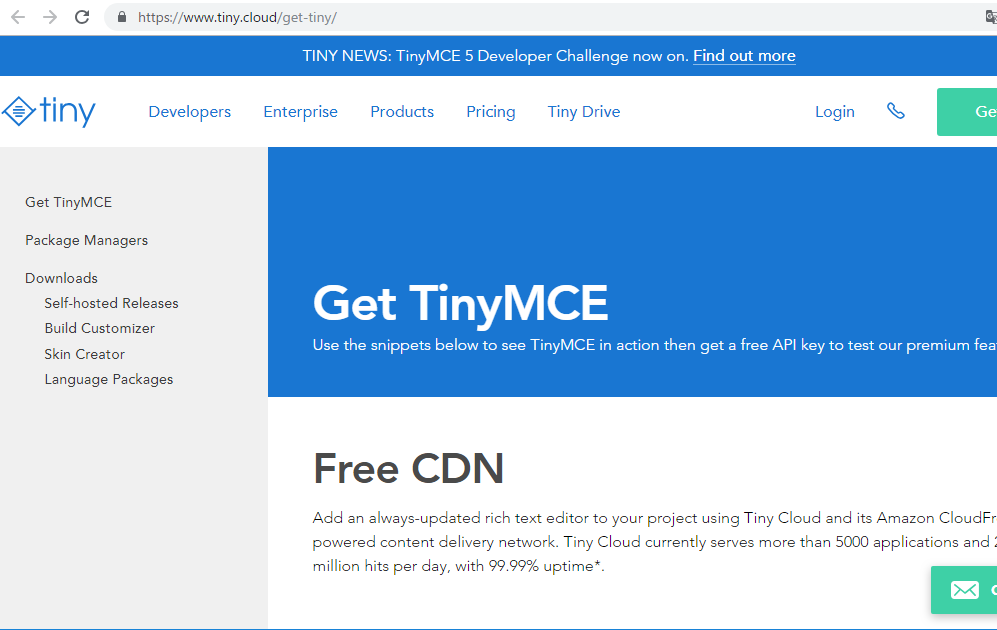
Download files from distribution site
https://www.tiny.cloud/get-tiny/

Self-hosted release 5.0.0
// Download everything you need for production usage (including a jQuery integration plugin) for free. TinyMCE is open source and licensed under LGPL 2.1.

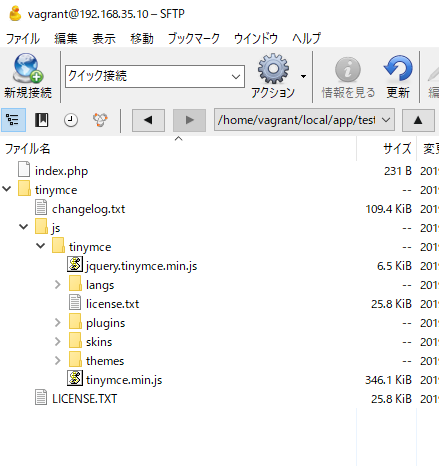
Unzip the downloaded tinymce and place it on the server.

index.php

<!DOCTYPE html>
<html>
<head>
	<meta charset="UTF-8">
	<script src="tinymce/js/tinymce/tinymce.min.js"></script>
	<script>
		tinymce.init({
			selector:"#tiny"
		});
	</script>
</head>
<body>
	<textarea id="tiny" name=""></textarea>
</body>
</html>

さーカスタマイズ頑張るぞ!

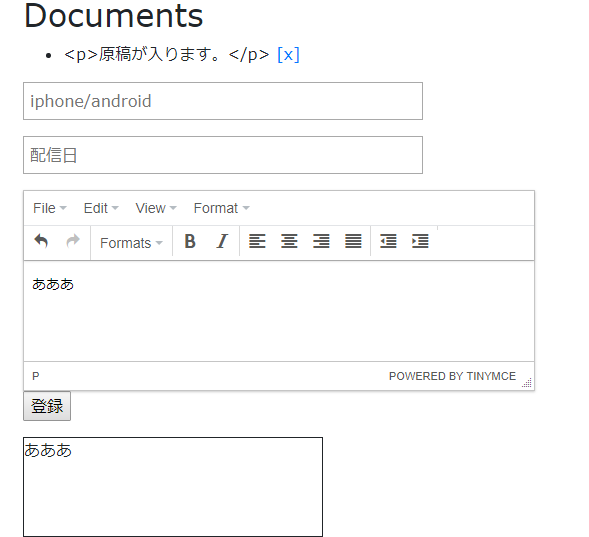
tinyMCEのリアルタイムプレビュー

show.blade.php

<textarea id="myTextArea" name="body" class="mceEditor">{{ old('body') }}</textarea>
	@if($errors->has('body'))
	<span class="error">{{ $errors->first('body') }}</span>
	@endif
	<p>
		<input type="submit" value="登録">
	</p>
	</form>
	<div style="border:1px solid; width:300px; height:100px;" id="preview_area"></div>
	<script src="/js/main.js"></script>
	<script src="/js/tinymce/tinymce.min.js"></script>
	<script>
  	tinymce.init({
    mode : "specific_textareas",
    editor_selector : "mceEditor",
    init_instance_callback: function (editor) {
      editor.on('change', function (e) {
          $('#preview_area').html(editor.getContent());
      });
    }
  });
</script>

これはマジ凄い。

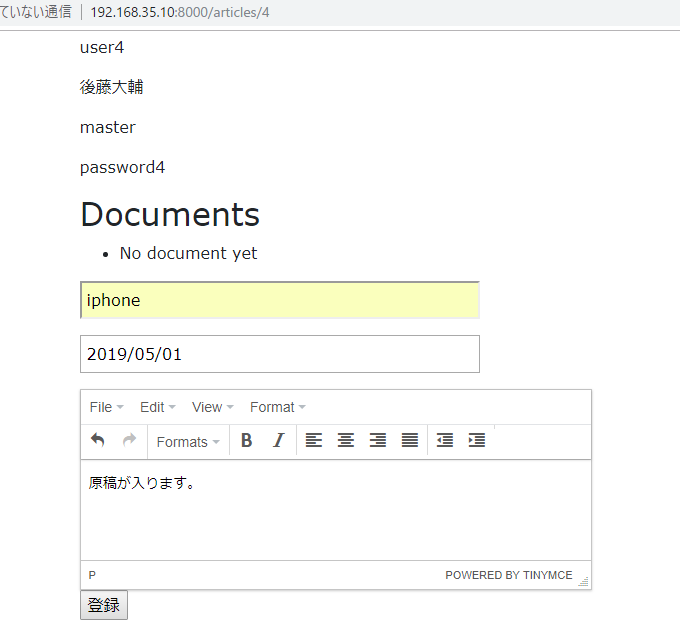
tinyMCEをlaravelに配置する

@extends('layouts.default')

@section('title', $article->login_id)

@section('content')
<h1>
	<a href="{{ action('ArticlesController@edit', $article->id)}}" class="register">編集</a>
	<a href="/">登録情報</a>
</h1>
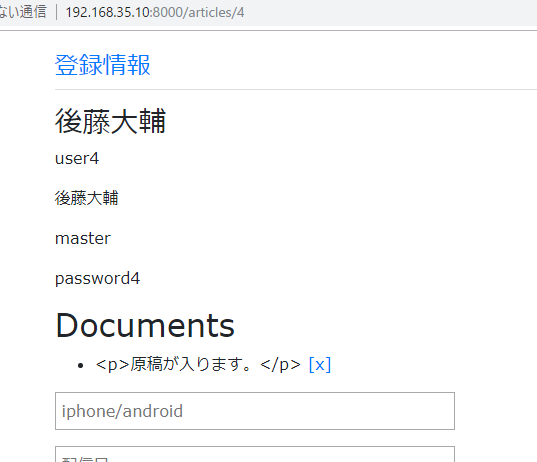
	<h3>{{ $article->name}}</h3>
		<p>{{$article->login_id}}</p>
		<p>{{$article->name}}</p>
		<p>{{$article->role}}</p>
		<p>{{$article->password}}</p>

<h2>Documents</h2>
<ul>
		@forelse ($article->documents as $document)
		<li>{{ $document->body }} <a href="#" class="del" data-id="{{ $document->id }}">[x]</a>
		<form method="post" action="{{ action('DocumentsController@destroy', &#91;$article, $document&#93;) }}" id="form_{{ $document->id }}">
      {{ csrf_field() }}
      {{ method_field('delete') }}
    </form></li>
		@empty
		<li>No document yet</li>
		@endforelse
</ul>
<form method="post" action="{{ action('DocumentsController@store', $article) }}">
		{{ csrf_field()}}
	<p>
		<input type="text" name="mobile" placeholder="iphone/android" value="{{ old('mobile') }}">
		@if($errors->has('mobile'))
		<span class="error">{{ $errors->first('mobile') }}</span>
		@endif
	</p>
	<p>
		<input type="text" name="published_at" placeholder="配信日" value="{{ old('published_at') }}">
		@if($errors->has('published_at'))
		<span class="error">{{ $errors->first('published_at') }}</span>
		@endif
	</p>
	<!-- <p>
		<input type="text" name="body" placeholder="原稿" value="{{ old('body') }}">
		@if($errors->has('body'))
		<span class="error">{{ $errors->first('body') }}</span>
		@endif
	</p> -->
	<textarea id="myTextArea" name="body">{{ old('body') }}</textarea>
	@if($errors->has('body'))
	<span class="error">{{ $errors->first('body') }}</span>
	@endif
	<p>
		<input type="submit" value="登録">
	</p>
	</form>
	<script src="/js/main.js"></script>
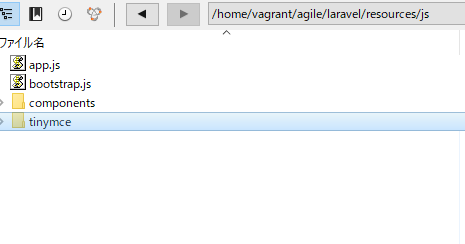
	<script src="/js/tinymce/tinymce.min.js"></script>
	<script>
		tinymce.init({
		selector: "textarea",  
	});
	</script>
@endsection

tinyMCE

登録後

なるほど~

tinyMCEをpost

<?php
// function eh($s) { echo htmlspecialchars($s, ENT_QUOTES, "UTF-8"); }
$data = filter_input(INPUT_POST, "name");
?>
<!DOCTYPE html>
<html>
<head>
	<script src="tinymce/js/tinymce/tinymce.min.js"></script>
	<script>
		tinymce.init({
		selector: "textarea",  
	});
	</script>
</head>
<body>
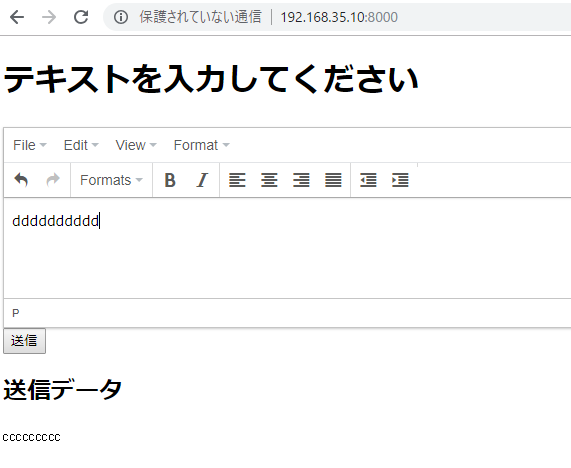
	<h1>テキストを入力してください</h1>
	<form method="post">
		<textarea id="myTextArea" name="name"></textarea>
		<input type="submit" value="送信">
	</form>
	<h2>送信データ</h2>
	<?php if($data){ ?>
		<pre><?php echo $data; ?></pre>
	<?php } ?>
</body>
</html>

ok

これをlaravelに実装する

TinyMCEで入力した値を表示

<!DOCTYPE html>
<html>
<head>
	<script src="tinymce/js/tinymce/tinymce.min.js"></script>
	<script>tinymce.init({
		selector: 'textarea'
	});
	</script>
</head>
<body>
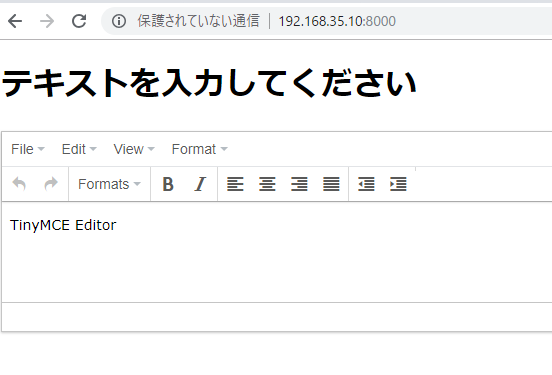
	<h1>テキストを入力してください</h1>
	<textarea>TinyMCE Editor</textarea>
</body>
</html>

普通に実装します。

vagrantでajaxでpythonにpostする

index.php

<!DOCTYPE html>
<html lang="ja">
<head>
  <title>Ajax</title>
</head>

<body>
  <h1>Ajax</h1>
  <form id="form">
    <div><label>送信する数字</label><input type="number" id="number" value="0"></div>
    <div>
      <label>送信するテキスト</label>
      <textarea id="text"></textarea>
    </div>
    <button type="submit" class="btn btn-primary">Submit</button>
  </form>
  <div id="result"></div>

  <script src="https://code.jquery.com/jquery-3.2.1.min.js"></script>
  <script type="text/javascript">
    $(document).ready(function(){
      $('#form').submit(function(){
        event.preventDefault();
        var $form = $(this);
        $.ajax({
          url:'http://localhost:8000/cgi-bin/index.py',
          type: 'post',
          dataType: 'text',
          data: {
            number: $('#number').val(),
            text: $('#text').val()
          },
        })
        .done(function(response){
          $('#result').html(response);
        })
        .fail(function(){
          $('#result').html('Failed.');
        });
      });
    });
    </script>
  </body>
</html>

index.py

#!/usr/bin/env python
# -*- coding: utf-8 -*-

import cgi, cgitb

cgitb.enable()

form = cgi.FieldStorage()
text = form.getFirst("text")
n = form.getFirst("number")
sequence_list = []

print('Content-type: text/html\nAccess-Control-Allow-Origin: *\n')
print("<p>送信された数字: {}</p>".format("None" if n is None else int(n)))
print("<p>送信されたテキスト: {}</p>".format(text))
python -m http.server --cgi

何故だ? 問題はHTML側ではないと思うので、AWSもしくはsakuraでやってみるか。

index.phpをindex.htmlに変更します。

192.168.35.1 – – [26/Aug/2018 10:19:03] code 403, message CGI script is not executable (‘/cgi-bin/index.py’)
192.168.35.1 – – [26/Aug/2018 10:19:03] “POST /cgi-bin/index.py HTTP/1.1” 403 –

なに?
[vagrant@localhost app]$ cd cgi-bin
[vagrant@localhost cgi-bin]$ chmod 755 index.py

192.168.35.1 – – [26/Aug/2018 10:23:35] “GET / HTTP/1.1” 200 –
192.168.35.1 – – [26/Aug/2018 10:23:43] “POST /cgi-bin/index.py HTTP/1.1” 200 –
: そのようなファイルやディレクトリはありません
192.168.35.1 – – [26/Aug/2018 10:23:43] CGI script exit status 0x7f00

う~ん、なんでだろう。
jsのdocument.titleで取得してphpファイルに送ることもできるが、後々のことを考えるとpythonでやりたいですね。