遷移先でのintentの取得方法

intent.getStringExtra(MainActivity.Key) で値を取得する。いわゆるphpの$_POST(“hoge”)みたいなイメージ
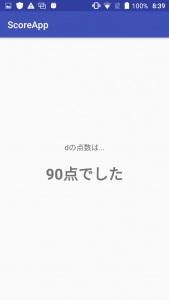
textviewに入れ込むには、findViewById にsetText
Javascriptのdocument.ElementGetByIdにそっくりなので、覚えやすいですね。

Intent intent = getIntent();
        String myName = intent.getStringExtra(MainActivity.EXTRA_MYNAME);
        TextView nameLabel = (TextView) findViewById(R.id.nameLabel);
        nameLabel.setText(myName + "の点数は...");

値を引き継いでいます。

.putExtraでEditTextのvalueとkeyを渡す

intent.putExtra(key, myEditText.getText().toString().trim())
引数1は、packageと名前をつけることが推奨されているので、public finalで、定義する。

public final static String EXTRA_MYNAME = "com.capital.scoreapp.myname";

    @Override
    protected void onCreate(Bundle savedInstanceState) {
        super.onCreate(savedInstanceState);
        setContentView(R.layout.activity_main);
    }
    public void getScore(View view){


        // edittextを取得
        EditText myEditText = (EditText) findViewById(R.id.myEditText);
        // edittextの中身を取得
        String myName = myEditText.getText().toString().trim();
        // 中身を観て条件分岐
       if (myName.equals("")){
//            // エラー処理
             myEditText.setError("Please enter your name!");
//            Toast.makeText(
//                    this,
//                    "please enter your name!",
//                    Toast.LENGTH_LONG
//            ).show();
//        AlertDialog.Builder alertDialogBuilder = new AlertDialog.Builder(this);
//        alertDialogBuilder
//                .setTitle("Error!")
//                .setMessage("Please enter your name!")
//                .setPositiveButton("OK", null);
//        AlertDialog alertDialog = alertDialogBuilder.create();
//        alertDialog.show();
        } else {
            Intent intent = new Intent(this, MyResult.class);
            intent.putExtra(EXTRA_MYNAME, myName);
            startActivity(intent);
        }
    }

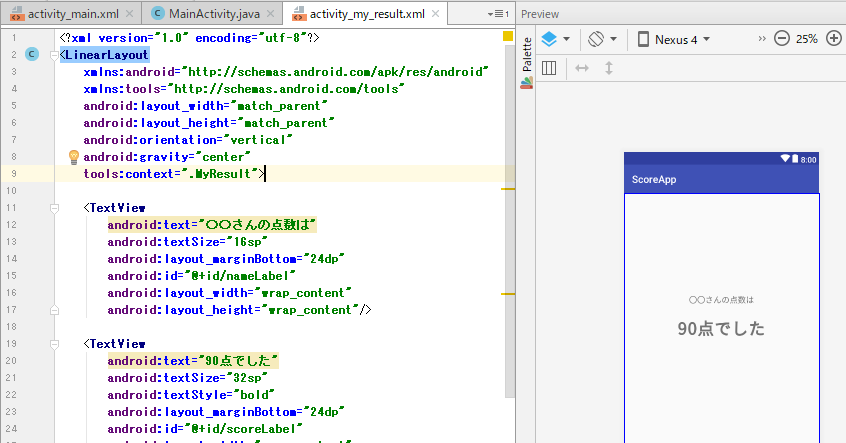
intent用に画面を作成する

<?xml version="1.0" encoding="utf-8"?>
<LinearLayout
    xmlns:android="http://schemas.android.com/apk/res/android"
    xmlns:tools="http://schemas.android.com/tools"
    android:layout_width="match_parent"
    android:layout_height="match_parent"
    android:orientation="vertical"
    android:gravity="center"
    tools:context=".MyResult">

    <TextView
        android:text="〇〇さんの点数は"
        android:textSize="16sp"
        android:layout_marginBottom="24dp"
        android:id="@+id/nameLabel"
        android:layout_width="wrap_content"
        android:layout_height="wrap_content"/>

    <TextView
        android:text="90点でした"
        android:textSize="32sp"
        android:textStyle="bold"
        android:layout_marginBottom="24dp"
        android:id="@+id/scoreLabel"
        android:layout_width="wrap_content"
        android:layout_height="wrap_content"/>


</LinearLayout>

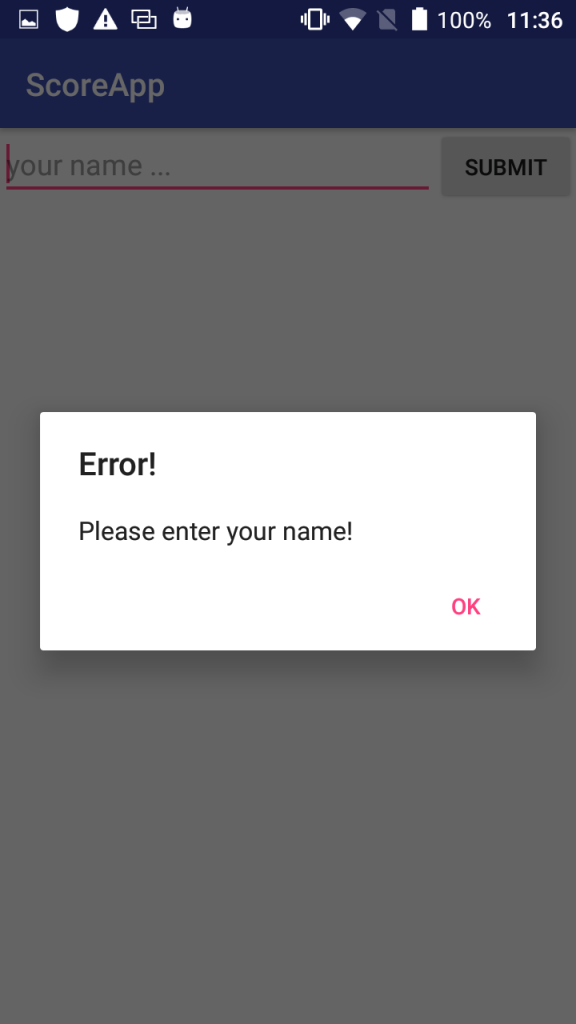
alertDialogを使ってみよう

AlertDialog.builderとして、setTitle,setMessage,setPoisitiveButtonを設定していきます。

if (myName.equals("")){
        AlertDialog.Builder alertDialogBuilder = new AlertDialog.Builder(this);
        alertDialogBuilder
                .setTitle("Error!")
                .setMessage("Please enter your name!")
                .setPositiveButton("OK", null);
        AlertDialog alertDialog = alertDialogBuilder.create();
        alertDialog.show();
        } else {

        }

かっけーーーー!!!!!!!!!

setError, toast, alertDialogだったら、断トツでalertDialogがいいな。

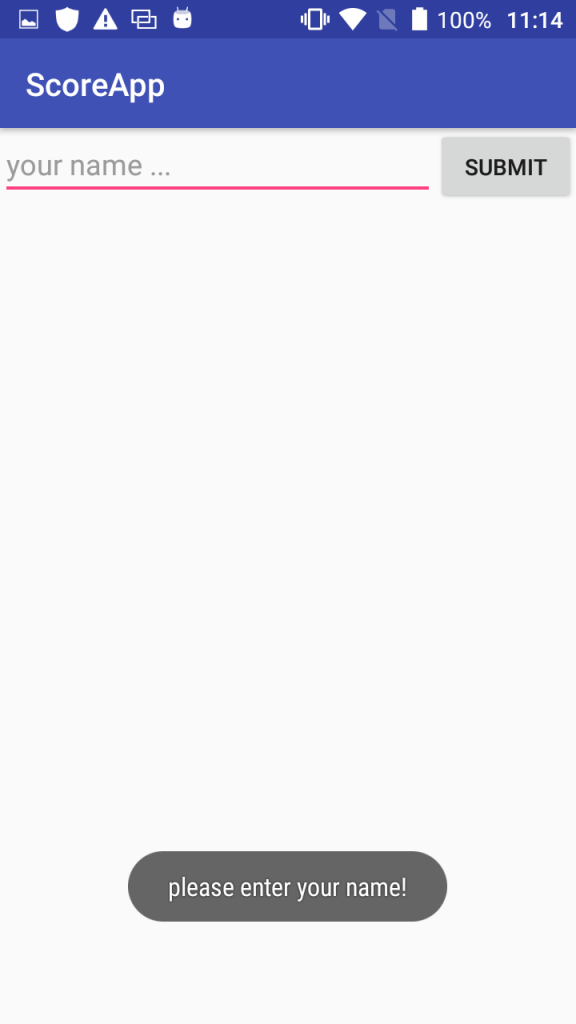
toastを表示する

toastの場合、Toast.makeTextとしてますね。

 if (myName.equals("")){
            // エラー処理
            // myEditText.setError("Please enter your name!");
            Toast.makeText(
                    this,
                    "please enter your name!",
                    Toast.LENGTH_LONG
            ).show();
        } else{

        }

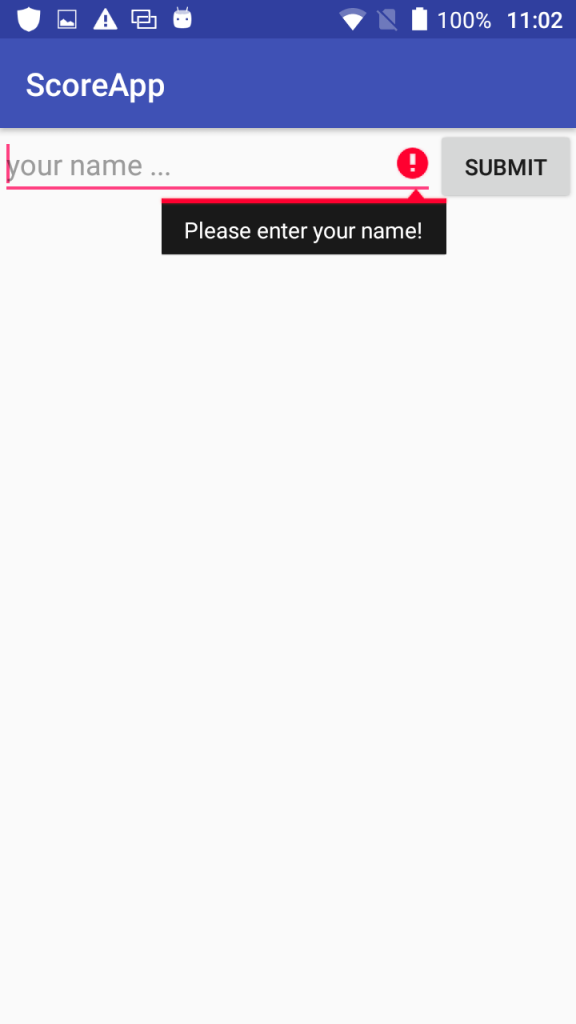
setErrorで、EditTextがnullの場合にerror表示する

onClickでgetScoreを実行します。
nullの場合、EditTextにsetErrorします。

public void getScore(View view){
        // edittextを取得
        EditText myEditText = (EditText) findViewById(R.id.myEditText);
        // edittextの中身を取得
        String myName = myEditText.getText().toString().trim();
        // 中身を観て条件分岐
        if (myName.equals("")){
            // エラー処理
            myEditText.setError("Please enter your name!");
        } else{

        }
    }

OK!わかってきた

MainActivity.javaでEditTextの取得

public void getScore(View view){
        // edittextを取得
        EditText myEditText = (EditText) findViewById(R.id.myEditText);
        // edittextの中身を取得
        String myName = myEditText.getText().toString().trim();
        // 中身を観て条件分岐
        if (myName.equals("")){
            // エラー処理
        } else{
            
        }
    }

androidのform

form は EditText

<?xml version="1.0" encoding="utf-8"?>
<LinearLayout
    xmlns:android="http://schemas.android.com/apk/res/android"
    xmlns:tools="http://schemas.android.com/tools"
    android:layout_width="match_parent"
    android:layout_height="match_parent"
    android:orientation="horizontal"
    tools:context=".MainActivity">

    <EditText
        android:layout_width="wrap_content"
        android:layout_height="wrap_content"
        android:hint="your name ..."
        />

</LinearLayout>

onclick時の呼び出しメソッドをxmlに記載する

activity_sub.xmlからactivity_main.xmlに遷移する

buttonを設置し、SubActivityからも同じように遷移する

public class SubActivity extends AppCompatActivity implements View.OnClickListener{

    @Override
    protected void onCreate(Bundle savedInstanceState) {
        super.onCreate(savedInstanceState);
        setContentView(R.layout.activity_sub);

        findViewById(R.id.button).setOnClickListener(this);
    }
    public void onClick(View view){
        Intent intent  = new Intent(this, MainActivity.class);
        startActivity(intent);
    }
}

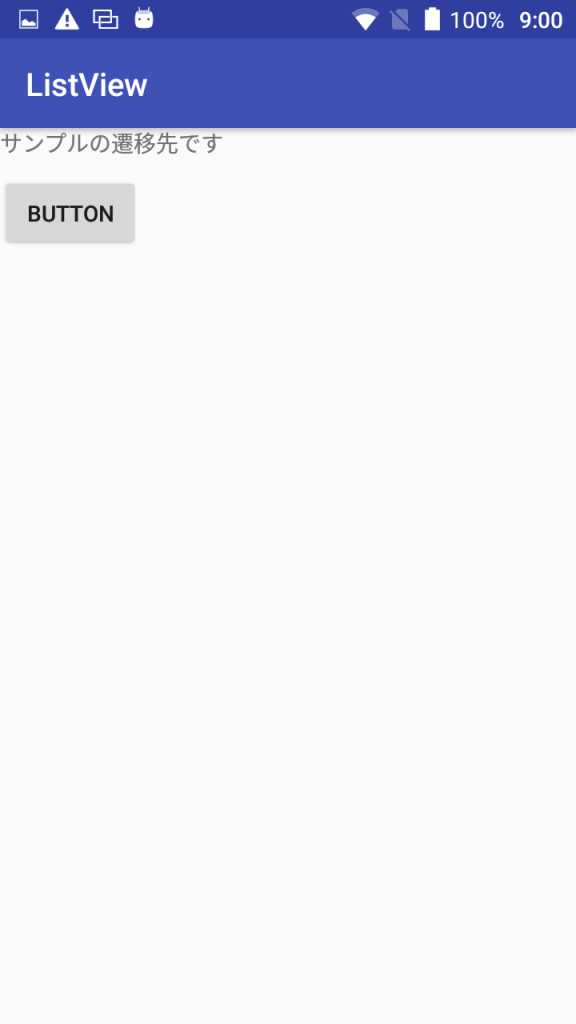
activity_sub.xmlからも遷移できるようになりました。
画面遷移は大体OKですね。

androidで画面遷移をつくる

まず、activity_main.xml
linearlayouにbuttonを配置する

<?xml version="1.0" encoding="utf-8"?>
<LinearLayout
    xmlns:android="http://schemas.android.com/apk/res/android"
    xmlns:tools="http://schemas.android.com/tools"
    android:layout_width="match_parent"
    android:layout_height="match_parent"
    android:orientation="vertical"
    tools:context=".MainActivity">

    <Button
        android:layout_width="wrap_content"
        android:layout_height="wrap_content"
        android:text="Button"
        android:id="@+id/button"></Button>

</LinearLayout>
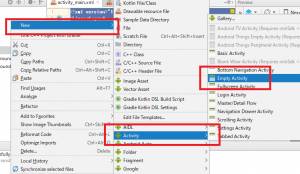
New -> Activity -> Empty を選択する
ActivityNameを決める。ここでは、SubActivity
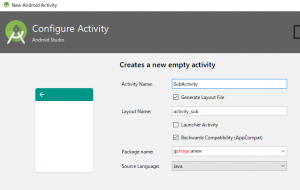
すると、res->layoutにactivity_sum.xmlができ、java->jp->hogeにSubActivity.javaが出来ている。

activity_sub.xml

<?xml version="1.0" encoding="utf-8"?>
<android.support.constraint.ConstraintLayout
    xmlns:android="http://schemas.android.com/apk/res/android"
    xmlns:app="http://schemas.android.com/apk/res-auto"
    xmlns:tools="http://schemas.android.com/tools"
    android:layout_width="match_parent"
    android:layout_height="match_parent"
    tools:context=".SubActivity">


    <TextView
        android:layout_width="wrap_content"
        android:layout_height="wrap_content"
        android:text="サンプルの遷移先です"
        android:id="@+id/textView"
        />

    <TextView
        android:layout_width="wrap_content"
        android:layout_height="wrap_content"
        android:text="サンプルの遷移先です"
        android:id="@+id/textView"
        />

</android.support.constraint.ConstraintLayout>

MainActivity.java

this, SubActivity.class
Intent classでは遷移元と遷移先を実装している。

package jp.hoge.listview;

import android.content.Context;
import android.content.Intent;
import android.graphics.Bitmap;
import android.graphics.BitmapFactory;
import android.support.v7.app.AppCompatActivity;
import android.os.Bundle;
import android.view.LayoutInflater;
import android.view.View;
import android.view.ViewGroup;
import android.widget.AdapterView;
import android.widget.ArrayAdapter;
import android.widget.ImageView;
import android.widget.ListView;
import android.widget.TextView;
import android.widget.Toast;

import java.util.ArrayList;

import jp.hoge.anew.SubActivity;

public class MainActivity extends AppCompatActivity
 implements View.OnClickListener{

    @Override
    protected void onCreate(Bundle savedInstanceState) {
        super.onCreate(savedInstanceState);
        setContentView(R.layout.activity_main);

        findViewById(R.id.button).setOnClickListener(this);
    }
    public void onClick(View view){
        Intent intent  = new Intent(this, SubActivity.class);
        startActivity(intent);
    }
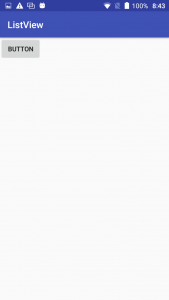
}

buttonを押すと、activity_sub.xmlに遷移するようになりました。なるほど!