
Basic Integrationに沿ってやっていきます。
https://developer.paypal.com/docs/checkout/integrate/#
– Render the PayPal Smart Payment Buttons
– Set up a one-time transaction and immediately capture the funds into your account
– Test the button and take it live on your site
まず前提として、paypalアカウントが必要。
paypalアカウントでdeveloperサイトにログインする。
https://developer.paypal.com/developer/applications
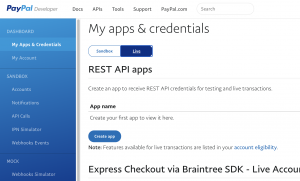
create appとすると、paypal account, client ID, secretが生成されるのでメモしておく。
<!DOCTYPE html>
<html lang="en">
<head>
	<meta name="viewport" content="width=device-width, initial-scale=1">
	<meta http-equiv="X-UA-Compatible" content="IE=edge" />
	<meta charset="UTF-8">
	<title>Document</title>
</head>
<body>
	<script
    src="https://www.paypal.com/sdk/js?client-id=${clientId}"></script>
    <div id="paypal-button-container"></div>
    <script>
		paypal.Buttons().render('#paypal-button-container');
    </script>
</body>
</html>
$ python3 -m http.server 8000
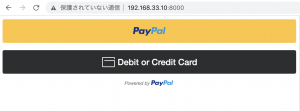
やばっ
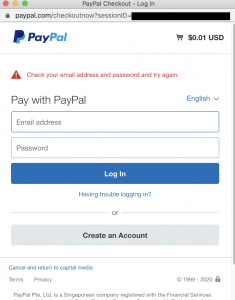
valueは$USっぽいです。
<script>
		paypal.Buttons({
			createOrder: function(data, actions){
				return actions.order.create({
					purchase_units: [{
						amount: {
							value: '0.01'
						}
					}]
				});
			},
			onApprove: function(data, actions){
				return actions.order.capture().then(function(details){
					alert('Transaction completed by ' + details.payer.name.given_name);
				});
			}
		}).render('#paypal-button-container');
    </script>
productionではbusinessアカウントが必要っぽい。
$0.01がカゴに入ってます。
なるほど、JSで管理するんやな、日本はpaypalは普及してませんが、イメージは掴めました。