else if() で書きます。
public void getScore(View view){
// edittextを取得
EditText fEditText = (EditText) findViewById(R.id.firstnEditText);
EditText lEditText = (EditText) findViewById(R.id.lastnEditText);
EditText pEditText = (EditText) findViewById(R.id.phoneEditText);
EditText mEditText = (EditText) findViewById(R.id.mailEditText);
// edittextの中身を取得
String firstName = fEditText.getText().toString().trim();
String lastName = lEditText.getText().toString().trim();
String myPhone = pEditText.getText().toString().trim();
String myMail = mEditText.getText().toString().trim();
// 中身を観て条件分岐
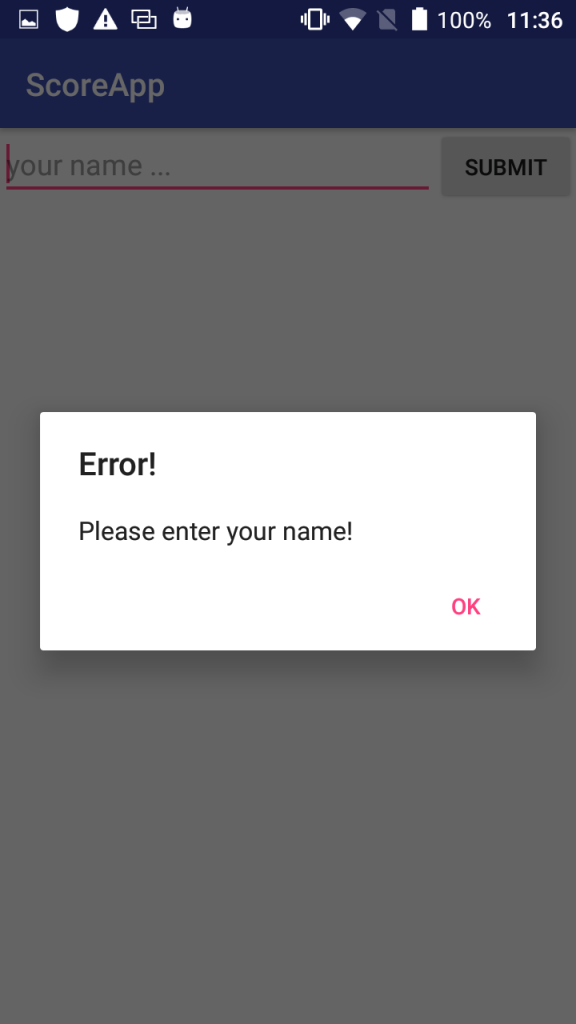
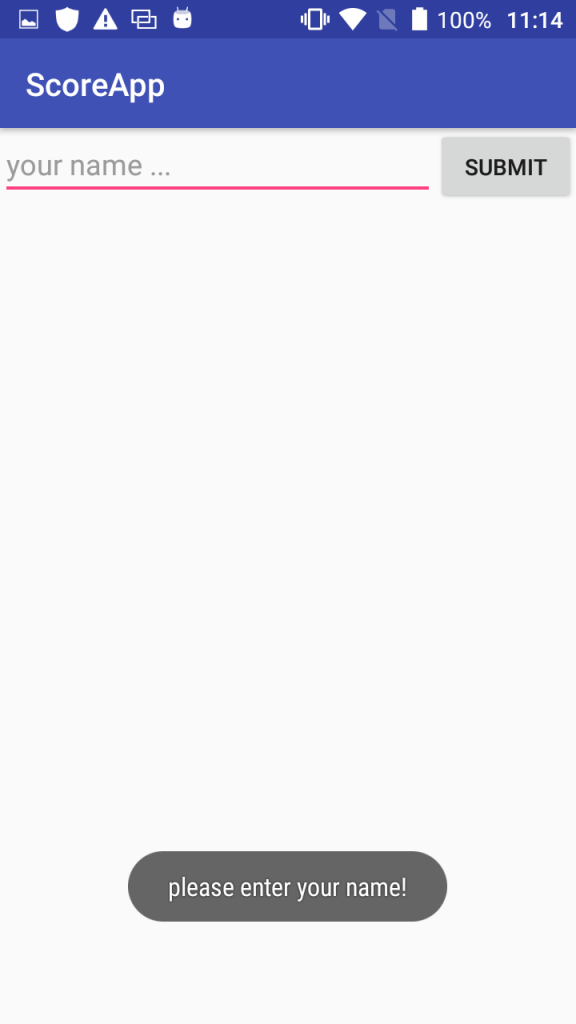
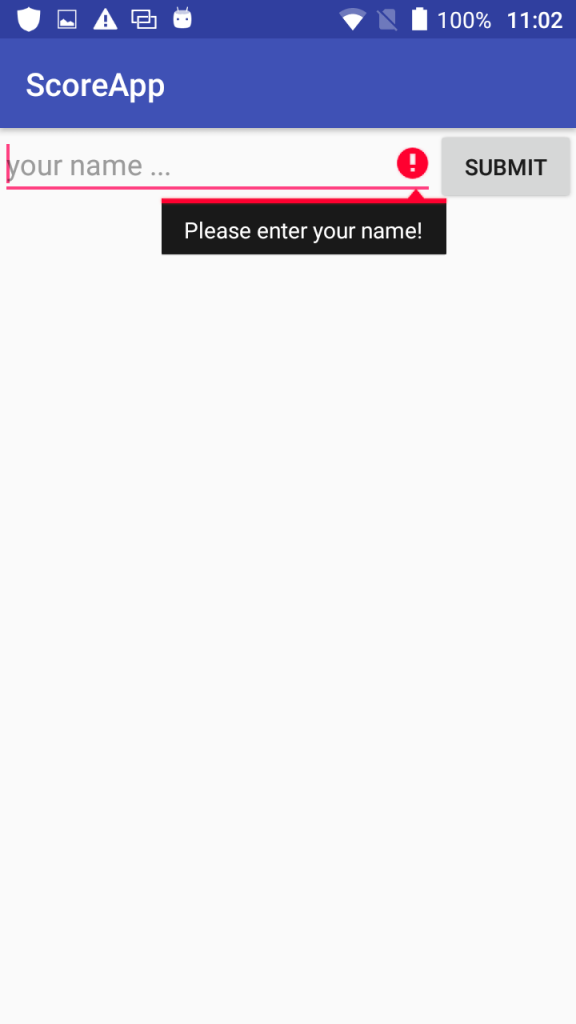
if (firstName.equals("")){
fEditText.setError("Please enter your first name!");
} else if(lastName.equals("")){
lEditText.setError("Please enter your last name!");
} else if(myPhone.equals("")){
pEditText.setError("Please enter your phone number!");
}else if(myMail.equals("")){
mEditText.setError("Please enter your first name!");
} else {
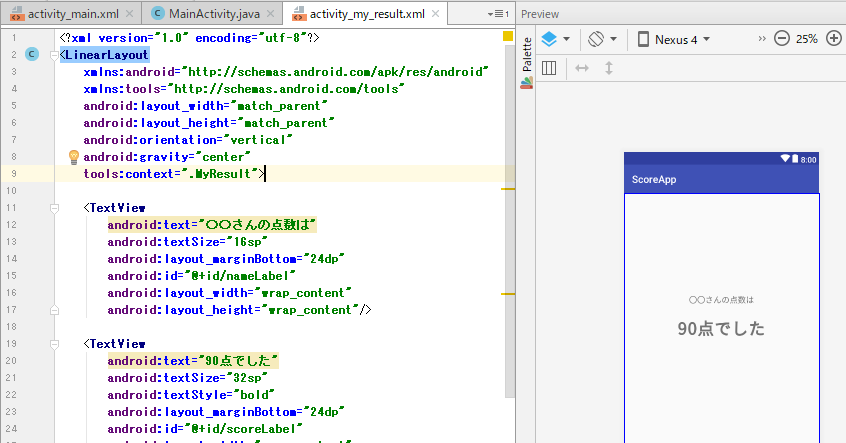
Intent intent = new Intent(this, MyResult.class);
intent.putExtra(EXTRA_MYNAME, firstName);
startActivity(intent);
}
}
androidだとbuildに時間がかかるので、javaのplaygroundで関数の挙動を確かめながらやった方が速いですね。
https://code.sololearn.com/cVRUy2BwauK8/#java
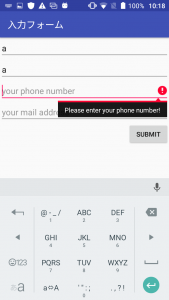
電話番号とメールはバリデーションをかけたい。phoneはtoString? 電話だからstringでいいのか?