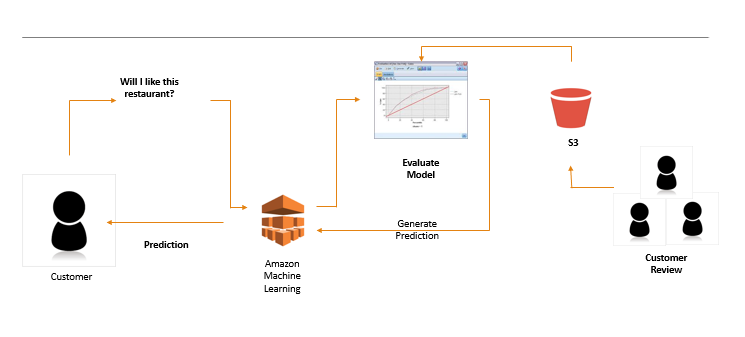
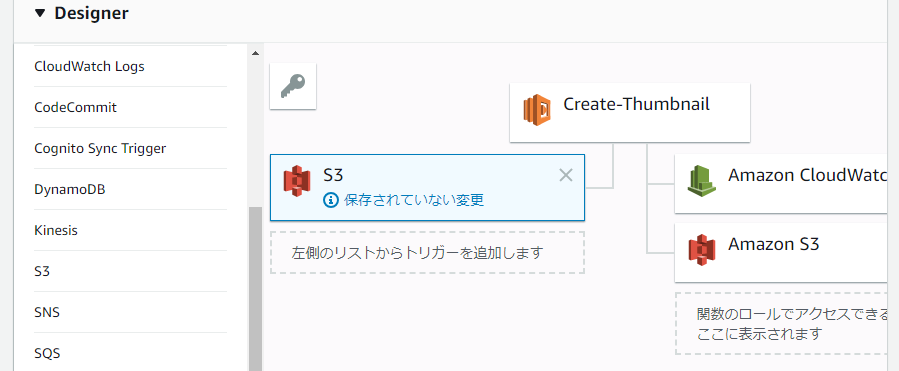
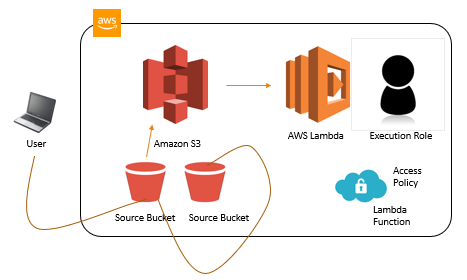
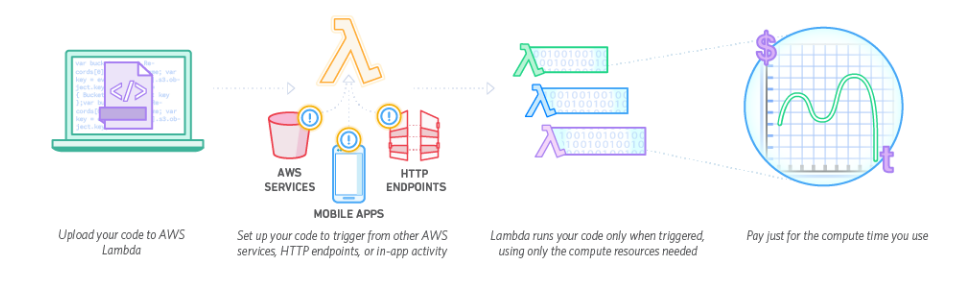
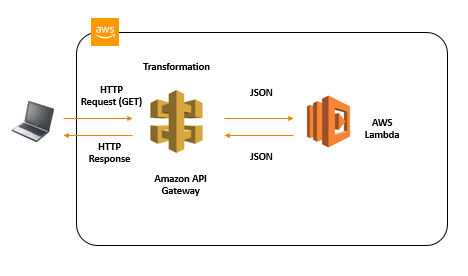
概念図
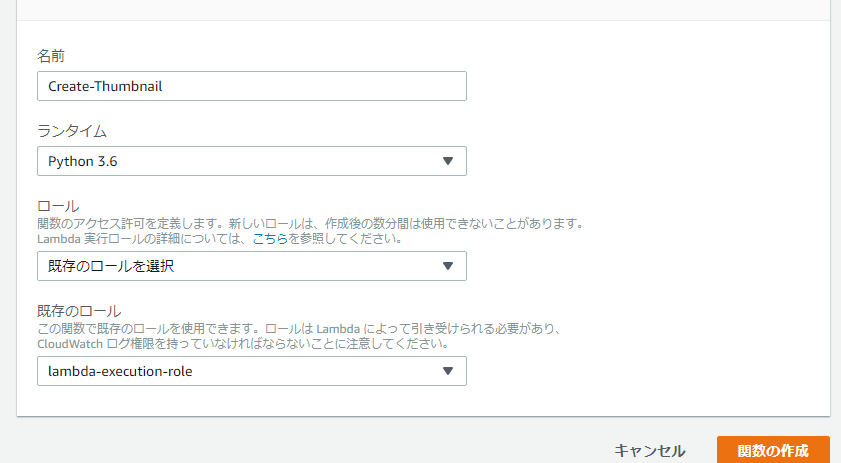
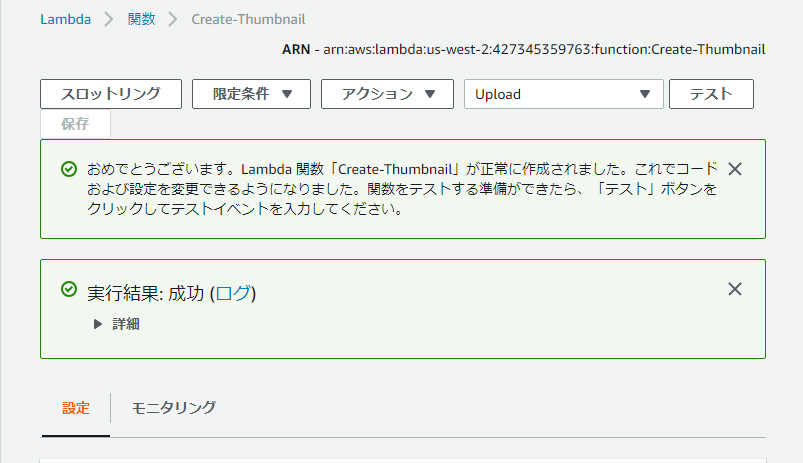
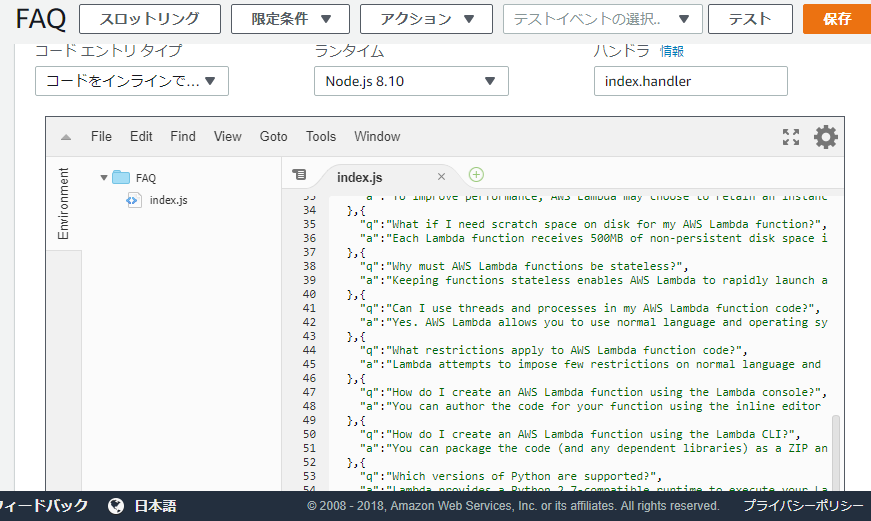
Lambda Node.js 8.10を選択します。
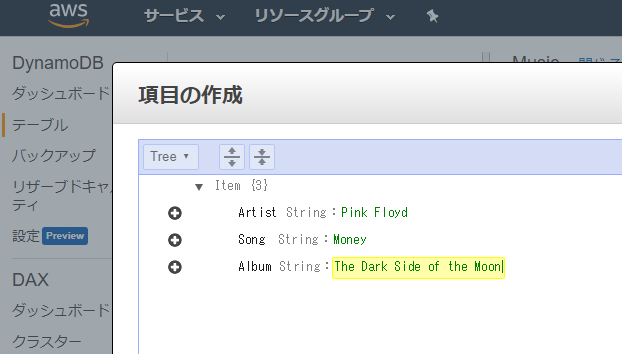
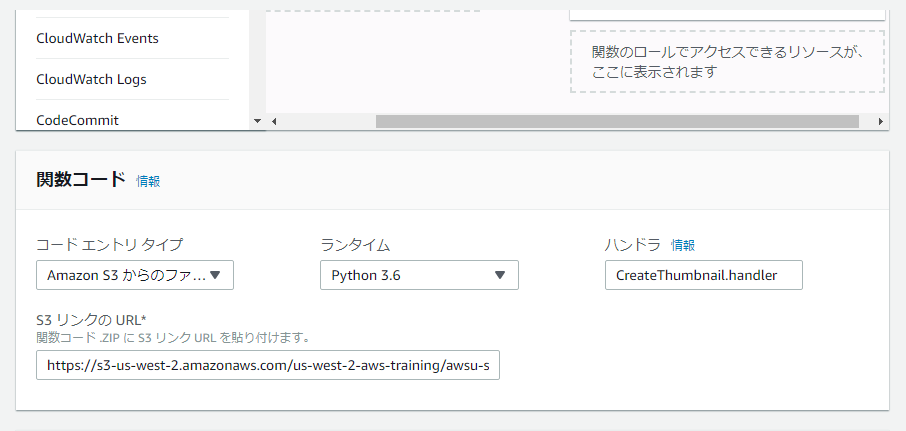
index.jsをsetする。
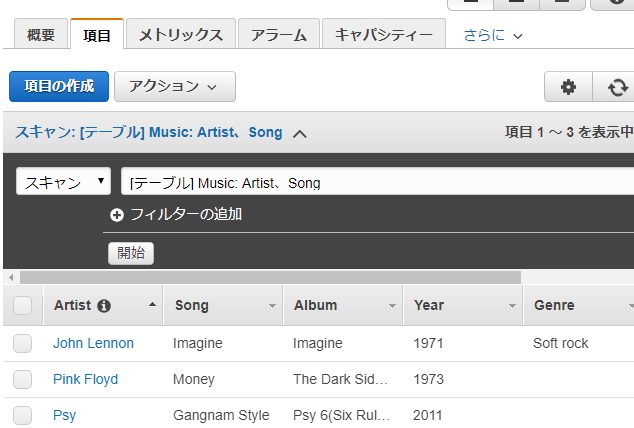
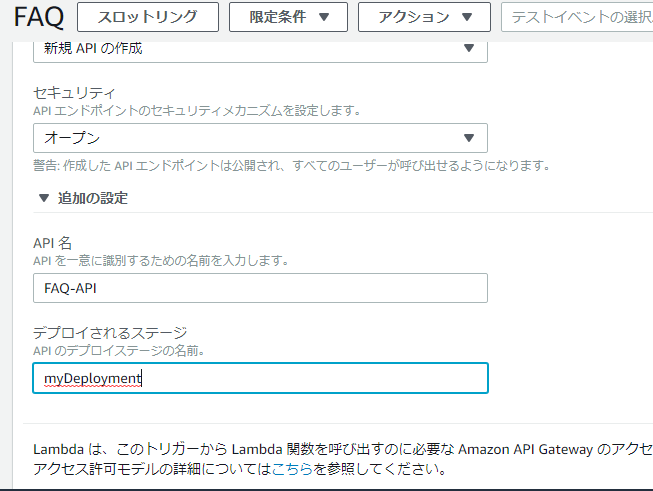
新規API
{“q”:”How do I compile my AWS Lambda function Java code?”,”a”:”You can use standard tools like Maven or Gradle to compile your Lambda function. Your build process should mimic the same build process you would use to compile any Java code that depends on the AWS SDK. Run your Java compiler tool on your source files and include the AWS SDK 1.9 or later with transitive dependencies on your classpath. For more details, see our documentation.”}
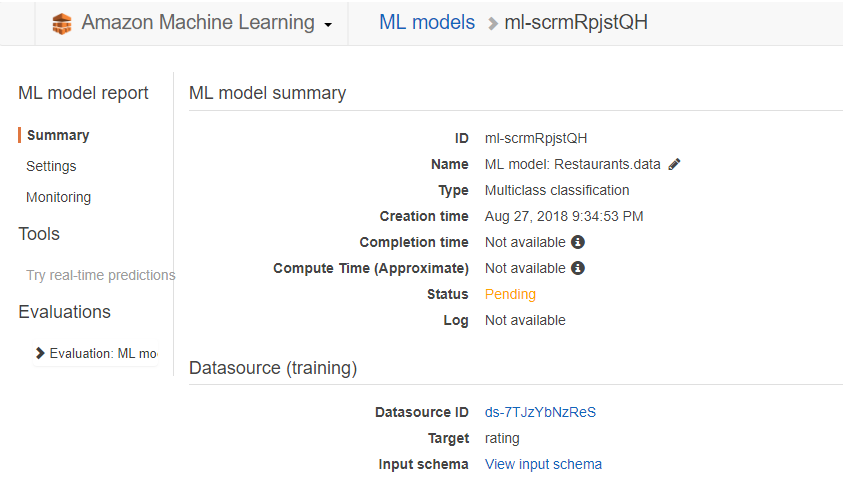
う~ん、よくわからん。lambdaと組み合わせて使ってますね。他も、AWSのメニューとの組み合わせが多いですな。