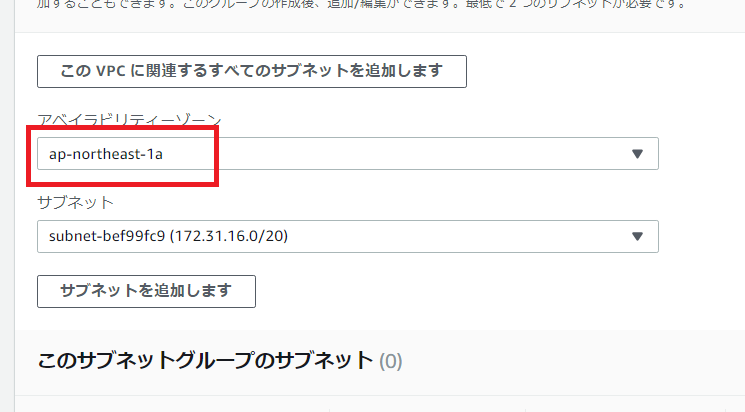
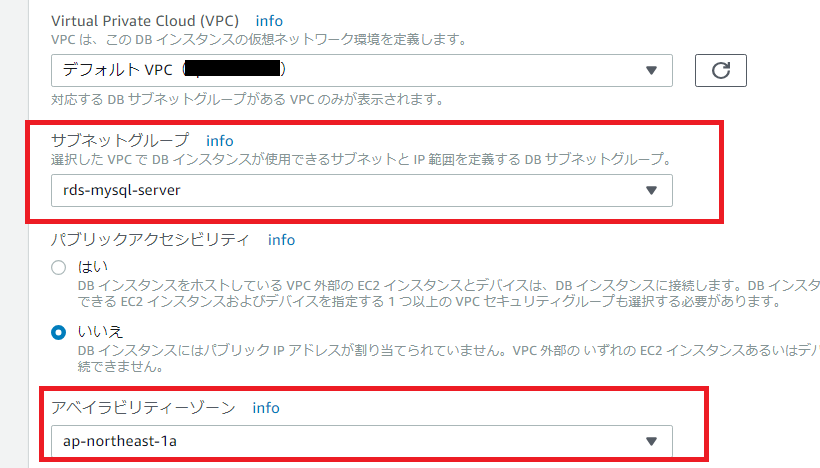
なるほど、ここでサブネットとavailability zoneをchoiceするのね。
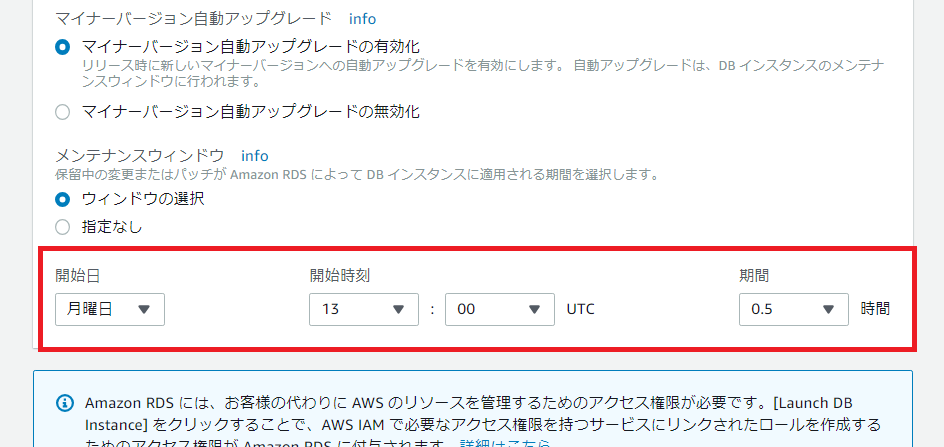
メンテナンスウィンドウの設定
なるほど♪
おおおおお、すげー
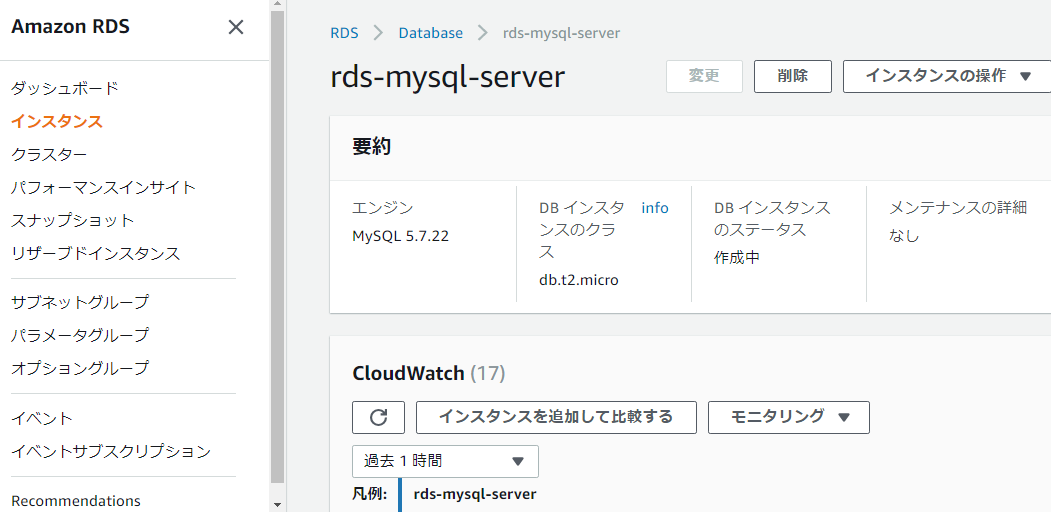
やけに時間かかるじゃねーか
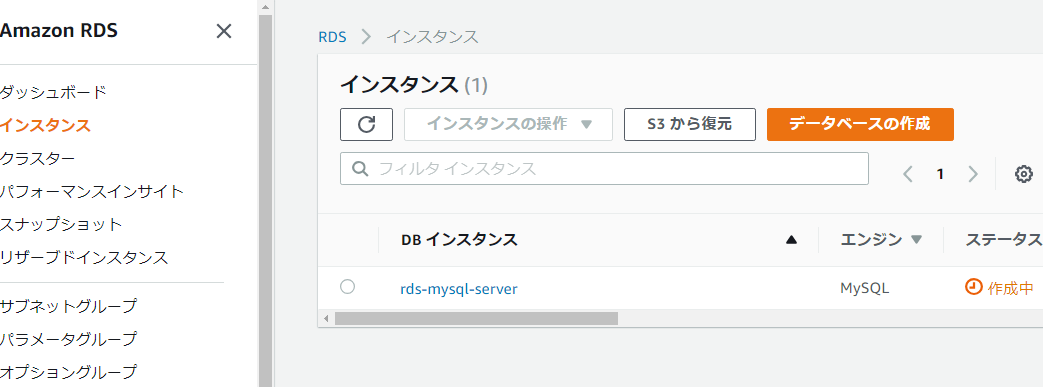
ステータス バックアップ中 ってどういうことだ??
とりあえずこれ、vagrantから接続できるんだろうか。。。
vagrantからはつながらないようです。
[vagrant@localhost aws]$ mysql -u root -p -h rds-mysql-server.hoge.ap-northeast-1.rds.amazonaws.com
Enter password:
ERROR 2003 (HY000): Can’t connect to MySQL server on ‘rds-mysql-server.c7fqvxerfcrm.ap-northeast-1.rds.amazonaws.com’ (110)
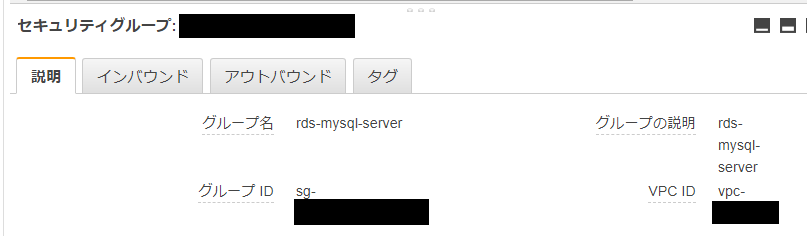
>EC2インスタンスのセキュリティグループには、Amazon RDS for MySQLインスタンスのセキュリティグループ[example-rds-mysql-server]に対するMySQL接続許可を追加した[example-server]セキュリティグループを割り当てます。
これか!
インバウンドルール
そのセキュリティグループに関連付けられたインスタンスにアクセスできるトラフィックを規制するルール
[ec2-user@ip-hoge ~]$ mysql -u root -p -h rds-mysql-server.hoge.ap-northeast-1.rds.amazonaws.com
Enter password:
Welcome to the MySQL monitor. Commands end with ; or \g.
Your MySQL connection id is 13
Server version: 5.7.22-log Source distribution
Copyright (c) 2000, 2018, Oracle and/or its affiliates. All rights reserved.
Oracle is a registered trademark of Oracle Corporation and/or its
affiliates. Other names may be trademarks of their respective
owners.
Type ‘help;’ or ‘\h’ for help. Type ‘\c’ to clear the current input statement.
mysql>
おおおおおおおおおおおおおおおおおおお、きたきたきたーーーーーーーーーー
セキュリティグループで若干手間取りましたがwww