---
- hosts: all
sudo: yes
tasks:
- name: add a new user
user: name=hpscript
- hosts: web
sudo: yes
tasks:
- name: install apache
yum: name=httpd state=latest
- name: start apache and enabled
service: name=httpd state=started enabled=yes
- name: change owner
file: dest=/var/www/html owner=vagrant recurse=yes
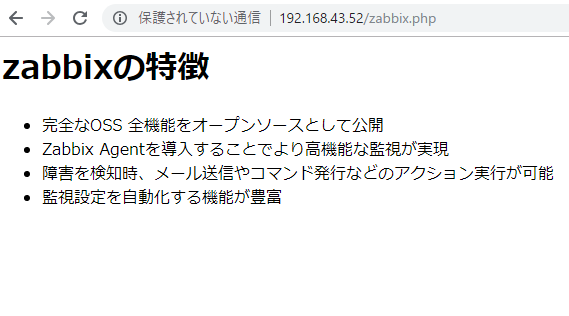
- name: copy zabbix.php
copy: src=./zabbix.php dest=/var/www/html/zabbix.php owner=vagrant
# - name: install php packages
# yum: name={{item}} state=latest
# with_items:
# - php
# - php-dev
# - php-mbstring
# - php-mysql
# notify:
# - restart apache
# handlers:
- name: restart apache
service: name=httpd state=restarted
- hosts: db
sudo: yes
tasks:
- name: install mysql
yum: name={{item}} state=latest
with_items:
- mysql-server
- MySQL-python
- name: start mysql and enabled
service: name=mysqld state=started enabled=yes
# - name: create a database
# mysql_db: name=mydb state=prsent
[vagrant@host ~]$ ansible-playbook pbook.yml
[DEPRECATION WARNING]: Instead of sudo/sudo_user, use become/become_user and
make sure become_method is ‘sudo’ (default).
This feature will be removed in a
future release. Deprecation warnings can be disabled by setting
deprecation_warnings=False in ansible.cfg.
PLAY [all] *********************************************************************
TASK [setup] *******************************************************************
ok: [192.168.43.53]
ok: [192.168.43.52]
TASK [add a new user] **********************************************************
ok: [192.168.43.52]
ok: [192.168.43.53]
PLAY [web] *********************************************************************
TASK [setup] *******************************************************************
ok: [192.168.43.52]
TASK [install apache] **********************************************************
ok: [192.168.43.52]
TASK [start apache and enabled] ************************************************
ok: [192.168.43.52]
TASK [change owner] ************************************************************
ok: [192.168.43.52]
TASK [copy zabbix.php] *********************************************************
ok: [192.168.43.52]
TASK [restart apache] **********************************************************
changed: [192.168.43.52]
PLAY [db] **********************************************************************
TASK [setup] *******************************************************************
ok: [192.168.43.53]
TASK [install mysql] ***********************************************************
ok: [192.168.43.53] => (item=[u’mysql-server’, u’MySQL-python’])
TASK [start mysql and enabled] *************************************************
ok: [192.168.43.53]
PLAY RECAP *********************************************************************
192.168.43.52 : ok=8 changed=1 unreachable=0 failed=0
192.168.43.53 : ok=5 changed=0 unreachable=0 failed=0
ok
さくらvpsにansibleを入れて、共有サーバーにコマンドを実行していきたい。
まず、ssh接続するために、ipアドレスからか。