homebrewとは何か?ホームページに行ってみましょう。
homebrew
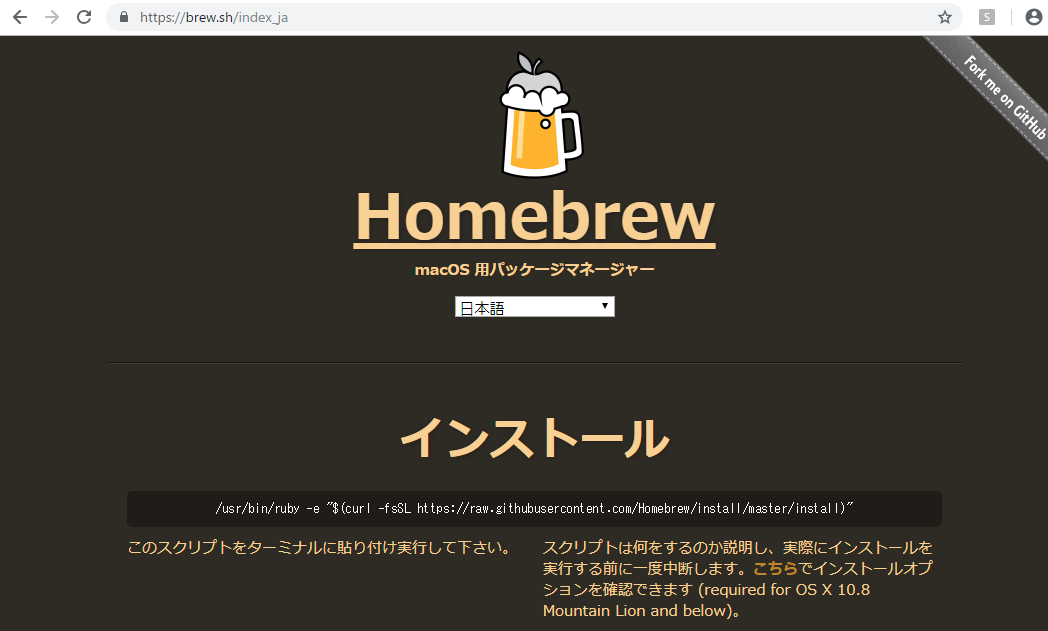
mac os用パッケージマネージャーと書いてあります。パッケージマネージャーというと、composerを思い出しますね。
homebrew インストール
これはやります。
/usr/bin/ruby -e "$(curl -fsSL https://raw.githubusercontent.com/Homebrew/install/master/install)"
homebrewはappleが用意していない必要なものをインストール
$ brew install wget
ansibleもそうですね。
$ brew install ansible
brewをアップデートするには
brew update
パッケージのuninstall は brew removeだそうです。
homebrewのアンインストール
ruby -e "$(curl -fsSL https://raw.githubusercontent.com/Homebrew/install/master/uninstall)"
山頂は遠いなー