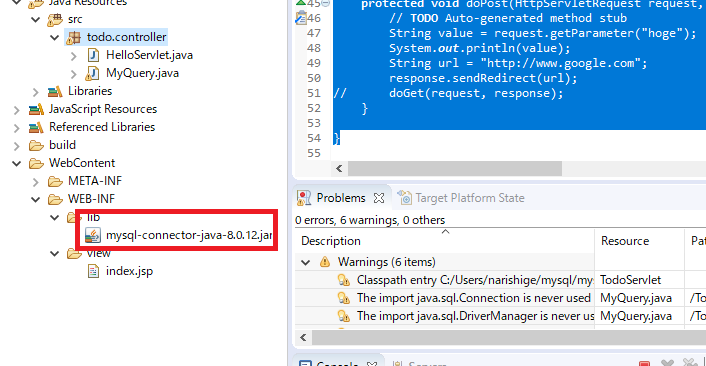
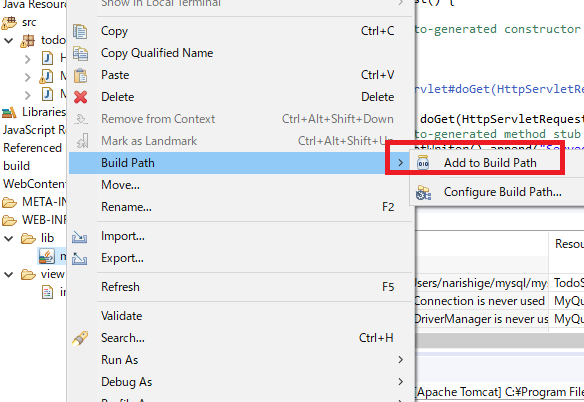
eclipseのlibにmysql-connectorを配置する
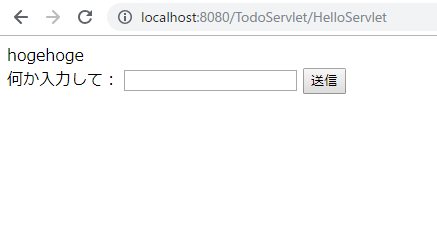
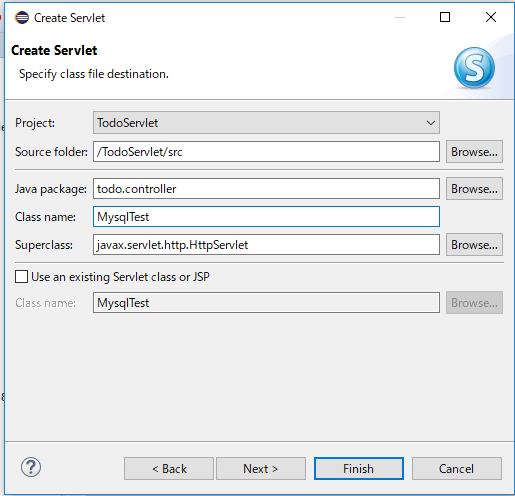
servletを作成する。mysqltestとしよう。
add to build pathとする
とりあえずwindows10 のmysqlにテーブルとレコードを無理矢理つくります。
mysql> create database sampledb
-> ;
Query OK, 1 row affected (0.13 sec)
mysql> use sampledb
Database changed
mysql> create table userinfo(
-> userid varchar(10) primary_key,
-> status Int
-> );
ERROR 1064 (42000): You have an error in your SQL syntax; check the manual that corresponds to your MySQL server version for the right syntax to use near ‘primary_key,
status Int
)’ at line 2
mysql> create table userinfo(
-> userid varchar(10) primary key,
-> status int
-> );
Query OK, 0 rows affected (1.04 sec)
mysql> insert into userinfo (userid, status) values (“aaaa123”, 0),(“asdf123”, 1),(“xyzx123”,2);
Query OK, 3 rows affected (0.17 sec)
Records: 3 Duplicates: 0 Warnings: 0
mysql> select * from userinfo;
+———+——–+
| userid | status |
+———+——–+
| aaaa123 | 0 |
| asdf123 | 1 |
| xyzx123 | 2 |
+———+——–+
3 rows in set (0.00 sec)
protected void doGet(HttpServletRequest request, HttpServletResponse response) throws ServletException, IOException {
// TODO Auto-generated method stub
// response.getWriter().append("Served at: ").append(request.getContextPath());
Connection conn = null;
Statement stmt = null;
ResultSet rs = null;
try {
Class.forName("com.mysql.cj.jdbc.Driver").newInstance();
conn = DriverManager.getConnection("jdbc:mysql:C:/mysql-56/data/sampledb?user=root&password=");
stmt = conn.createStatement();
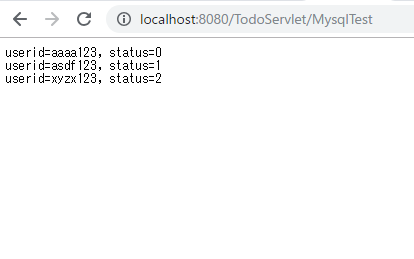
rs = stmt.executeQuery("SELECT userid,status FROM userinfo");
response.setContentType("text/plain");
while (rs.next()) {
response.getWriter().write("userid=" + rs.getString("userid") + ", ");
response.getWriter().write("status=" + rs.getString("status") + "\n");
}
} catch(Exception e) {
e.printStackTrace();
} finally {
if (rs != null ) { try {rs.close(); } catch (SQLException e) {e.printStackTrace();} }
if (stmt != null ) { try {stmt.close(); } catch (SQLException e) {e.printStackTrace();} }
if (conn != null ) { try {conn.close(); } catch (SQLException e) {e.printStackTrace();} }
}
}
Loading class `com.mysql.jdbc.Driver’. This is deprecated. The new driver class is `com.mysql.cj.jdbc.Driver’. The driver is automatically registered via the SPI and manual loading of the driver class is generally unnecessary.
java.sql.SQLException: No suitable driver found for jdbc:mysql:C:/mysql-56/data/sampledb?user=root&password=
at java.sql.DriverManager.getConnection(Unknown Source)
やりたいことはわかった。