MicrosoftはAzureとの連携・展開
– Microsoft Cognitive Service
https://azure.microsoft.com/ja-jp/services/cognitive-services/
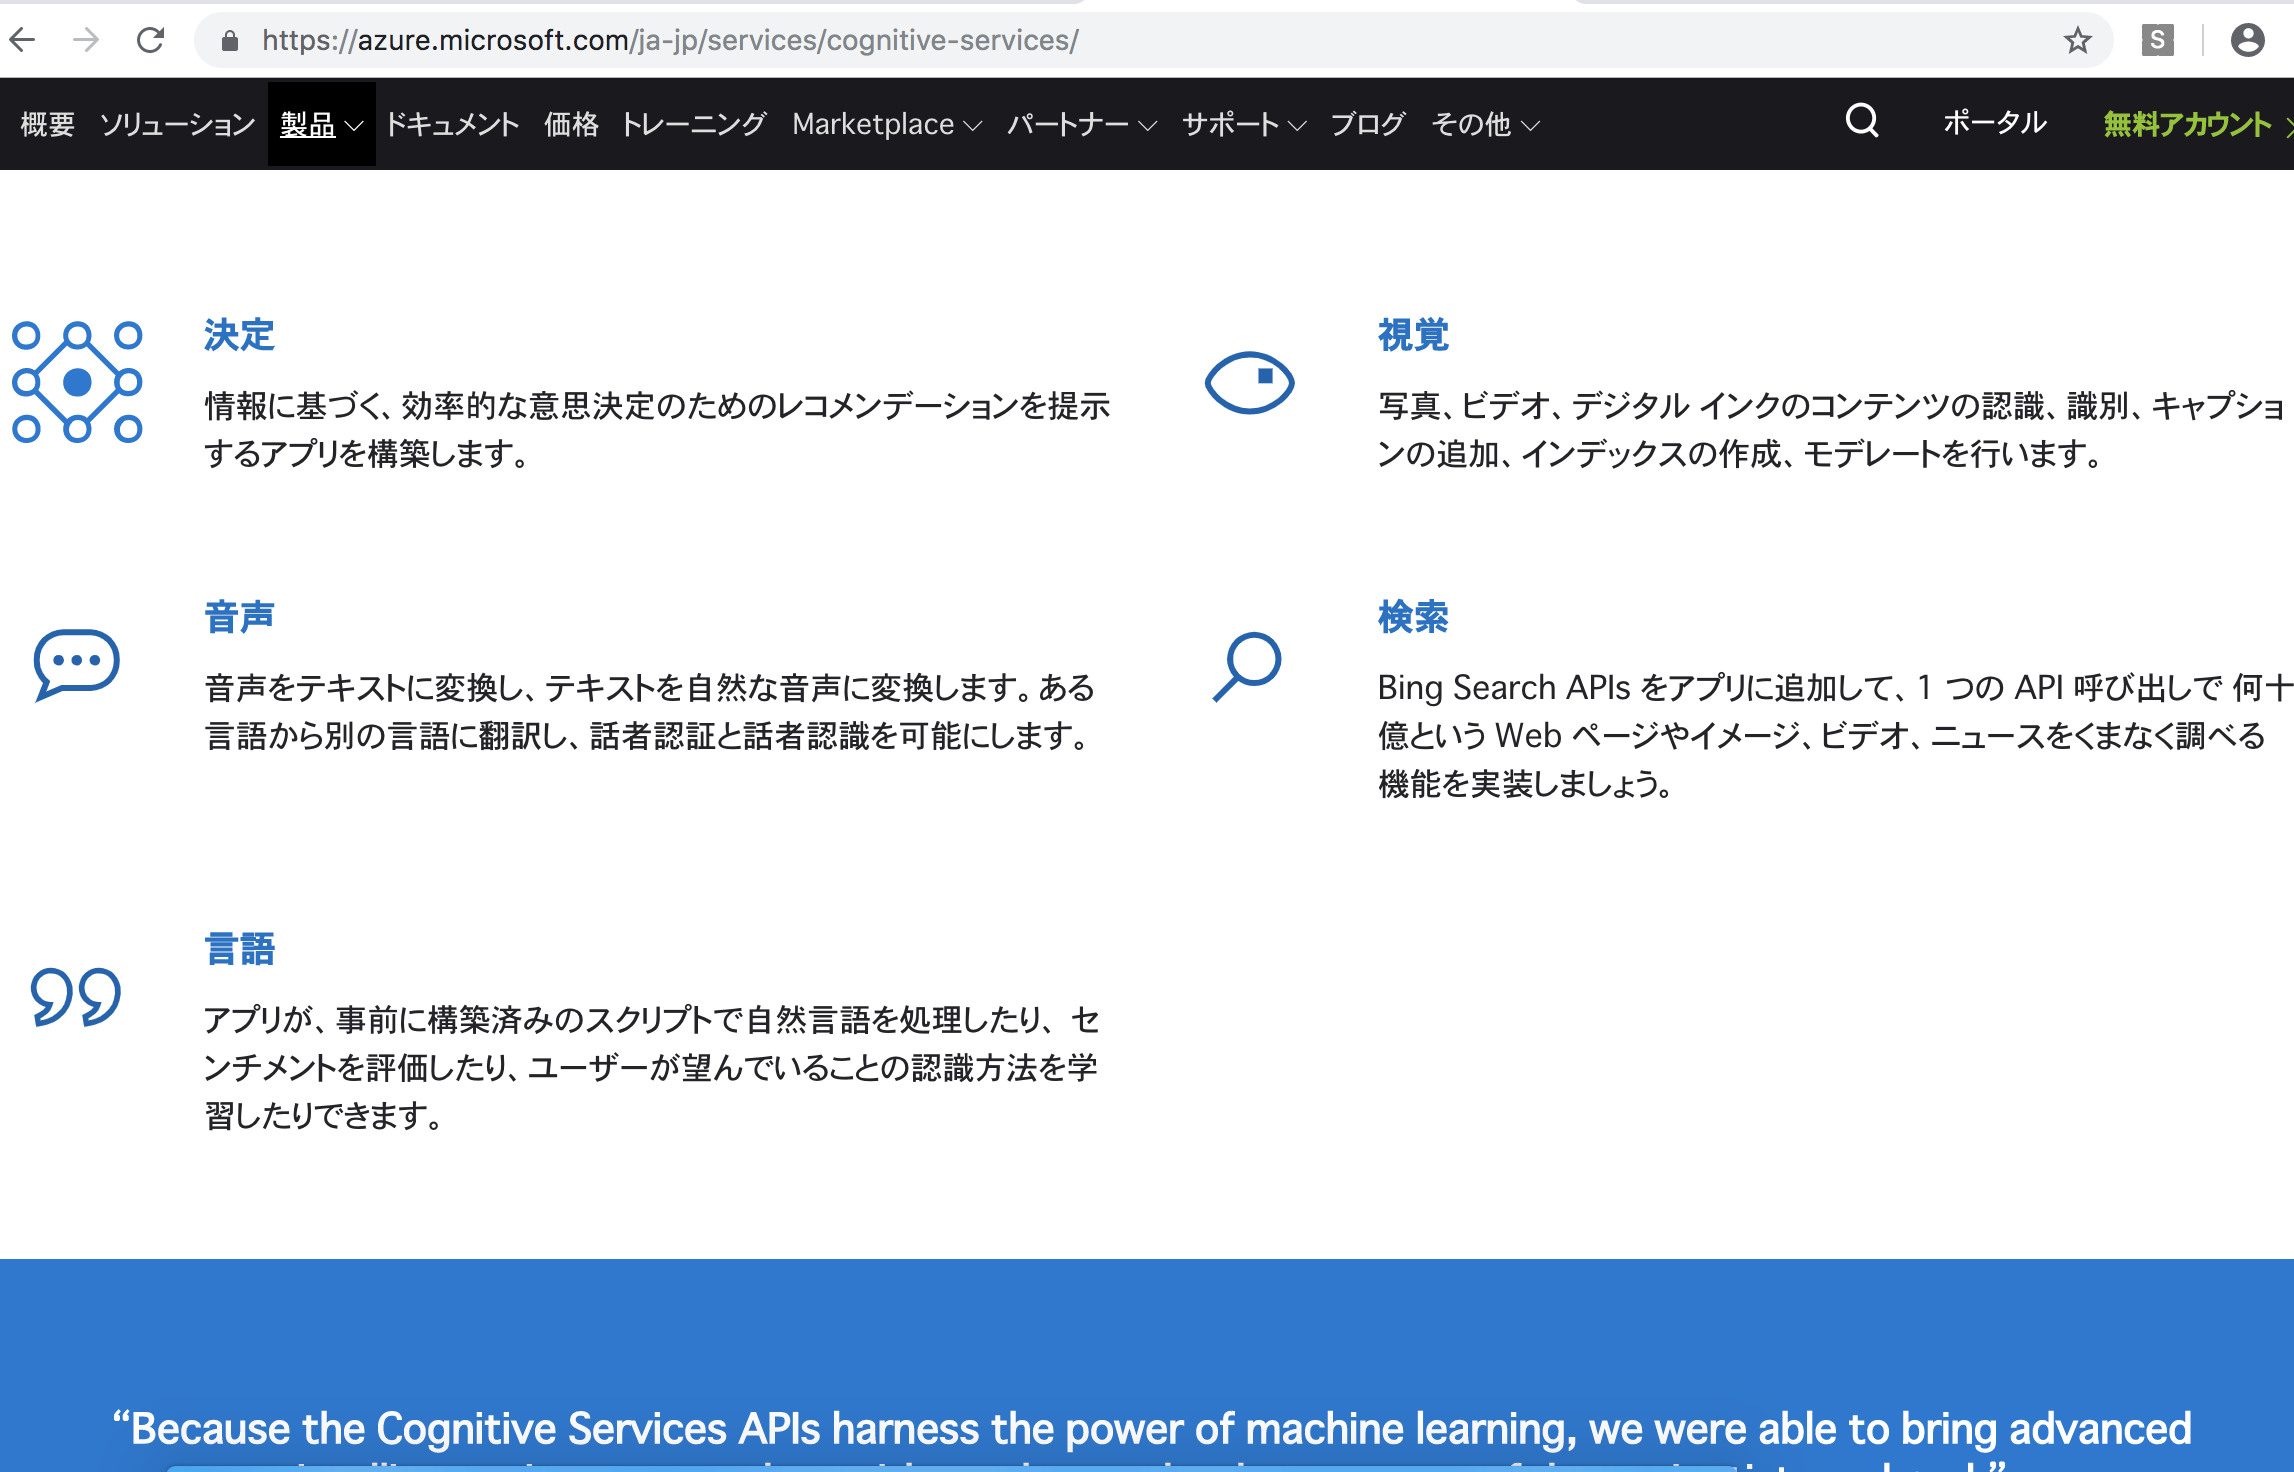
serviceとしては
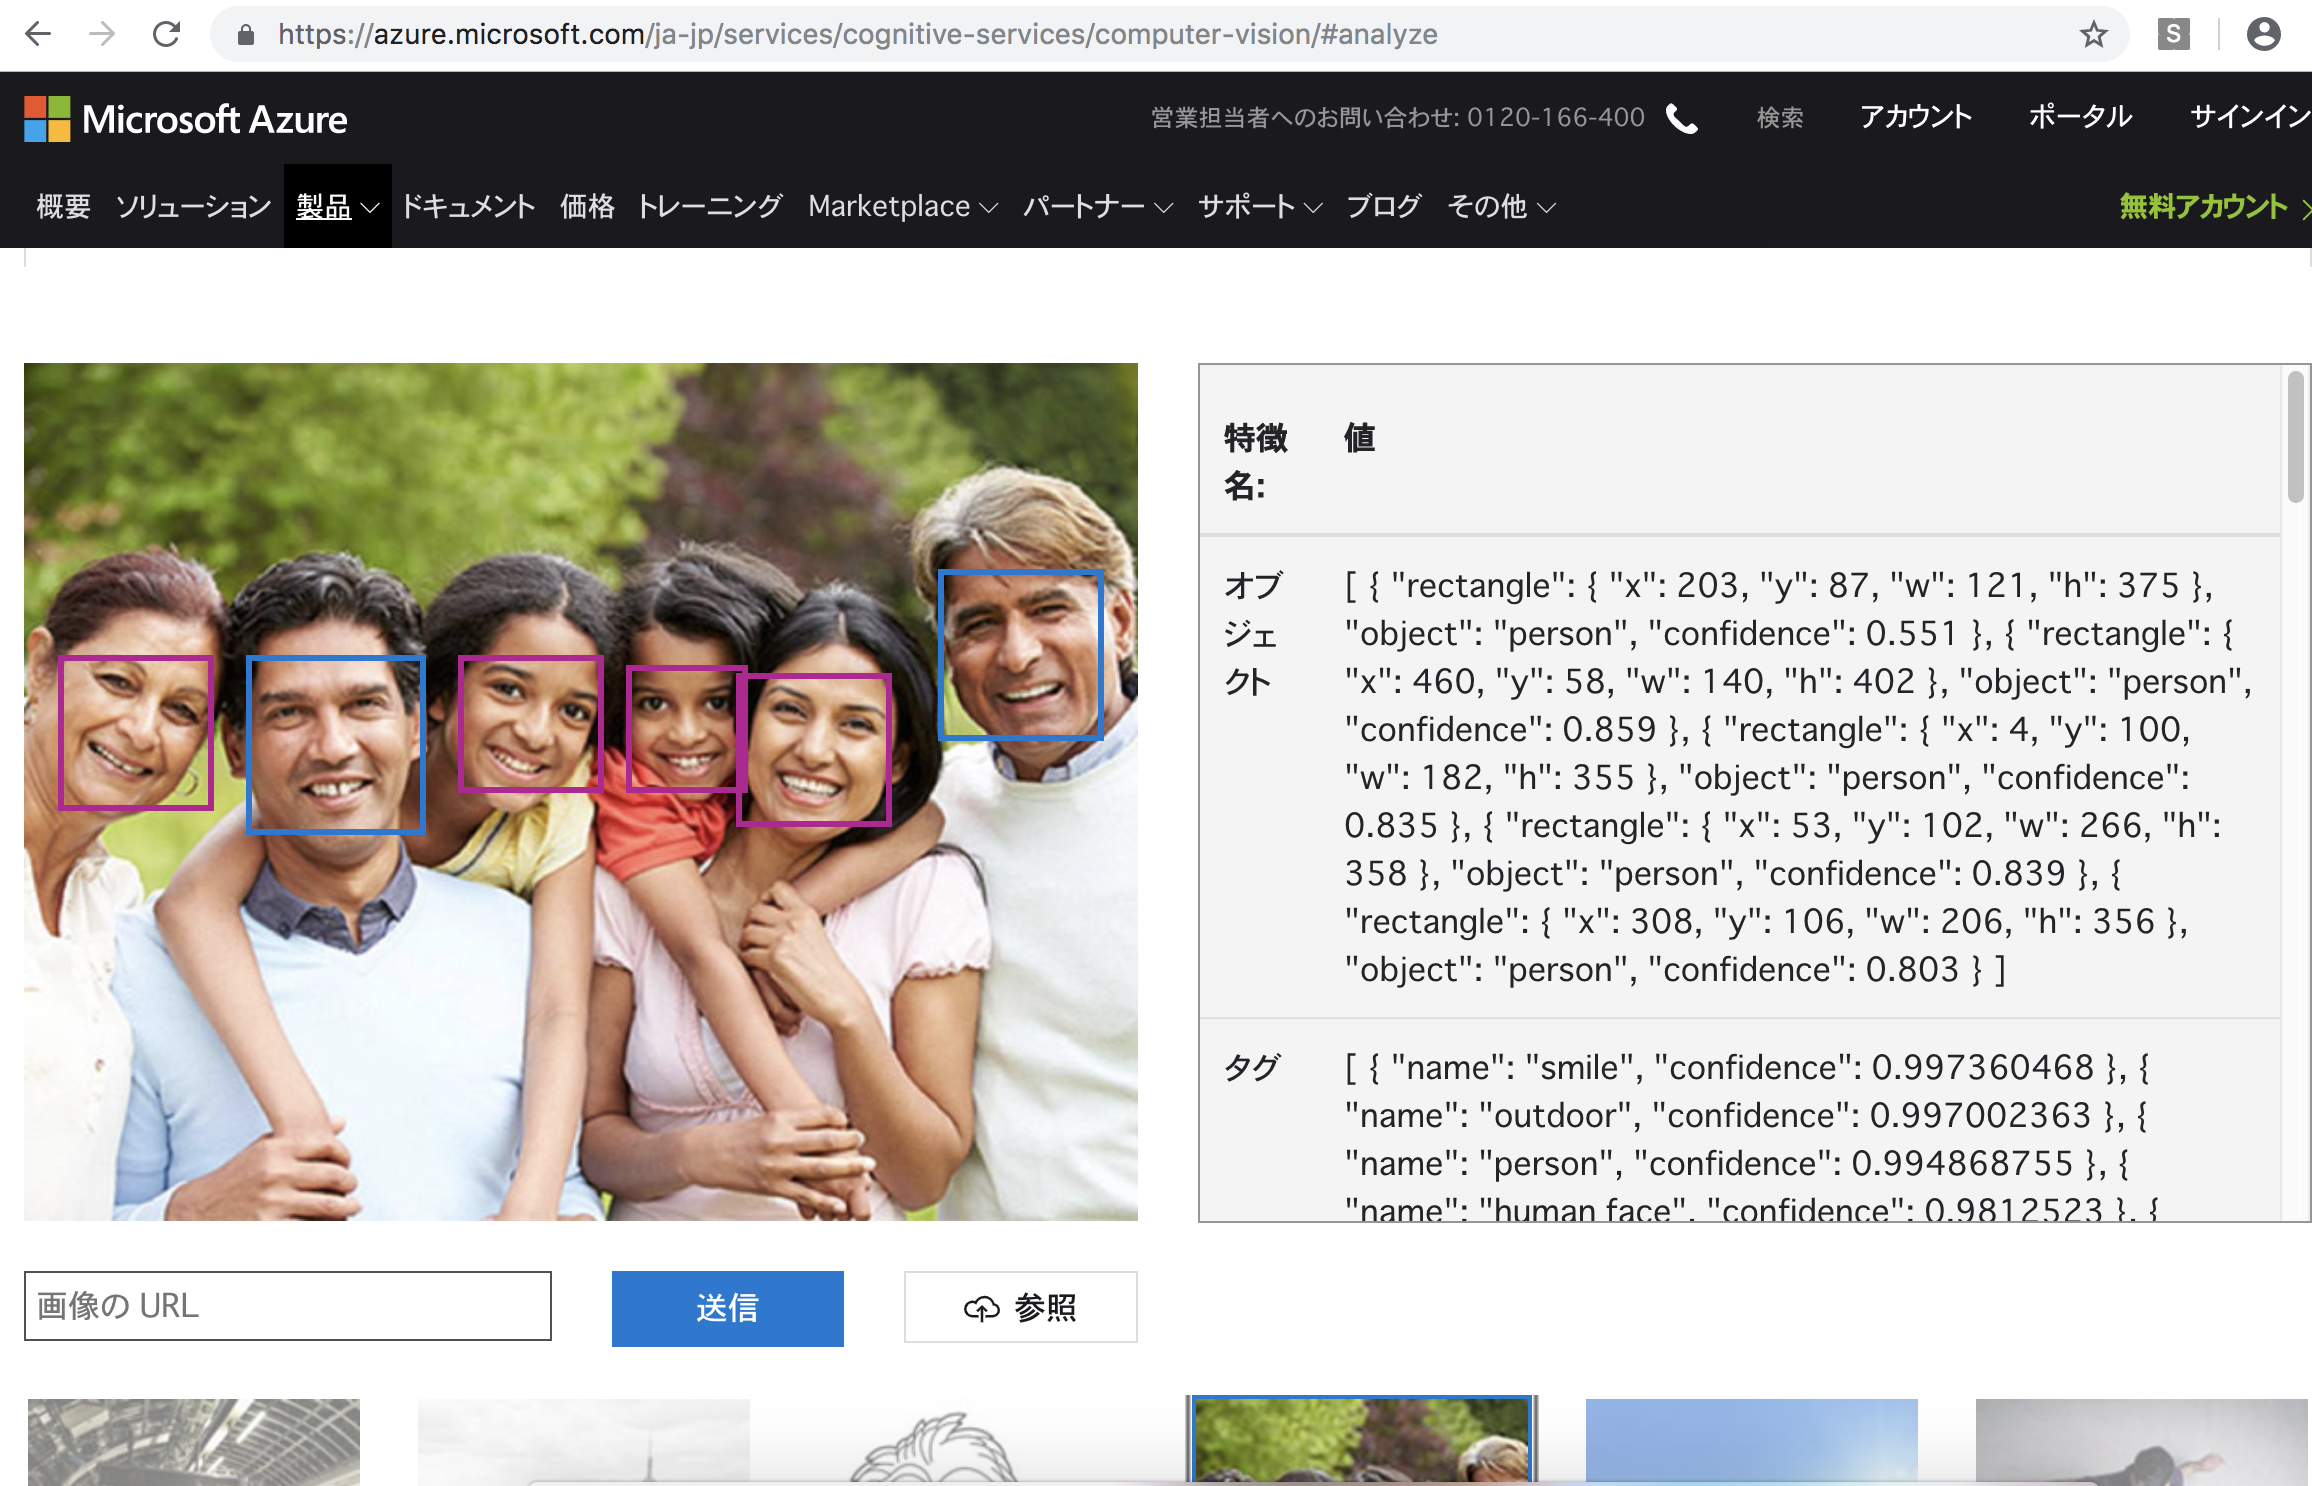
– computer vision
– Ink Recognizer
– Custom Vision
– Face
– Video Indexer
– Form Recognizer
サンプル
随机应变 ABCD: Always Be Coding and … : хороший

MicrosoftはAzureとの連携・展開
– Microsoft Cognitive Service
https://azure.microsoft.com/ja-jp/services/cognitive-services/
serviceとしては
– computer vision
– Ink Recognizer
– Custom Vision
– Face
– Video Indexer
– Form Recognizer
サンプル
Appleの機械学習
– Siri
– 音楽、アプリ、ニュースのレコメンデーション
– 電池消費の最適化
– 自動運転
– その他AIプロジェクト
非公開が多い。当然か。正しい戦略というか、独特の企業文化。
Facebookが取り組む機械学習
→ 運営するSNS上のコンテンツを全て理解することを目標
L 投稿のレコメンデーション
L 顔や物体の検知
L 翻訳
L フェイクニュースの検知
こうやってみると、Facebookは奇抜さはないが、堅実なイメージだ。
AWSばかり目が行きますが、amazonで使われている機械学習は?
L 需要予測
L 商品検索のランクづけ
L 商品のレコメンデーションや配置
L 不正取引の検知
L 翻訳
その他には、自動飛行ドローンが商品を配達するPrime Air
小売店舗のAmazon Goなど
Prime Airとは?
垂直離着陸と飛行能力を完備したドローン
飛行体と人、動物、障害物などを把握するアルゴリズム、解析能力を備える
これ、開発するのに5年くらいかかってる?しかも、配達っていっても、洗濯機、テレビなど大型家電も運べるんだろうか?頭上から落ちてきたら敵わんからな。安全上、問題がありそう。
無人店舗 Amazon Go
ローソンやJRなどがやってる無人店舗、店の中でチャージするんだが、
amazon goは棚の上にカメラがあって、棚から人が商品を取ったらチャージされる仕組みのよう。お店から出て10分くらいたってからチャージ。
機械学習の中でも画像認識はコア技術だな〜
ロジスティック回帰、computer vision、アプリってところか。
Earth to exoplanet: Hunting for planets with machine learning
https://www.blog.google/technology/ai/hunting-planets-machine-learning/
太陽系外の恒星の周りに存在する惑星を発見する為に機械学習を用いている。
惑星が恒星の前を通る時に明るさが落ち込むパターンを学習して、太陽系外惑星の可能性のある候補を精査している
その他googleの機械学習
– 検索エンジン
– 迷惑メール仕分け
– メール返信の文案
– レコメンデーション
– 翻訳
– 画像認識
人間がやってることほぼ全てに応用できるってことか。
Googleが取り組む機械学習の中に、ガンの画像診断がある
https://ai.googleblog.com/2017/03/assisting-pathologists-in-detecting.html
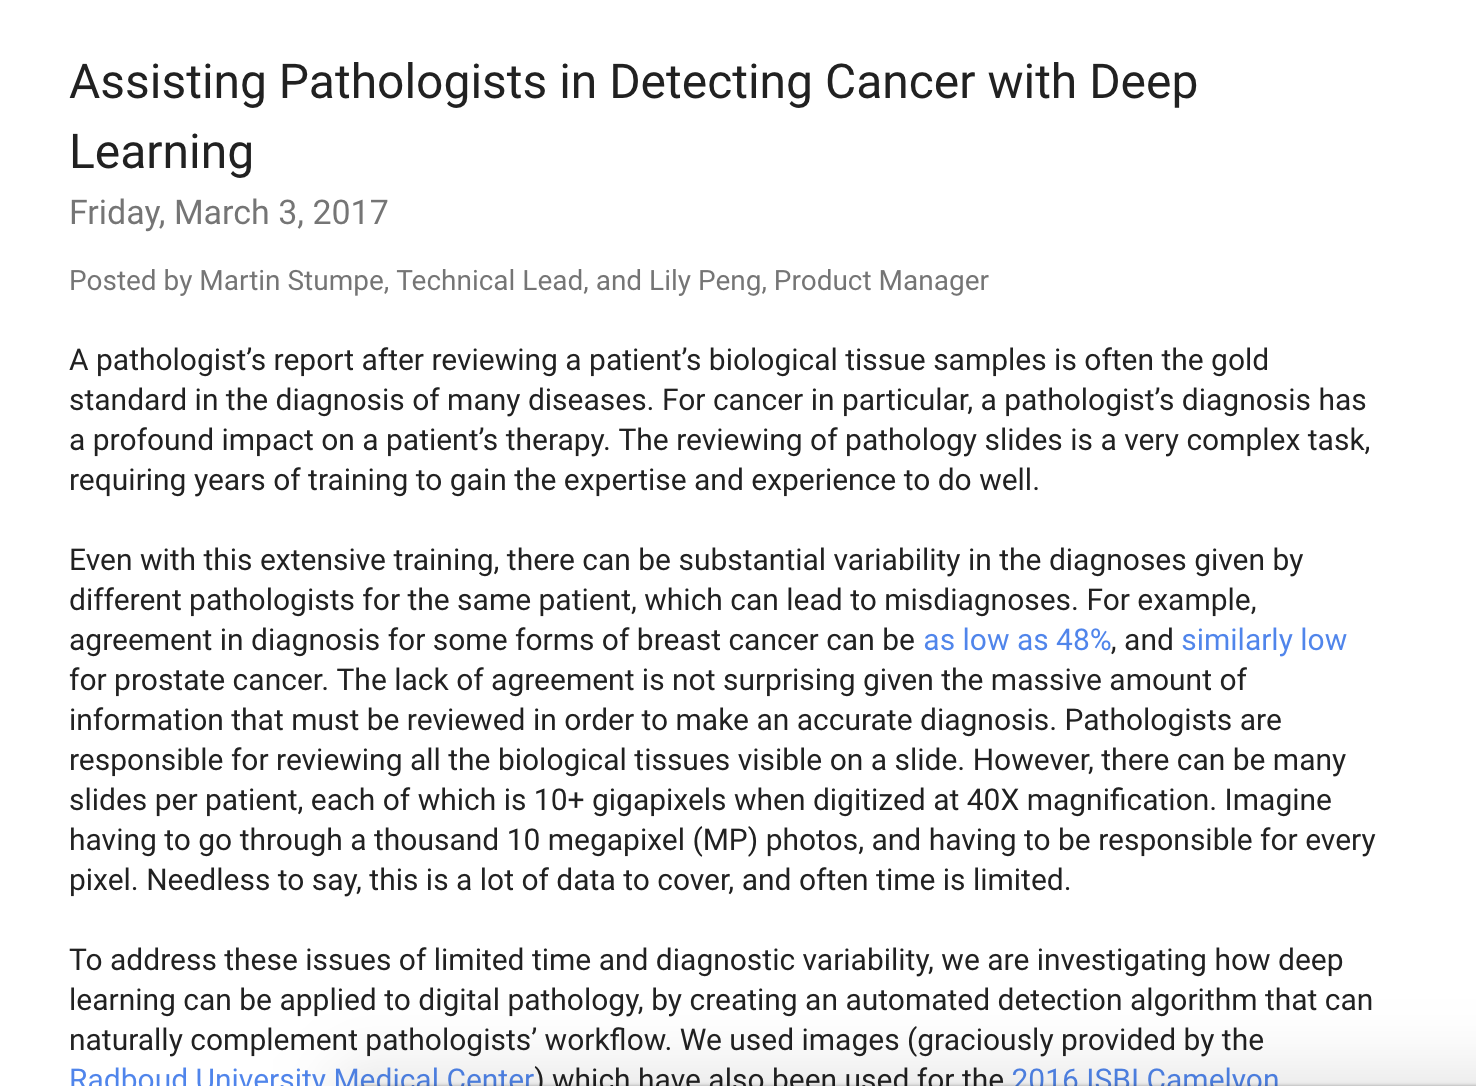
マイクロファージではなく腫瘍を正しく検出する
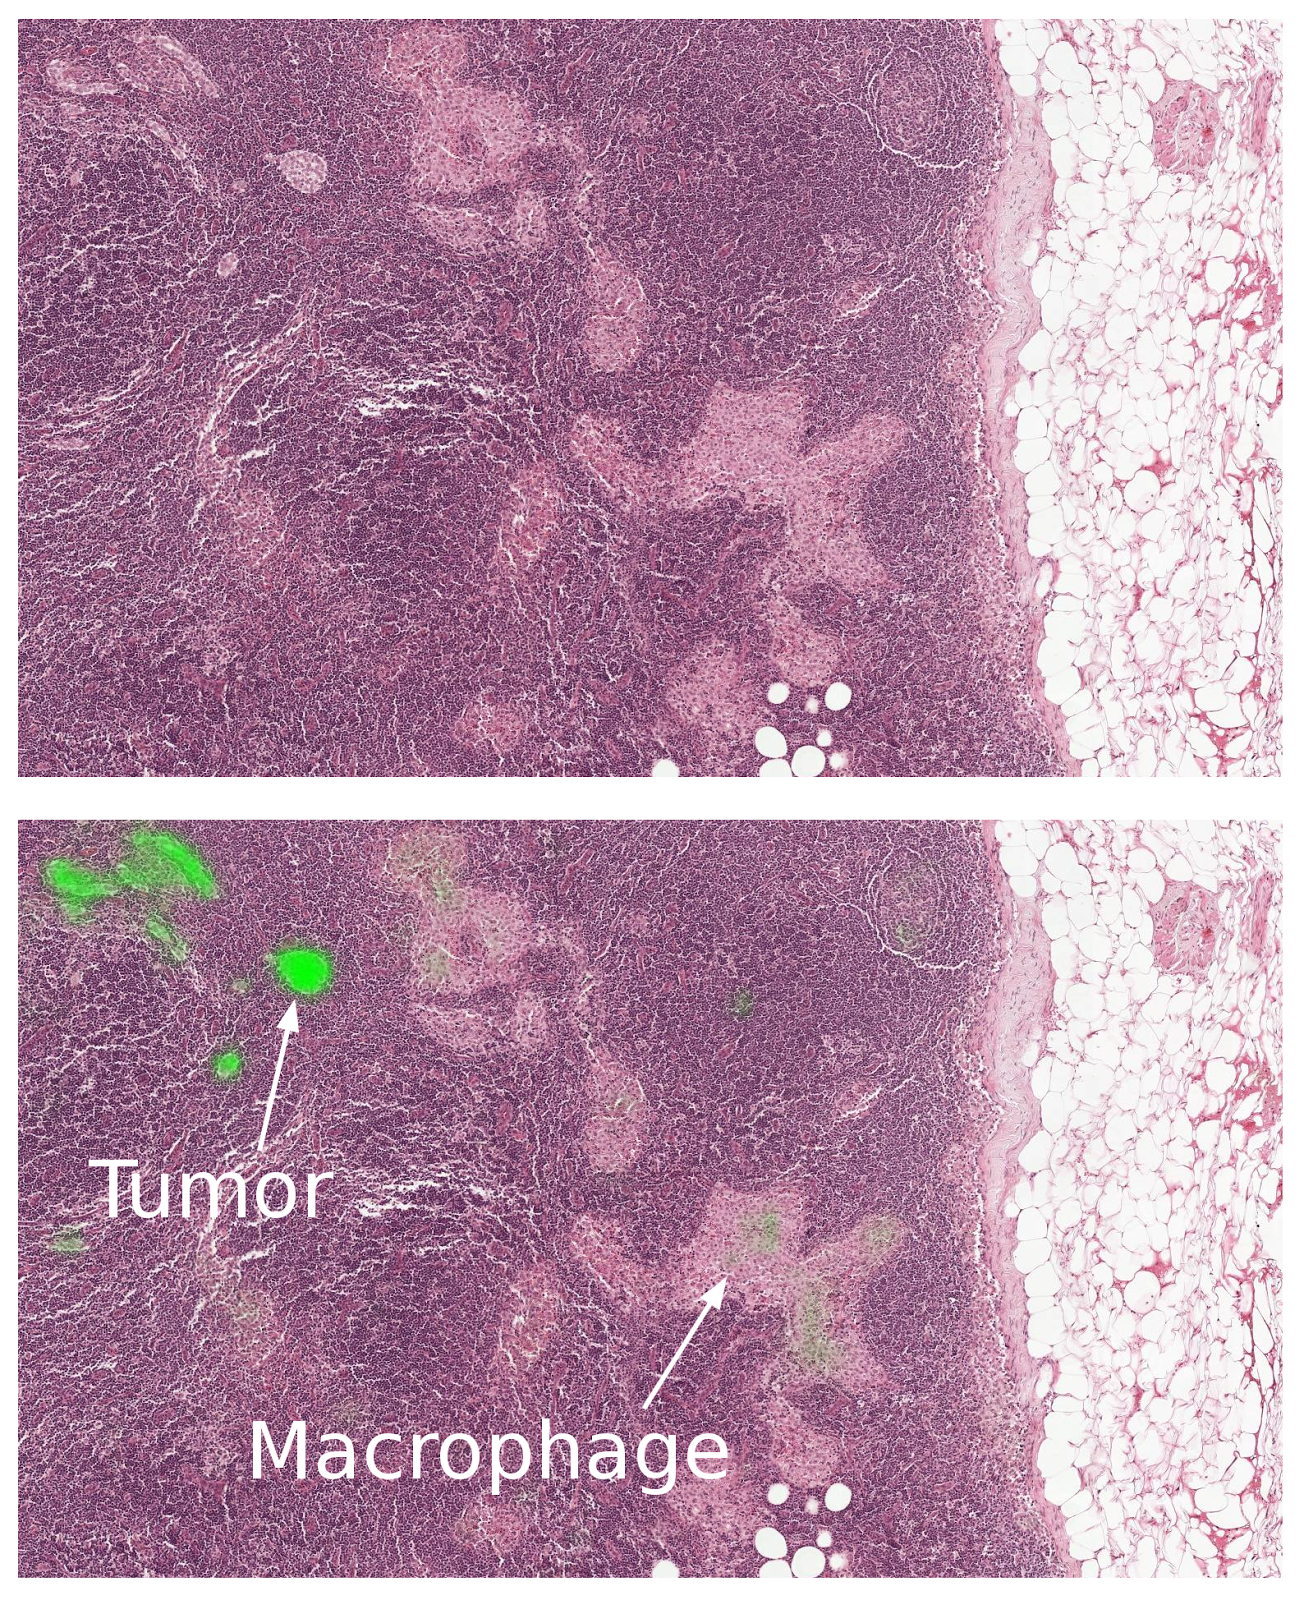
これは腫瘍でやってるけど、人間の目で判断していることを
deep learningでソリューションを提示できればビジネスになるってことかな。
回帰モデルでは、予測関数や損失関数に次のような数式が出てくる
– シグモイド関数
– 予測関数
– 損失関数
指数関数、対数関数、微分、偏微分、多変数関数
とりあえず数学的基礎が必要らしいな。amazonで入門本の購入から始める。
機械学習モデルを理解することがまず第一
ロジスティック回帰
– 線形回帰式をシグモイド関数にかけて確率値と解釈
ニューラルネットワーク
– ロジスティック回帰の仕組みに隠れ層ノードを追加
サポートベクターマシン
– 2クラスの標本値と境界線の距離を基準に最適化
単純ベイズ
– ベイズの公式を用いて観測値から確率を更新
決定木
– 特定の項目の閾値を基準に分類
ランダムフォレスト
– 複数の決定木の多数決で分類を実施
ロジスティック回帰、ニューラルネットワーク、ディープラーニングは、
予測モデルの構造は事前に決まっていて、パラメータ値にだけ自由度
モデルの構造
(1)個々の入力値にパラメーター値をかける
(2)かけた結果の和をとる
(3)結果にある関数を作用させ、その関数の出力を最終的な予測値(yp)とする
パラメータ値の最適化が学習
モデルが正解値をどの程度正しく予想できるかを評価するための損失関数を定める
つまり、ディープラーニングは線形回帰モデルの発展型といっても過言ではない。
最初に「線形回帰モデル」を学び、そこから、分類モデルのロジスティック回帰、ニューラルネットワーク、ディープラーニングを理解するのが良い。なるほど。
[vagrant@localhost waymo-od]$ sudo yum -y install bash-completion tcpdump chrony wget git
[vagrant@localhost waymo-od]$ sudo vi /etc/yum.repos.d/virt7-docker-common-release.repo
name=virt7-docker-common-release
baseurl=http://cbs.centos.org/repos/virt7-docker-common-release/x86_64/os/
gpgcheck=0
[vagrant@localhost waymo-od]$ sudo yum -y install –enablerepo=virt7-docker-common-release kubernetes etcd flannel
読み込んだプラグイン:fastestmirror
File contains no section headers.
file: file:///etc/yum.repos.d/virt7-docker-common-release.repo, line: 1
‘name=virt7-docker-common-release\n’
ん?section headers?
sudo yum -y install –enablerepo=virt7-docker-common-release kubernetes etcd flannel
エラー: パッケージ: etcd-2.0.9-1.el7.x86_64 (virt7-docker-common-release)
要求: systemd
エラー: パッケージ: docker-1.6.2-4.gitc3ca5bb.el7.x86_64 (virt7-docker-common-release)
要求: systemd
エラー: パッケージ: flannel-0.2.0-7.el7.x86_64 (virt7-docker-common-release)
要求: systemd
マシンのIPアドレスを決めて、そのアドレス設定を、ネットワーク上の全てのマシンに伝える
[vagrant@localhost waymo-od]$ cat /etc/hosts
127.0.0.1 localhost localhost.localdomain localhost4 localhost4.localdomain4
::1 localhost localhost.localdomain localhost6 localhost6.localdomain6
127.0.0.1はループバックアドレス
