CentOSにaws cliをインストールする

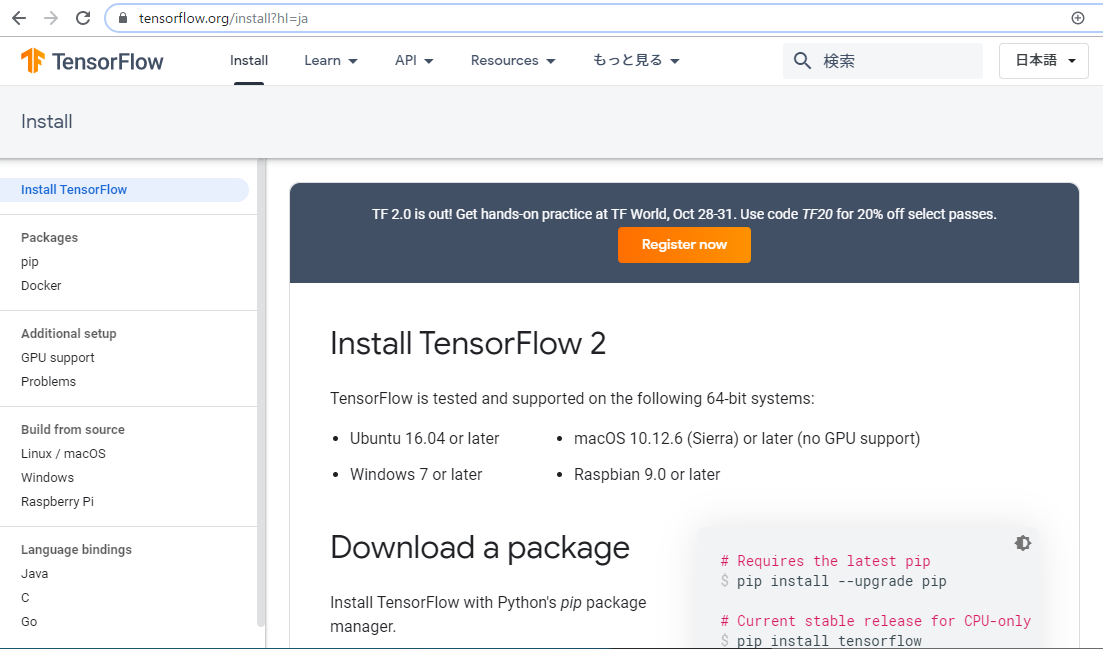
公式を参考にします。
LinuxにAWS CLIをインストールする

[vagrant@localhost ~]$ aws –version
-bash: aws: コマンドが見つかりません
[vagrant@localhost ~]$ pip3 –version
pip 18.0 from /home/vagrant/.pyenv/versions/3.5.2/lib/python3.5/site-packages/pip (python 3.5)
[vagrant@localhost ~]$ python3 –version
Python 3.5.2

pip3は入ってます。インストールしていきます。

[vagrant@localhost ~]$ pip3 install awscli –upgrade –user
Installing collected packages: botocore, s3transfer, awscli
Found existing installation: botocore 1.12.86
Uninstalling botocore-1.12.86:
Successfully uninstalled botocore-1.12.86
Found existing installation: s3transfer 0.1.13
Uninstalling s3transfer-0.1.13:
Successfully uninstalled s3transfer-0.1.13
Found existing installation: awscli 1.16.96
Uninstalling awscli-1.16.96:
Successfully uninstalled awscli-1.16.96
Successfully installed awscli-1.16.198 botocore-1.12.188 s3transfer-0.2.1

[vagrant@localhost ~]$ aws –version
-bash: aws: コマンドが見つかりません
successfully installedとなっているのに、なぜ?

[vagrant@localhost ~]$ which aws
/usr/bin/which: no aws in (/home/vagrant/.pyenv/plugins/pyenv-virtualenv/shims:/home/vagrant/.pyenv/shims:/home/vagrant/.pyenv/bin:/home/vagrant/.rbenv/shims:/home/vagrant/.rbenv/bin:/home/vagrant/.nvm/versions/node/v10.7.0/bin:/usr/local/bin:/bin:/usr/bin:/usr/local/sbin:/usr/sbin:/sbin:/home/vagrant/bin)
[vagrant@localhost ~]$ which python
~/.pyenv/shims/python

なんでだろー、わからん。。

AWS CloudFormation

AWS CloudFormation is a service that help you model and set up Amazon Web Services resources. You can spend less time managing resources and focus more on the applications that run on AWS. If you create a template that describes all of the AWS resources that you wan to use, such as Amazon EC2 instances or Amazon RDS DB instances, AWS CloudFormation will be responsible for provisioning and configuring these resources on your behalf. You don’t have to create and design individual AWS resources and think about their dependencies. AWS CloudFormation handles everything.

{
	"AWSTempleteFormatVersion": "2010-09-09",

	"Description": "CloudFormation tutorial",

	"Resources" : {
	  "InstanceSecurityGroup": {
	     "Type": "AWS::EC2::SecurityGroup",
	     "Properties": {
	         "GroupDescription" : "Enable HTTP Access on the configured port",
	         "securityGroupIngress" : [
	            {"IpProtocol": "tcp", "FromPort":"80", "ToPort":"80","CidrIp":"0.0.0.0/0"}
	         ]
	     }
	  }
	}
}

Q&Aの見出しをCCSで装飾(邪道?)

[ccs]
#qa dt .q {
padding:2px 5px 2px 5px;
background-color:orangered;
color:#fff;
margin-right:5px;
}
#qa dd .a {
padding:2px 5px 2px 5px;
background-color:orangered;
color:#fff;
margin-right:5px;
}
[/ccs]

邪道かな。やっぱimgでやるべきか。。

split brain

Originally, if either is a primary aircraft, the other must be a secondary aircraft, but both are primary aircraft.

In this way, a situation where multiple primary machine exist when a cluster is split is called split brain. If data is updated in this state, data inconsistencies may occur.

Why does split brain occur?
-> Split brain is mainly caused by network failure between the first and second units.

key

>KEY は通常、INDEX のシノニムです。キー属性 PRIMARY KEY もまた、カラム定義内で指定する場合は、単に KEY として指定できます。これは、ほかのデータベースシステムとの互換性のために実装されました。
Indexって理解でOK?
->確実に 識別する(identification) ための 主たる制約

MySQL unsigned

Integer types can handle positive and negative numbers, but if the data type is followed by UNSIGNED, only 0 and positive numbers can be stored. Such data types are called unsigned integer types. For example, to make INT type unsigned, write as follows.

mysql> create table numtest(
-> num1 smallint unsigned
-> );
Query OK, 0 rows affected (0.17 sec)

mysql> insert into numtest values(5000);
Query OK, 1 row affected (0.12 sec)

mysql> insert into numtest values(-10);
Query OK, 1 row affected, 1 warning (0.03 sec)

mysql> select * from numtest;
+——+
| num1 |
+——+
| 5000 |
| 0 |
+——+
2 rows in set (0.00 sec)

MySQLのcomments

CREATE TABLEの際にcommentを追加する
mysql> CREATE TABLE corporate(
-> name varchar(255) comment ‘商号’,
-> address varchar(255) comment ‘所在地’
-> )
-> default charset=utf8
-> comment=’会社テーブル’;
Query OK, 0 rows affected (0.36 sec)

mysql> describe corporate;
+———+————–+——+—–+———+——-+
| Field | Type | Null | Key | Default | Extra |
+———+————–+——+—–+———+——-+
| name | varchar(255) | YES | | NULL | |
| address | varchar(255) | YES | | NULL | |
+———+————–+——+—–+———+——-+
2 rows in set (0.06 sec)

show full columnsでカラムのcomment表示
mysql> show full columns from corporate;
+———+————–+—————–+——+—–+———+——-+—– —————————-+———–+
| Field | Type | Collation | Null | Key | Default | Extra | Priv ileges | Comment |
+———+————–+—————–+——+—–+———+——-+—– —————————-+———–+
| name | varchar(255) | utf8_general_ci | YES | | NULL | | sele ct,insert,update,references | 商号 |
| address | varchar(255) | utf8_general_ci | YES | | NULL | | sele ct,insert,update,references | 所在地 |
+———+————–+—————–+——+—–+———+——-+—– —————————-+———–+
2 rows in set (0.00 sec)

カラムの要件定義でカラムの意味は決めるので、sqlの中にわざわざcommentを追加する必要性は限られるようにも思うが、ケースバイケースということか?

mysqlの権限参照

– どのユーザーがいるか知りたい
SELECT user, host, password FROM mysql.user
mysql> select user,host from mysql.user;
+——+———————–+
| user | host |
+——+———————–+
| user | % |
| root | 127.0.0.1 |
| root | ::1 |
| | localhost |
| root | localhost |
| saru | localhost |
| | localhost.localdomain |
| root | localhost.localdomain |
+——+———————–+
8 rows in set (0.21 sec)

-ユーザー権限
SHOW GRANTS FOR root@`localhost`

mysql> show grants for root@localhost;
+———————————————————————+
| Grants for root@localhost |
+———————————————————————+
| GRANT ALL PRIVILEGES ON *.* TO ‘root’@’localhost’ WITH GRANT OPTION |
| GRANT PROXY ON ”@” TO ‘root’@’localhost’ WITH GRANT OPTION |
+———————————————————————+
2 rows in set (0.06 sec)

– 管理用ユーザー
GRANT ALL ON *.* TO adminuser@`%` IDENTIFIED BY ‘password’ WITH GRANT OPTION;

– IP制限
GRANT ALL ON *.* TO adminuser@’172.16.0.0/255.255.255.0′ IDENTIFIED BY ‘password’ WITH GRANT OPTION;

– 全てのデータベースにアクセス
GRANT ALL ON *.* TO testuser@’%’ IDENTIFIED By ‘password’;

– 特定のデータベースにアクセス
GRANT ALL ON testdatabase.* TO testuser@’%’ IDENTIFIED BY ‘password’;

ref: create user with GRANT Privileges in Terminal

Linuxのバージョン確認

cat /proc/version
[vagrant@localhost ~]$ cat /proc/version
Linux version 2.6.32-754.14.2.el6.x86_64 (mockbuild@x86-01.bsys.centos.org) (gcc version 4.4.7 20120313 (Red Hat 4.4.7-23) (GCC) ) #1 SMP Tue May 14 19:35:42 UTC 2019

uname -a
[vagrant@localhost ~]$ uname -a
Linux localhost.localdomain 2.6.32-754.14.2.el6.x86_64 #1 SMP Tue May 14 19:35:42 UTC 2019 x86_64 x86_64 x86_64 GNU/Linux

unameだと、usernameが出てきますね。

cat /etc/system-release
[vagrant@localhost ~]$ cat /etc/system-release
CentOS release 6.10 (Final)

これが一般的か。
ちなみに、最新のLinuxはというと、、、

カーネルは4.18.0-80が最新のようですね。

UTF8 BOM(byte order mark)

There are two types of character code, Unicode, which has no BOM and with a BOM. BOM stands for byte order mark, which is a few bytes of data attached to the beginning of Unicode encoded text.

When the program reads text data, it determines from the first few bytes that it is Unicode data and which kind of encoding format is adopted. In the case of UTF-8 with BOM, the first 3 bytes are BOM, and the data is <0xEF 0xBB 0xBF>

Depending on the application such as Microsoft Excel, it may not be possible to determine whether the encoding method is UTF-8, UTF-16, UTF-32, or another different character code unless BOM is added. On the other hand, for HTML files used as web pages, it is better to save / overwrite without BOM. This is because some programs such as PHP that process web pages dynamically can not process text files with BOMs correctly. It can not generally be said that which way is better depending on the situation like this.

The difference between a file with BOM and a file without BOM is the presence or absence of the first 3 bytes, and the contents of other files and the character code (encoding system) are exactly the same. This means that if the encoding method is not correct, it will be displayed normally as a simple text file, so it can be said that it is difficult to notice that the BOM is the cause if the file malfunctions in any program.

ref: