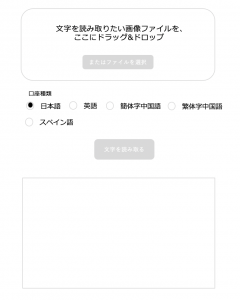
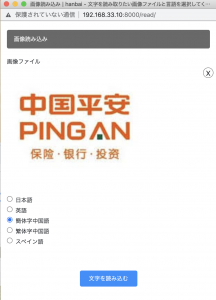
1) コーディングする前に、まず画面設計から作ります。
– イメージとしてはポップアップ
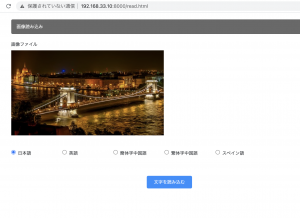
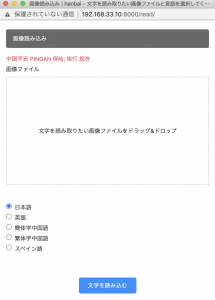
2) 続いて、Webpack&SASS環境でドラッグ&ドロップのFrontEndを書いていく
– 画像ファイルの制御は file.type.match(‘image.*’)とする。
– 例えばjpegなら、file typeは’image/jpeg’となる。
var imageType = 'image.*';

				if(! file.type.match(imageType)){
					alert('画像を選択してください');
					$('#input_file').val('');
					$('#drop_area').css('border', '1px dashed #aaa');
					return;
				}
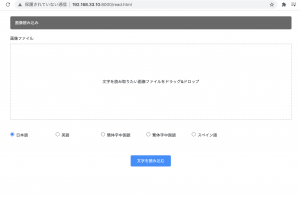
良い感じ。これをDjangoに実装する
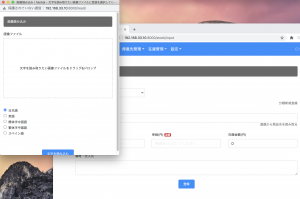
3) Django
### template
– aタグのリンクをwindow.openで設定する
<a href="javascript:window.open('/read', null, 'top=0,left=0,width=500px,height=650');">画像から商品名を読み取る</a>
– radioのvalueはlangの値を入れます。
<div class="row col-md-12 mt-10">
	  			<div class="form-check col-md-2">
				  <input class="form-check-input" type="radio" name="lang" value="jpn" id="lang" checked>
				  <label class="form-check-label" for="lang">日本語</label>
				</div>
				<div class="form-check col-md-2">
				  <input class="form-check-input" type="radio" name="lang" value="eng" id="lang">
				  <label class="form-check-label" for="lang">英語</label>
				</div>
				<div class="form-check col-md-2">
				  <input class="form-check-input" type="radio" name="lang" value="chi_sim" id="lang">
				  <label class="form-check-label" for="lang">簡体字中国語</label>
				</div>
				<div class="form-check col-md-2">
				  <input class="form-check-input" type="radio" name="lang" value="chi_tra" id="lang">
				  <label class="form-check-label" for="lang">繁体字中国語</label>
				</div>
				<div class="form-check col-md-2">
				  <input class="form-check-input" type="radio" name="lang" value="spa" id="lang">
				  <label class="form-check-label" for="lang">スペイン語</label>
				</div>
			</div>
views.py
– Postされた画像は request.FILES[‘*’]で受け取る。
– 条件分岐で、request.FILES[‘read_img’]とすると、MultiValueDictKeyErrorになるので、request.FILES.get(‘read_img’, False)とする。
from PIL import Image
import sys
import pyocr
def img_read(request):
	if(request.method == 'POST' and request.FILES.get('read_img', False)):
		tools = pyocr.get_available_tools()
		img = request.FILES['read_img']
		langs = request.POST['lang']
		img = Image.open(img)
		txt = tools[0].image_to_string(img,lang=langs,builder=pyocr.builders.TextBuilder(tesseract_layout=6))
		params = {
			'txt': txt,
		}
		return render(request, 'sales/img_read.html', params)
	else:
		return render(request, 'sales/img_read.html')
出来たーーーーーーーーーーーーーー^^
きゃっ♩ きゃっ🎵 きゃっ🎶
早速git pushしよー