Laravelで多言語(日本語/中国語/英語)のアプリケーションを作っています。
ユーザのロールによって、販売画面は英語・中国語、管理画面は日本語・英語に切り分ける仕様。
その為、config/app.phpの localは英語(en)で設定します。
'locale' => 'en',
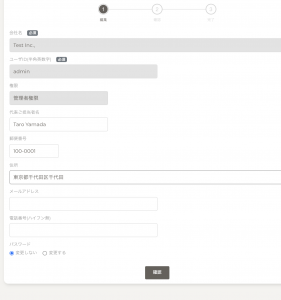
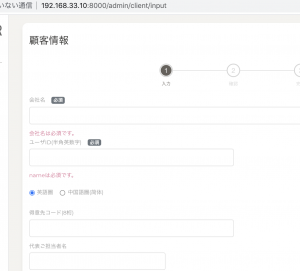
管理画面でユーザ登録や商品登録をしようとした時に、日本語のバリデーションを表示させたい。
### バリデーション(Request)作成
$ php artisan make:request CreateClientRequest
CreateClientRequest.php
public function rules()
{
return [
'company' => ['required','max:100'],
'name' => ['required','unique:users,name','min:2','max:24'],
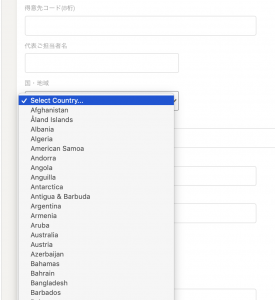
'lang' => ['required'],
// 省略
];
}
-> これだと、英語のバリデーションファイルを読みに行ってしまうので、日本語のバリデーションファイルを作ります。
/resources/lang/ja/validation.php
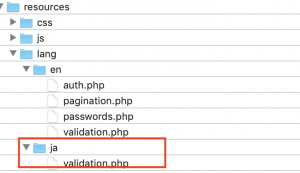
ここに日本語のvalidationを書きます。
return [
       // 省略
       'required' => ':attributeは必須です。',
       // 省略

    'attributes' => [
        'company'=>'会社名',
        'id'=>'ユーザID',
        'lang'=>'言語',
        // 省略
    ],
];
それで、CreateClientRequestで、この日本語のバリデーションを読み込むように、setlocaleで日本語を指定します。
CreateClientRequest.php
use Illuminate\Support\Facades\App;
    public function rules()
    {

        App::setLocale('ja');
        return [
            //
            'company' => ['required','max:100'],
            'name' => ['required','unique:users,name','min:2','max:24'],
            'lang' => ['required'],
            // 省略
        ];
    }
そうすると、このバリデーションでは、/ja/validation.phpを読みに行ってくれます。
App::setLocale(”); は、バリデーションファイル(Request)だけでなく、Controller側で指定しても、同じように、日本語のバリデーションファイルを読みにいきます。
つまり、config/app.phpで指定した言語以外のバリデーションも、App::setLocale(”)で自由に呼び出すことができるとういわけです。
うおおおおおおおおおおおおおお
俺がやりたかったのコレ。
久々にプログラミングで興奮した。