/home/vagrant/go/bin/dep init
twitterのconsumer key, access-tokenなどを用意します。
package main

import (
	"github.com/ChimeraCoder/anaconda"
)

func main() {
    anaconda.NewTwitterApiWithCredentials("your-access-token", "your-access-token-secret", "your-consumer-key", "your-consumer-secret")
}
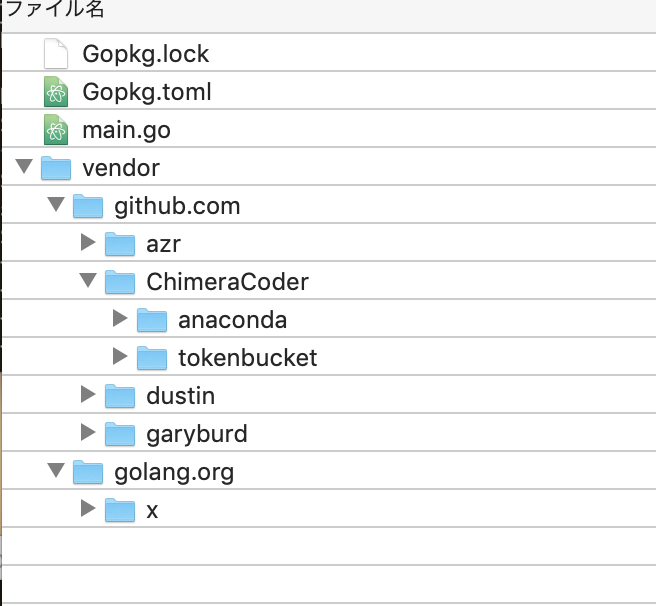
$ /home/vagrant/go/bin/dep ensure
作成されています。
twitterAccount.json
{
  "accessToken": "",
  "accessTokenSecret": "",
  "consumerKey": "",
  "consumerSecret": ""
}
package main

import (
	"encoding/json"
	"fmt"
	"io/ioutil"

	"github.com/ChimeraCoder/anaconda"
)

func main(){

	raw, error := ioutil.ReadFile("twitterAccount.json")

	if error != nil {
		fmt.Println(error.Error())
		return
	}

	var twitterAccount TwitterAccount
	json.Unmarshal(raw, &twitterAccount)

	api := anaconda.NewTwitterApiWithCredentials(twitterAccount.AccessToken, twitterAccount.AccessTokenSecret, twitterAccount.ConsumerKey, twitterAccount.ConsumerSecret)

	searchResult, _ := api.GetSearch(`スタートアップ`, nil)
	for _, tweet := range searchResult.Statuses {
		fmt.Println(tweet.Text)
	}
}

type TwitterAccount struct {
	AccessToken string `json:"accessToken"`
	AccessTokenSecret string `json:"accessTokenSecret"`
	ConsumerKey string `json:"consumerKey"`
	ConsumerSecret string `json:"consumerSecret"`
}
$ go run main.go
“厄介者”火山灰で排水処理を手助け、
巨大企業も目?
RT @ecoecoecho: 何をやっているか全く分からないが藤原竜也のイ
RT @Herlipto_info: 𝖲𝗁𝖺𝗋𝗂𝗇𝗀 𝗈𝗎𝗋 𝗅𝗈𝗏𝖾𝗅𝗒 𝗇𝖾𝗐 𝗉𝗂𝖾𝖼𝖾𝗌.
9/20(mon)20:00
RT @Herlipto_info: 𝖲𝗁𝖺𝗋𝗂𝗇𝗀 𝗈𝗎𝗋 𝗅𝗈𝗏𝖾𝗅𝗒 𝗇𝖾𝗐 𝗉𝗂𝖾𝖼𝖾𝗌.
// 省略
おおおおおおおおおおお
package main

import (
	"encoding/json"
	"fmt"
	"io/ioutil"
	"net/http"

	"github.com/labstack/echo"
	"github.com/ChimeraCoder/anaconda"
)

func main(){

	e := echo.New()
	e.Post("/tweet", search)
	e.Logger.Fatal(e.start(":1323"))
}

func search(c echo.Context) error {
	keyword := c.FormValue("keyword")
	api := connectTwitterApi()

	searchResult, _ := api.GetSearch(`"` +keyword+ `"`, nil)

	tweets := make([]*Tweet, 0)

	for _, data := range searchResult.Statuses {
		tweet := new(Tweet)
		tweet.Text = data.FullText
		tweet.User = data.User.Name

		tweets = append(tweets, tweet)
	}

	return c.JSON(http.StatusOK, tweets)
}

func connectTwitterApi() *anaconda.TwitterApi {
	raw, error := ioutil.ReadFile("twitterAccount.json")

	if error != nil {
		fmt.Println(error.Error())
		return
	}

	var twitterAccount TwitterAccount
	json.Unmarshal(raw, &twitterAccount)

	return anaconda.NewTwitterApiWithCredentials(twitterAccount.AccessToken, twitterAccount.AccessTokenSecret, twitterAccount.ConsumerKey, twitterAccount.ConsumerSecret)

}


type TwitterAccount struct {
	AccessToken string `json:"accessToken"`
	AccessTokenSecret string `json:"accessTokenSecret"`
	ConsumerKey string `json:"consumerKey"`
	ConsumerSecret string `json:"consumerSecret"`
}

type Tweet struct {
	User string `json:"user"`
	Text string `json:"text"`
}

type Tweets *[]Tweet
$ go build
go: inconsistent vendoring in /home/vagrant/go/src/github.com/me/twitter:
github.com/ChimeraCoder/anaconda@v2.0.0+incompatible: is explicitly required in go.mod, but not marked as explicit in vendor/modules.txt
github.com/ChimeraCoder/tokenbucket@v0.0.0-20131201223612-c5a927568de7: is explicitly required in go.mod, but not marked as explicit in vendor/modules.txt
github.com/azr/backoff@v0.0.0-20160115115103-53511d3c7330: is explicitly required in go.mod, but not marked as explicit in vendor/modules.txt
github.com/dustin/go-jsonpointer@v0.0.0-20160814072949-ba0abeacc3dc: is explicitly required in go.mod, but not marked as explicit in vendor/modules.txt
github.com/dustin/gojson@v0.0.0-20160307161227-2e71ec9dd5ad: is explicitly required in go.mod, but not marked as explicit in vendor/modules.txt
github.com/garyburd/go-oauth@v0.0.0-20180319155456-bca2e7f09a17: is explicitly required in go.mod, but not marked as explicit in vendor/modules.txt
github.com/labstack/echo/v4@v4.5.0: is explicitly required in go.mod, but not marked as explicit in vendor/modules.txt
golang.org/x/net@v0.0.0-20210917221730-978cfadd31cf: is explicitly required in go.mod, but not marked as explicit in vendor/modules.txt
run ‘go mod vendor’ to sync, or use -mod=mod or -mod=readonly to ignore the vendor directory
なんでやろ
まあ 取得できるって事まではわかった。