$ npm init
$ npm install graphql express express-graphql -save
server.js
var express = require('express');
var express_graphql = require('express-graphql').graphqlHTTP;
var { buildSchema } = require('graphql');
var schema = buildSchema(`
type Query {
message: String
}
`);
var root = {
message: () => 'Hello World!'
};
var app = express();
app.use('/graphql', express_graphql({
schema: schema,
rootValue: root,
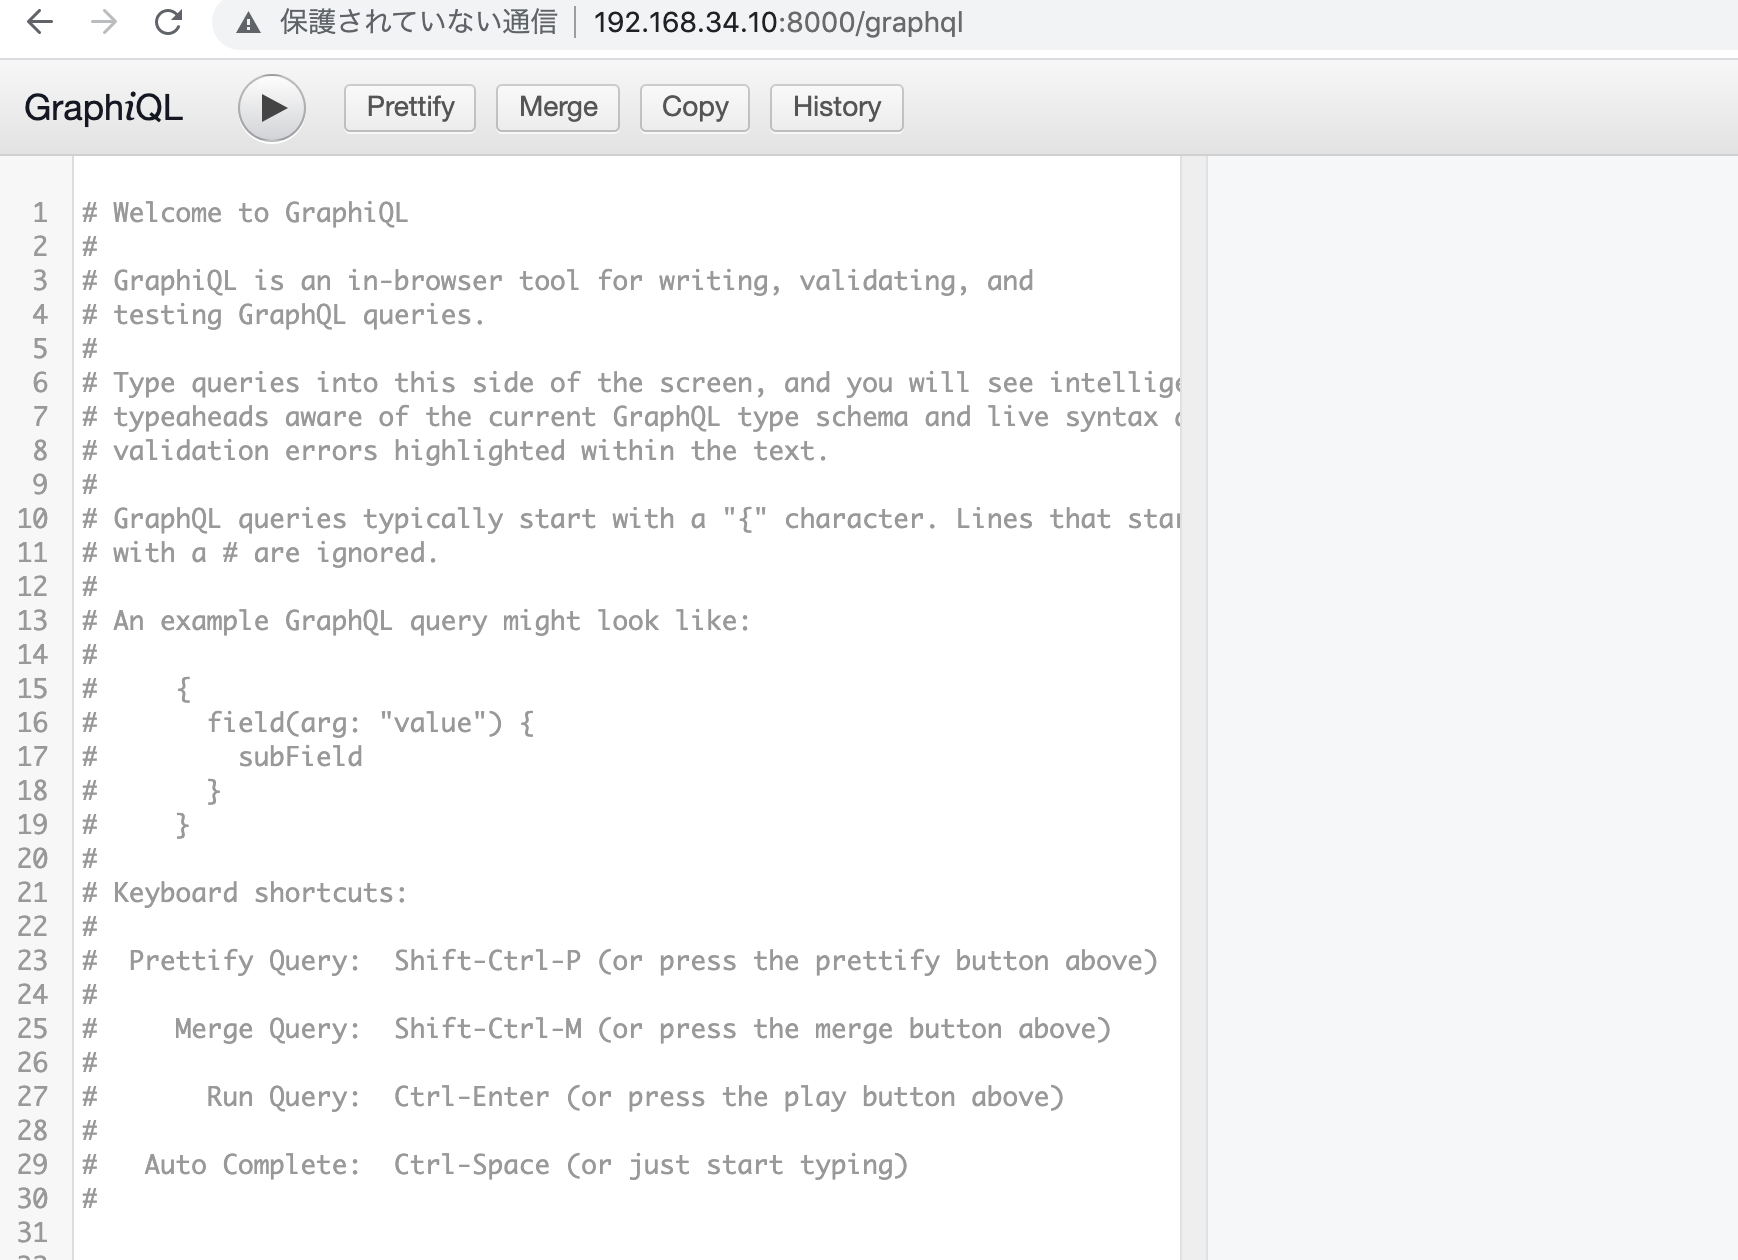
graphiql: true
}));
app.listen(8000, () => console.log('Express GraphQL Server Now Running On 192.168.34.10:8000/graphql'))
{
	message
}
{
  "data": {
    "message": "Hello World!"
  }
}
$ curl -XPOST -H “Content-Type:application/json” ‘http://192.168.34.10:8000/graphql’ -d ‘{“query”: “query { message }”}’
{“data”:{“message”:”Hello World!”}}
L jsonでクエリをリクエストすると返ってくる
### パラメータを受け取る
var express = require('express');
var express_graphql = require('express-graphql').graphqlHTTP;
var { buildSchema } = require('graphql');

var schema = buildSchema(`
	type Query {
		course(id: Int!): Course
		courses(topic: String):[Course]
	},
	type Course {
		id: Int
		title: String
		author: String
		description: String
		topic: String
		url: String
	}
`);
var coursesData = [
{
	id: 1,
	title: '初めてのGraphQL ―Webサービスを作って学ぶ新世代API',
	author: 'Eve Porcello',
	description: '本書で紹介するGraphQLは2015年にFacebookによって公開されたRESTとは異なるアプローチのアーキテクチャです。',
	topic: 'GraphQL',
	url: 'https://www.amazon.co.jp/%E5%88%9D%E3%82%81%E3%81%A6%E3%81%AEGraphQL-%E2%80%95Web%E3%82%B5%E3%83%BC%E3%83%93%E3%82%B9%E3%82%92%E4%BD%9C%E3%81%A3%E3%81%A6%E5%AD%A6%E3%81%B6%E6%96%B0%E4%B8%96%E4%BB%A3API-Eve-Porcello/dp/487311893X/ref=sr_1_1?__mk_ja_JP=%E3%82%AB%E3%82%BF%E3%82%AB%E3%83%8A&dchild=1&keywords=graphql&qid=1633041782&sr=8-1'
},
{
	id: 2,
	title: '基礎からはじめるGraphQL',
	author: '志村翔太',
	description: '本書ではGraohQLの基礎文法や概念を学び、実際にGraohQLを利用したアプリケーションの完成を目指していきます。',
	topic: 'GraphQL',
	url: 'https://www.amazon.co.jp/%E5%9F%BA%E7%A4%8E%E3%81%8B%E3%82%89%E3%81%AF%E3%81%98%E3%82%81%E3%82%8BGraphQL-%E5%BF%97%E6%9D%91%E7%BF%94%E5%A4%AA-ebook/dp/B08PC8H5HF/ref=sr_1_2?__mk_ja_JP=%E3%82%AB%E3%82%BF%E3%82%AB%E3%83%8A&dchild=1&keywords=graphql&qid=1633071074&sr=8-2'
},
{
	id: 3,
	title: 'Node.js超入門 第3版',
	author: '掌田津耶乃',
	description: 'Node.jsの入門者向け書籍です。2018/8に出た「Node.js超入門 第2版」の改訂版です。改訂内容は新バージョン14対応、データベースはSQLite3、ORMはSequelizeに変更しています。CSS関連はBootstrap利用、Expressは最初からGeneratorを使う形で解説しています。',
	topic: 'NodeJS',
	url: 'https://www.amazon.co.jp/Node-js%E8%B6%85%E5%85%A5%E9%96%80-%E7%AC%AC3%E7%89%88-%E6%8E%8C%E7%94%B0%E6%B4%A5%E8%80%B6%E4%B9%83/dp/479806243X/ref=sr_1_1_sspa?__mk_ja_JP=%E3%82%AB%E3%82%BF%E3%82%AB%E3%83%8A&dchild=1&keywords=nodejs&qid=1633071225&sr=8-1-spons&psc=1&spLa=ZW5jcnlwdGVkUXVhbGlmaWVyPUEyNEMxVzdLVUtWOU1ZJmVuY3J5cHRlZElkPUEwNjIwNjAzMkhaN1dYSzZVSEw2NiZlbmNyeXB0ZWRBZElkPUExSkVDRkoyVzMwTlBBJndpZGdldE5hbWU9c3BfYXRmJmFjdGlvbj1jbGlja1JlZGlyZWN0JmRvTm90TG9nQ2xpY2s9dHJ1ZQ=='
}
]
var getCourse = function(args){
	var id = args.id;
	return coursesData.filter(course => {
		return course.id == id;
	})[0];
}
var getCourses = function(args){
	if(args.topic){
		var topic = args.topic;
		return coursesData.filter(course = course.topic === topic);
	} else {
		return coursesData;
	}
}
var root = {
	course: getCourse,
	courses: getCourses
};

var app = express();
app.use('/graphql', express_graphql({
 schema: schema,
 rootValue: root,
 graphiql: true
}));
app.listen(8000, () => console.log('Express GraphQL Server Now Running On 192.168.34.10:8000/graphql'))
query getSingleCourse($courseID: Int!) {
 course(id: $courseID) {
  title
  author
  description
  topic
  url
 }
}

{
 "topic":"Node.js"
}
$ curl -XPOST -H “Content-Type:application/json” ‘http://192.168.34.10:8000/graphql’ -d ‘{“query”: “query getSingleCourse($courseID:Int!){course(id:$courseID){title author description topic url}}”, “variables”: {“courseID”:1}}’
{“data”:{“course”:{“title”:”初めてのGraphQL ―Webサービスを作って学ぶ新世代API”,”author”:”Eve Porcello”,”description”:”本書で紹介するGraphQLは2015年にFacebookによって公開されたRESTとは異なるアプローチのアーキテクチャです。”,”topic”:”GraphQL”,”url”:”https://www.amazon.co.jp/%E5%88%9D%E3%82%81%E3%81%A6%E3%81%AEGraphQL-%E2%80%95Web%E3%82%B5%E3%83%BC%E3%83%93%E3%82%B9%E3%82%92%E4%BD%9C%E3%81%A3%E3%81%A6%E5%AD%A6%E3%81%B6%E6%96%B0%E4%B8%96%E4%BB%A3API-Eve-Porcello/dp/487311893X/ref=sr_1_1?__mk_ja_JP=%E3%82%AB%E3%82%BF%E3%82%AB%E3%83%8A&dchild=1&keywords=graphql&qid=1633041782&sr=8-1″}}}
query getCourses($topic: String!) {
 courses(topic: $topic) {
  title
  url
 }
}

{
  "topic": "GraphQL"
}
{
“errors”: [
{
“message”: “course is not defined”,
“locations”: [
{
“line”: 2,
“column”: 2
}
],
“path”: [
“courses”
]
}
],
“data”: {
“courses”: null
}
}
なんやろう、ようわからんね