## Google Cloud Platform (GCP) で設定
GCPでGoogle Sheets APIをenableにします。
APIの認証情報(Credential)として、サービスアカウントを作成し、JSON形式のキーファイルをダウンロード(credentials.json)
## スプレッドシートの共有設定
スプレッドシートの右上の「共有」ボタンをクリックし、先ほど作成したサービスアカウントのメールアドレスを**編集者(Editor)**として追加します。
## Node.jsでライブラリをインストール
$ npm install google-auth-library googleapis
chat-sheet.js
import fs from "fs";
import fetch from "node-fetch";
import { google } from "googleapis";
// Google Sheets APIの設定
const sheets = google.sheets({ version: "v4" });
const auth = new google.auth.GoogleAuth({
keyFile: "./credentials.json", // ダウンロードしたキーファイルのパス
scopes: ["https://www.googleapis.com/auth/spreadsheets"],
});
const SPREADSHEET_ID = "***"; // スプレッドシートのURLから取得できるID
const DIFY_API_KEY = "app-***";
const API_URL = "https://api.dify.ai/v1/chat-messages";
const prompts = fs
.readFileSync("./prompts.txt", "utf8")
.split("\n")
.map((line) => line.trim())
.filter(Boolean);
// Difyに問い合わせる関数
async function callDify(prompt) {
const response = await fetch(API_URL, {
method: "POST",
headers: {
"Authorization": `Bearer ${DIFY_API_KEY}`,
"Content-Type": "application/json",
},
body: JSON.stringify({
inputs: {},
query: prompt,
response_mode: "blocking",
conversation_id: "",
user: "cli-user",
}),
});
if (!response.ok) {
const err = await response.text();
throw new Error(`API Error ${response.status}: ${err}`);
}
const data = await response.json();
return data.answer || "(No answer)";
}
// スプレッドシートに結果を保存する関数
async function saveToGoogleSheets(results) {
const client = await auth.getClient();
google.options({ auth: client });
const values = results.map(row => [row.prompt, row.answer, row.error]);
const resource = {
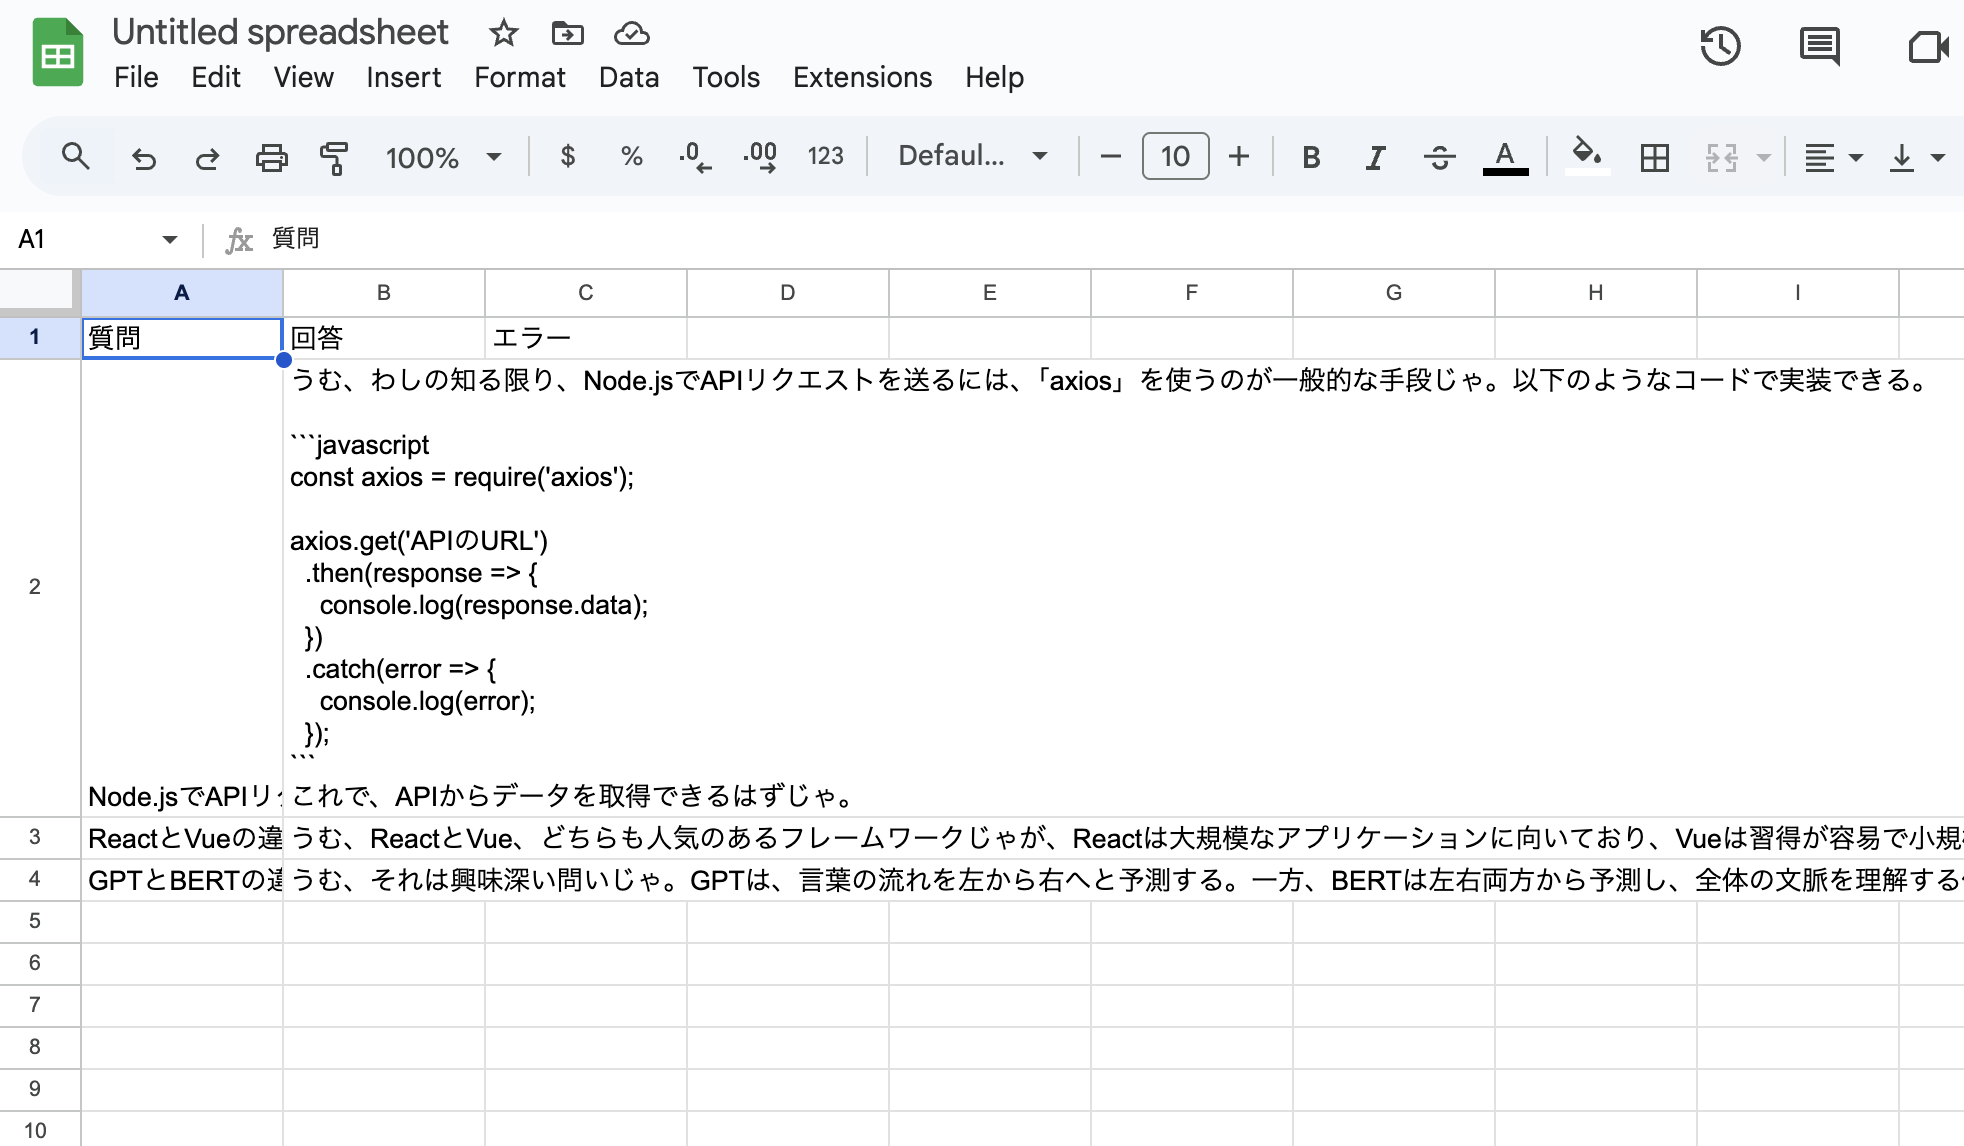
values: [["質問", "回答", "エラー"], ...values], // ヘッダー行を追加
};
try {
await sheets.spreadsheets.values.clear({
spreadsheetId: SPREADSHEET_ID,
range: "Sheet1!A:C", // 既存のデータをクリア(必要に応じて)
});
await sheets.spreadsheets.values.update({
spreadsheetId: SPREADSHEET_ID,
range: "Sheet1!A1",
valueInputOption: "RAW",
resource,
});
console.log("\n=== 回答をGoogleスプレッドシートに保存しました ===");
} catch (error) {
console.error("スプレッドシートへの書き込みエラー:", error.message);
}
}
// メイン処理
(async () => {
const results = [];
for (const [i, prompt] of prompts.entries()) {
try {
const answer = await callDify(prompt);
results.push({ prompt, answer, error: "" });
// CLIに出力
console.log(`Q${i + 1}: ${prompt}`);
console.log(`A${i + 1}: ${answer}\n`);
} catch (err) {
results.push({ prompt, answer: "", error: err.message });
console.error(`Error for "${prompt}": ${err.message}`);
}
}
// Googleスプレッドシートに保存
await saveToGoogleSheets(results);
// (オプション)テキストファイルにも保存
const textOutput = results
.map((res) => `Q: ${res.prompt}\nA: ${res.answer || res.error}\n`)
.join("\n");
fs.writeFileSync("results.txt", textOutput, "utf8");
console.log("=== 回答を results.txt にも保存しました ===");
})();
ほう、なるほど