ubuntu14.04(trusty)でminikubeを起動しようと思ったら

ubuntuでkubernetesを学びたい🐳
docker, docker-composeはインストール済

$ uname -a
Linux vagrant-ubuntu-trusty-64 4.4.0-148-generic #174~14.04.1-Ubuntu SMP Thu May 9 08:17:37 UTC 2019 x86_64 x86_64 x86_64 GNU/Linux
$ docker –version
Docker version 18.06.3-ce, build d7080c1

1. kubectlインストール
2. Minikubeインストール

### kubectlのインストール
k8s公式を参考にする
install-kubectl
$ sudo apt-get update && sudo apt-get install -y apt-transport-https
$ curl -s https://packages.cloud.google.com/apt/doc/apt-key.gpg | sudo apt-key add –
$ echo “deb https://apt.kubernetes.io/ kubernetes-xenial main” | sudo tee -a /etc/apt/sources.list.d/kubernetes.list
$ sudo apt-get update
$ sudo apt-get install -y kubectl
$ kubectl version
Client Version: version.Info{Major:”1″, Minor:”17″, GitVersion:”v1.17.4″, GitCommit:”8d8aa39598534325ad77120c120a22b3a990b5ea”, GitTreeState:”clean”, BuildDate:”2020-03-12T21:03:42Z”, GoVersion:”go1.13.8″, Compiler:”gc”, Platform:”linux/amd64″}

### minikubeインストール
$ curl -Lo minikube https://storage.googleapis.com/minikube/releases/latest/minikube-linux-amd64
$ sudo chmod +x minikube
$ sudo cp minikube /usr/local/bin
$ sudo minikube start –vm-driver=none
* minikube v1.8.2 on Ubuntu 14.04 (vbox/amd64)
* Using the none driver based on user configuration

! ‘none’ driver reported an issue: exec: “systemctl”: executable file not found in $PATH
* Suggestion: Use a systemd based Linux distribution
* Documentation: https://minikube.sigs.k8s.io/docs/reference/drivers/none/

X none does not appear to be installed

あ、14.04は古いのか。サポートも終了しているみたいだし、18.04でやり直そう。。

$ vagrant ssh
Welcome to Ubuntu 18.04.4 LTS (GNU/Linux 4.15.0-91-generic x86_64)

* Documentation: https://help.ubuntu.com
* Management: https://landscape.canonical.com
* Support: https://ubuntu.com/advantage

System information as of Sat Mar 21 05:59:25 UTC 2020

System load: 0.01 Processes: 109
Usage of /: 12.3% of 9.63GB Users logged in: 0
Memory usage: 16% IP address for enp0s3: 10.0.2.15
Swap usage: 0% IP address for enp0s8: 192.168.33.10

0 packages can be updated.
0 updates are security updates.

ubuntuにbitcoin coreをインストール

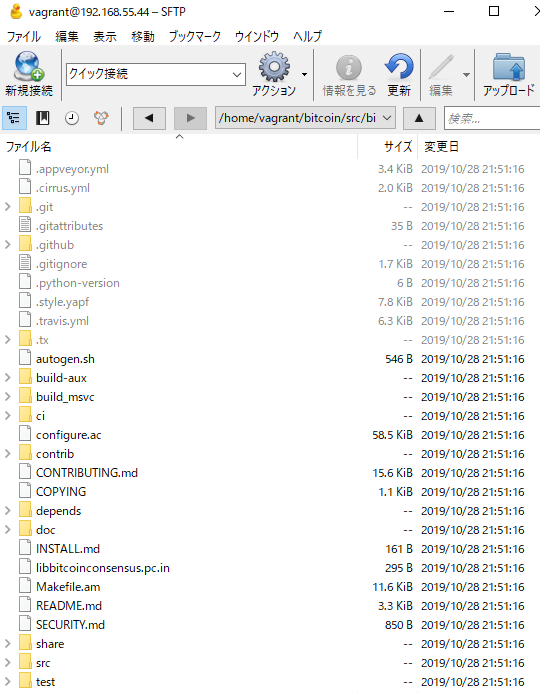
vagrantでubuntuにssh接続して、githubからbitcoin coreをgit cloneします。
Bitcoin Core

vagrant@vagrant-ubuntu-trusty-64:~/bitcoin$ mkdir src
vagrant@vagrant-ubuntu-trusty-64:~/bitcoin$ cd src
vagrant@vagrant-ubuntu-trusty-64:~/bitcoin/src$ git clone https://github.com/bitcoin/bitcoin.git
Cloning into ‘bitcoin’…
remote: Enumerating objects: 4, done.
remote: Counting objects: 100% (4/4), done.
remote: Compressing objects: 100% (3/3), done.
Receiving objects: 100% (147338/147338), 132.89 MiB | 112.00 KiB/s, done.
remote: Total 147338 (delta 1), reused 2 (delta 1), pack-reused 147334
Resolving deltas: 100% (102529/102529), done.
Checking connectivity… done.

入りました

apt-get updateでパッケージリストを更新して、gcc、libdb4.8、関連ライブラリ、GUIライブラリをインストール
Bitocoin Coreをビルド
./autogen.sh
./configure
make

おおおおおおおおおお、なんかすげーなこれ

macにubuntuを入れよう

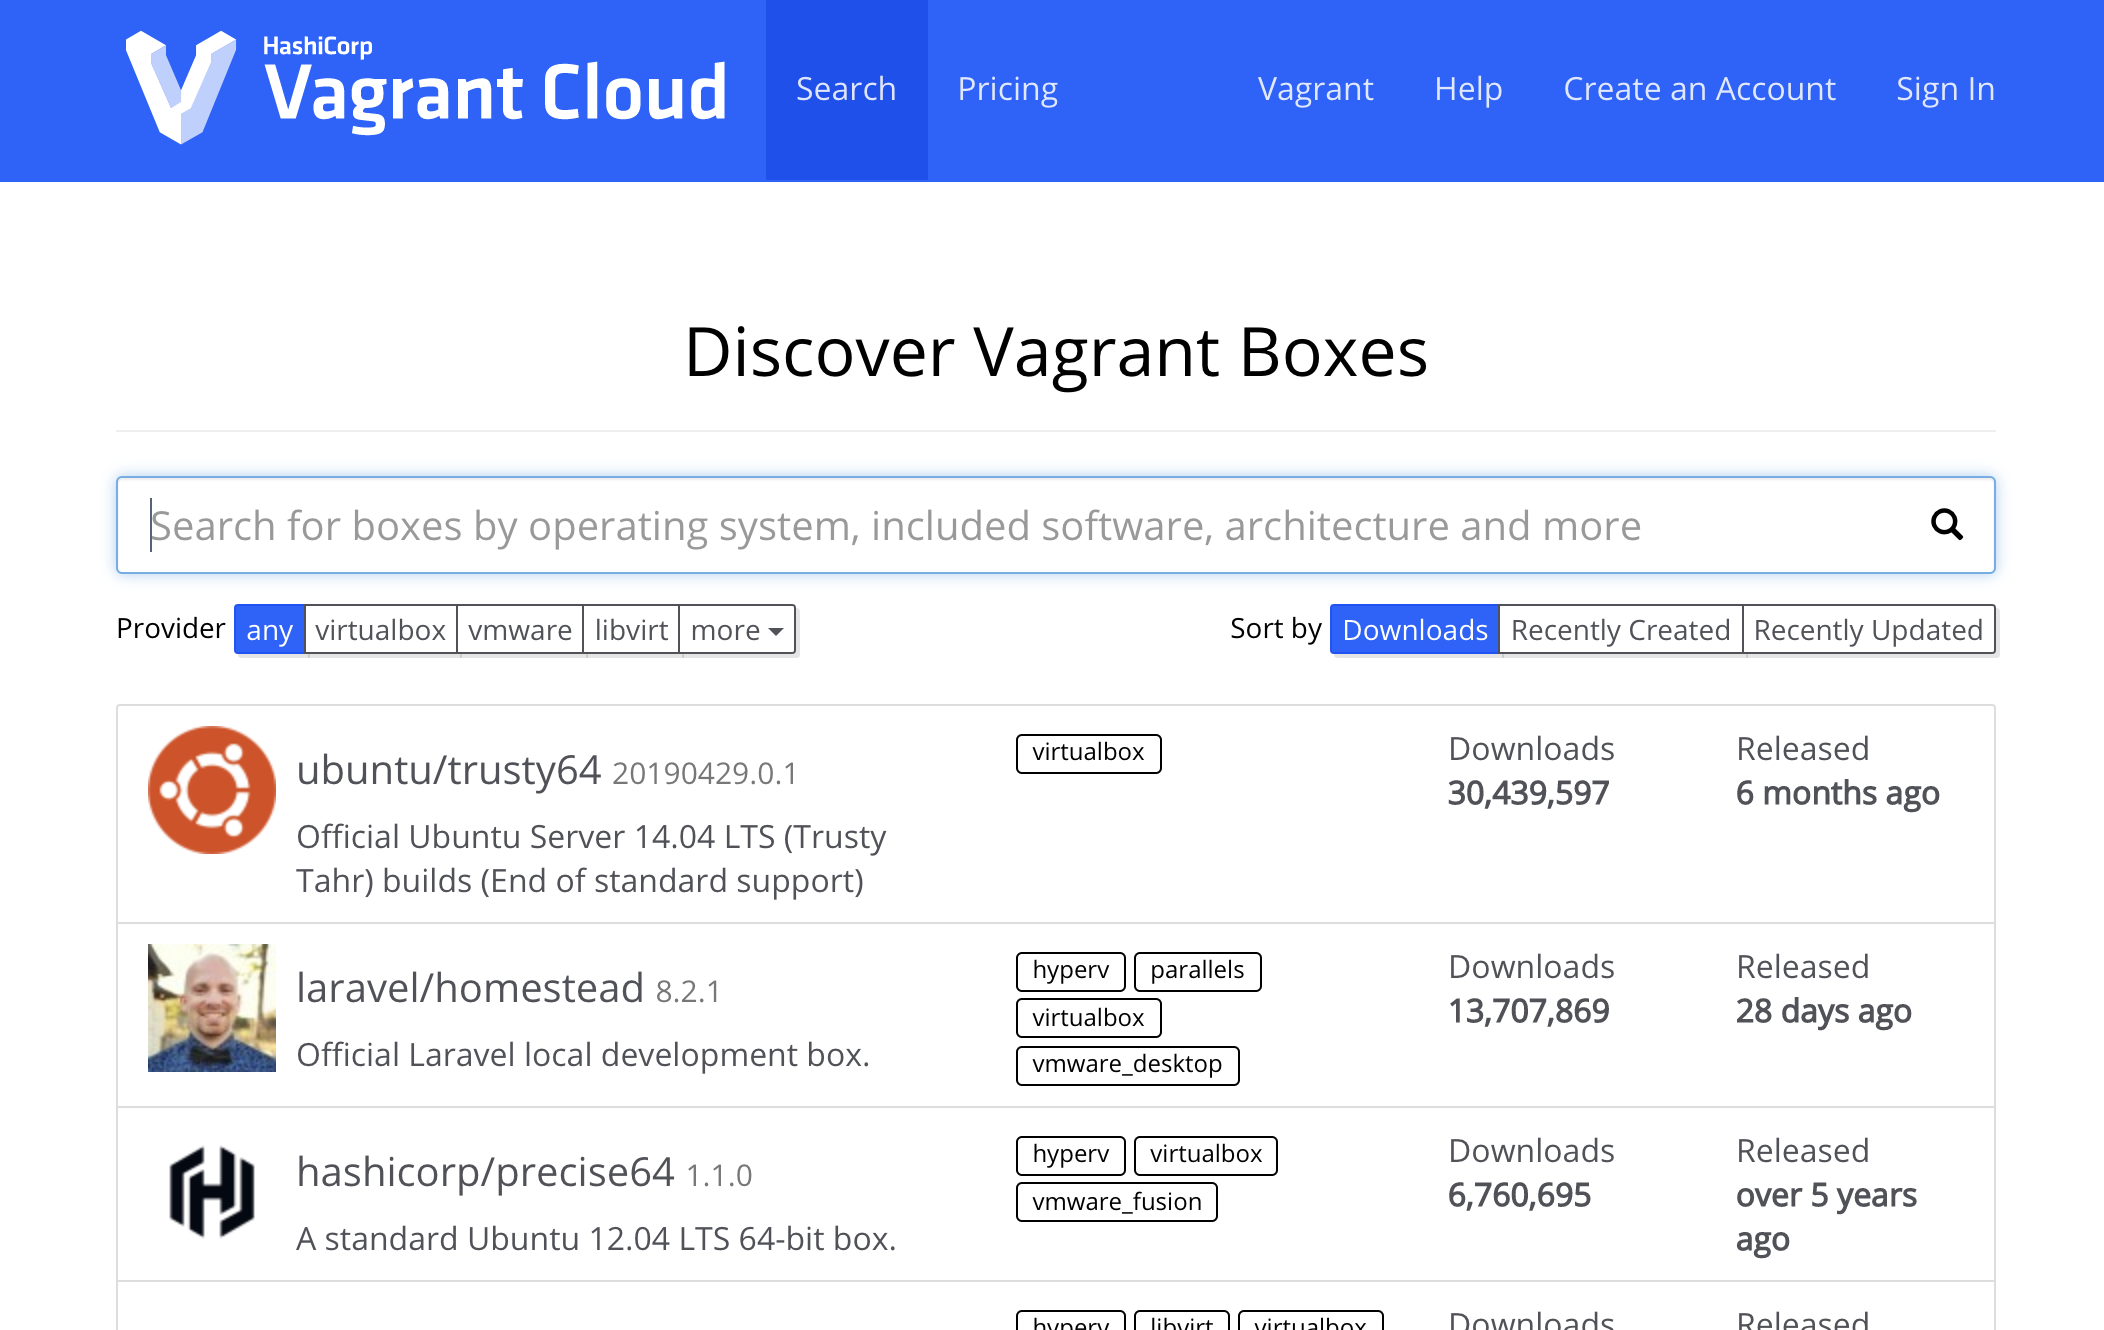
まずvagrant boxes
https://app.vagrantup.com/boxes/search

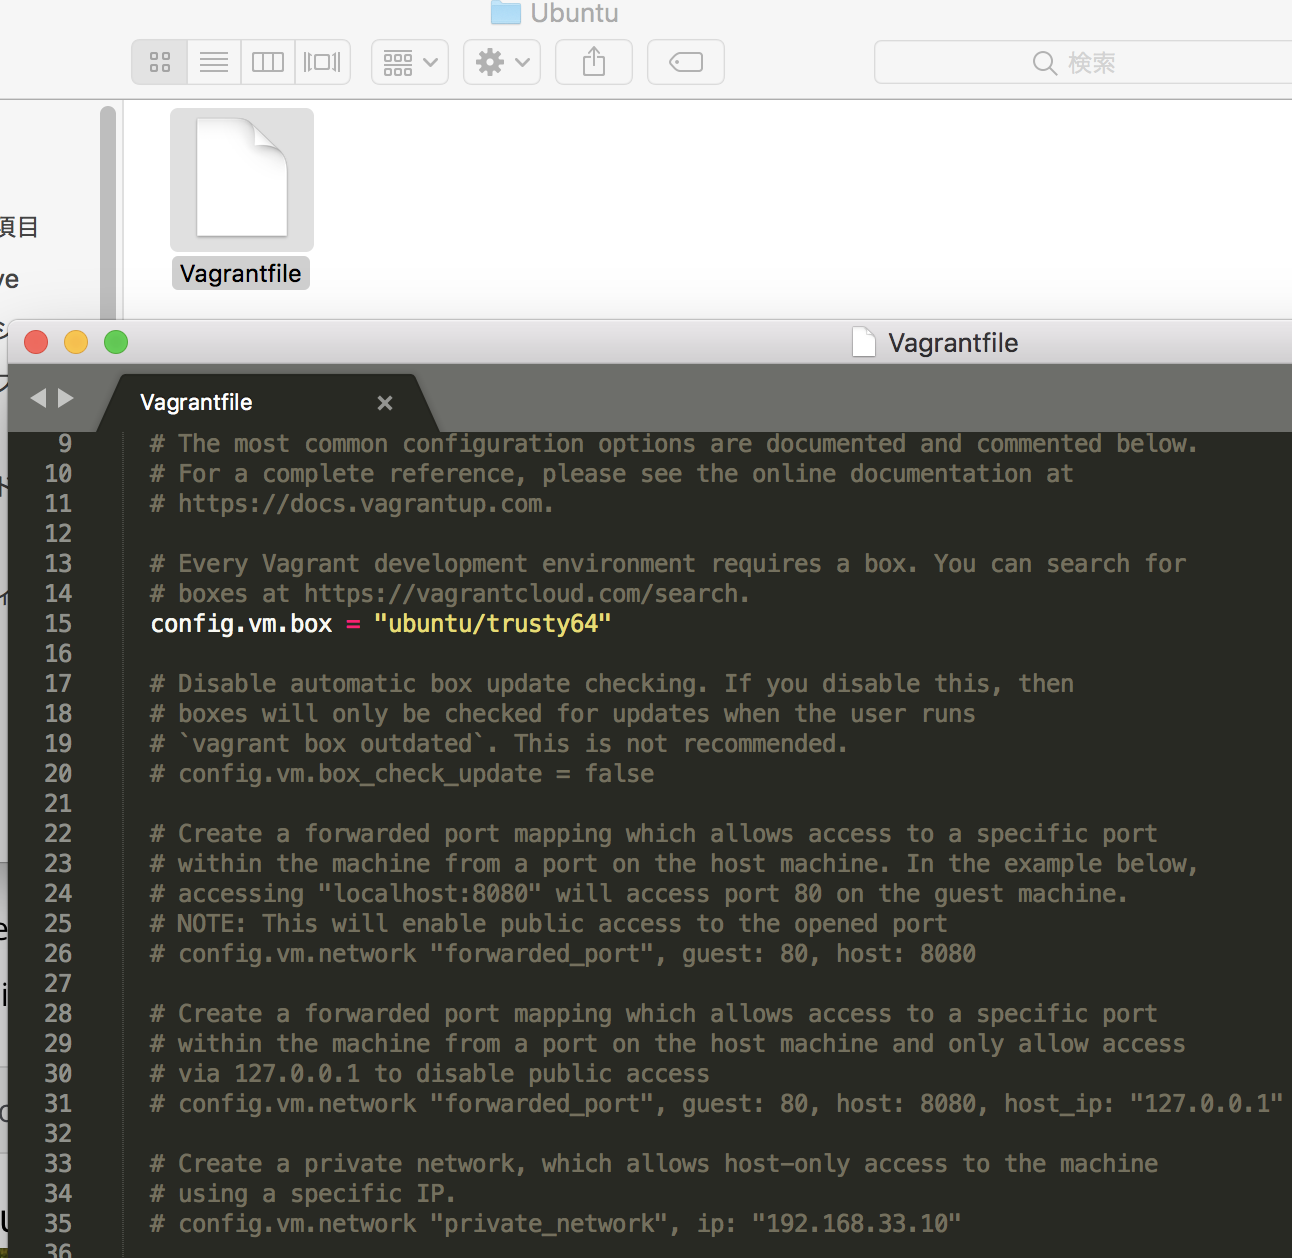
まず、trusty64のvagrant fileを作ります。
mac:myvagrant mac$ mkdir Ubuntu
mac:myvagrant mac$ ls
MyCentOS Ubuntu
mac:myvagrant mac$ cd ubuntu
mac:ubuntu mac$ vagrant init ubuntu/trusty64
A `Vagrantfile` has been placed in this directory. You are now
ready to `vagrant up` your first virtual environment! Please read
the comments in the Vagrantfile as well as documentation on
`vagrantup.com` for more information on using Vagrant.

ポートフォワーディング

  # config.vm.network "forwarded_port", guest: 80, host: 8080
  config.vm.network "forwarded_port", guest: 80, host: 8080

mac:ubuntu mac$ vagrant reload
==> default: VM not created. Moving on…
mac:ubuntu mac$ vagrant up

mac:ubuntu mac$ vagrant ssh
Welcome to Ubuntu 14.04.6 LTS (GNU/Linux 3.13.0-170-generic x86_64)

* Documentation: https://help.ubuntu.com/

System information as of Sun Oct 27 12:59:04 UTC 2019

System load: 0.49 Processes: 81
Usage of /: 3.6% of 39.34GB Users logged in: 0
Memory usage: 25% IP address for eth0: 10.0.2.15
Swap usage: 0%

Graph this data and manage this system at:
https://landscape.canonical.com/

0 updates can be installed immediately.
0 of these updates are security updates.

New release ‘16.04.6 LTS’ available.
Run ‘do-release-upgrade’ to upgrade to it.

vagrant@vagrant-ubuntu-trusty-64:~$ ip a
1: lo: mtu 65536 qdisc noqueue state UNKNOWN group default
link/loopback 00:00:00:00:00:00 brd 00:00:00:00:00:00
inet 127.0.0.1/8 scope host lo
valid_lft forever preferred_lft forever
inet6 ::1/128 scope host
valid_lft forever preferred_lft forever
2: eth0: mtu 1500 qdisc pfifo_fast state UP group default qlen 1000
link/ether 08:00:27:bb:97:37 brd ff:ff:ff:ff:ff:ff
inet 10.0.2.15/24 brd 10.0.2.255 scope global eth0
valid_lft forever preferred_lft forever
inet6 fe80::a00:27ff:febb:9737/64 scope link
valid_lft forever preferred_lft forever
vagrant@vagrant-ubuntu-trusty-64:~$ hostname -I
10.0.2.15

あれ
mac:ubuntu mac$ vagrant ssh-config
Host default
HostName 127.0.0.1
User vagrant
Port 2222
UserKnownHostsFile /dev/null
StrictHostKeyChecking no
PasswordAuthentication no
IdentityFile /Users/mac/MyVagrant/Ubuntu/.vagrant/machines/default/virtualbox/private_key
IdentitiesOnly yes
LogLevel FATAL

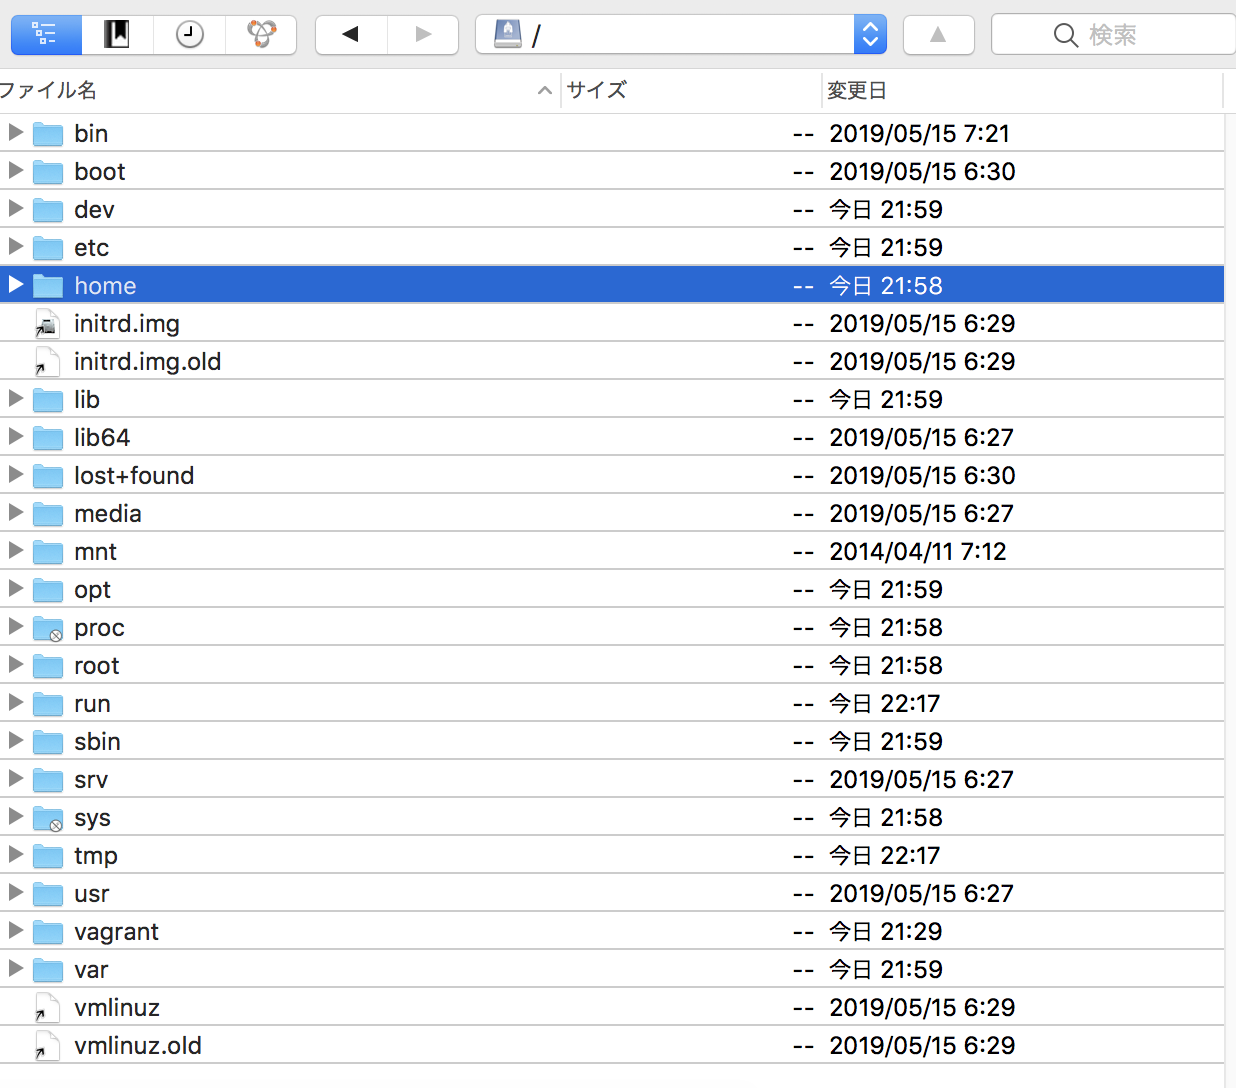
ubuntuの中身を見ると、centosとファイル構成は似ているように見えます。後は使いながら少しずつ覚えていくしかないですね。とりあえず、pythonで開発する際はubuntuベースで使っていこうかと思います^^

ubuntu

pythonの記事を見ると、OSは圧倒的にubuntuを使っている
前にもみたが、centOSとubuntuって何が違うんだっけ??

CentOS
– コミュニティによるエンタープライズ級のOS
– ベースはRed Hatで、GPLライセンス
– RPM + YUMの統合管理

Ubuntu
– 誰にでも使いやすい最新かつ安定したOS
– ベースはDebianで、半年に一度リリース
– deb+apt形式
– デスクトップエディションとサーバーエディションがあり、デスクトップエディションが目立つ

あ!

NVIDIA社のGPUを組み込んだPCにUbuntuをインストールすることで、機械学習が行えるようになります。

ん! マジこれ?
https://w3techs.com/technologies/history_details/os-linux

25 Nov 2018
Ubuntu    38.0%
Debian     22.9%
CentOS    17.9%

更に

パッケージ管理ツール(apt)でインストールできるビルド済のパッケージソフト数が47000個と多い

ええええ、そうなんだ。どうしよう、これ。とりあえず、ubuntuの開発環境は絶対に作らないとダメだな。

getting started Ubuntu

After install vitrualbox and vagrant,

vagrant init ubuntu/trusty64
vagrant up
vagrant ssh
sudo apt-get update && sudo apt-get upgrade
sudo apt-get install netcat-openbsd tcpdump traceroute mtr

command

vagrant@vagrant-ubuntu-trusty-64:~$ ip addr show eth0
2: eth0:  mtu 1500 qdisc pfifo_fast state UP group default qlen 1000
    link/ether 08:00:27:6c:cb:39 brd ff:ff:ff:ff:ff:ff
    inet 10.0.2.15/24 brd 10.0.2.255 scope global eth0
       valid_lft forever preferred_lft forever
    inet6 fe80::a00:27ff:fe6c:cb39/64 scope link
       valid_lft forever preferred_lft forever

vagrant@vagrant-ubuntu-trusty-64:~$ ip route show
default via 10.0.2.2 dev eth0
10.0.2.0/24 dev eth0  proto kernel  scope link  src 10.0.2.15

vagrant@vagrant-ubuntu-trusty-64:~$ ping -c3 8.8.8.8

vagrant@vagrant-ubuntu-trusty-64:~$ host -t aaaa google.com
google.com has IPv6 address 2404:6800:4004:817::200e

vagrant@vagrant-ubuntu-trusty-64:~$ printf 'HEAD / HTTP/1.1\r\nHost: www.udacity.com \r\n\r\n' \ |nc www.udacit.com 80
HTTP/1.1 200 OK
Content-Length: 0
Server: Microsoft-IIS/8.5
X-Powered-By: ASP.NET
Date: Sat, 10 Dec 2016 13:16:14 GMT

vagrant@vagrant-ubuntu-trusty-64:~$ sudo tcpdump -n -c5 -i eth0

vagrant@vagrant-ubuntu-trusty-64:~$ mtr www.udacity.com

ping request do not need server, just confirm computer system existing. Ping is simpler than HTTP, http is not ping.