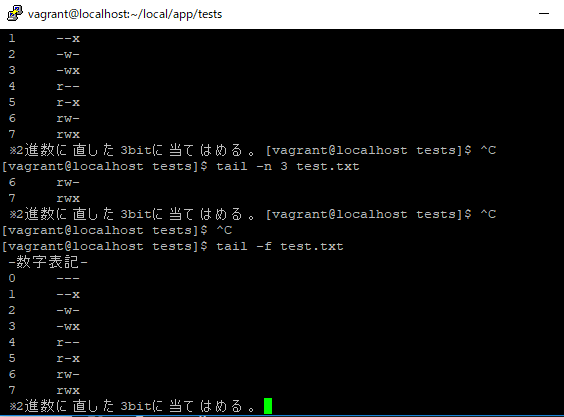
tail -f ${file_name}

originally tail is a command to display the last 10 lines(default) of the file.
As a command to be paired there is head, display the top 10 lines of the file. To change the number of lines to display, specify the number of lines with the -n option for both commands.

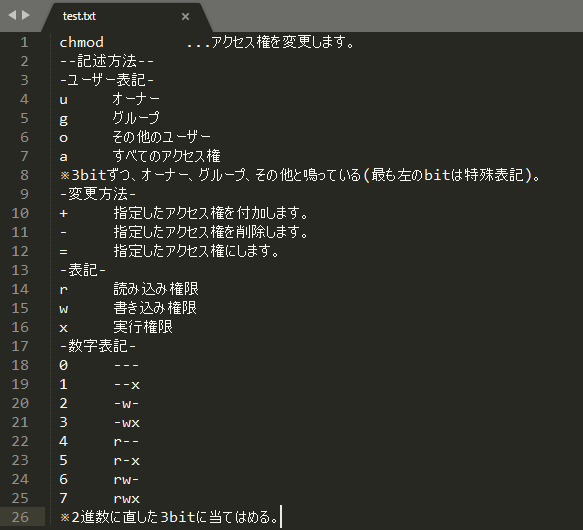
First i will make a sample file of 26 lines.

[vagrant@localhost tests]$ tail test.txt
 -数字表記-
 0     ---
 1     --x
 2     -w-
 3     -wx
 4     r--
 5     r-x
 6     rw-
 7     rwx
※2進数に直した3bitに当てはめる。

[vagrant@localhost tests]$ tail -n 3 test.txt
 6     rw-
 7     rwx
 ※2進数に直した3bitに当てはめる。

tail -n
Even if it is displayed to the end of the file, it does not end and when the end of the file is updated, the addition is displayed continuously.

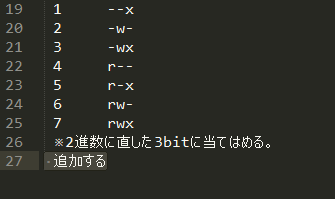
add new line

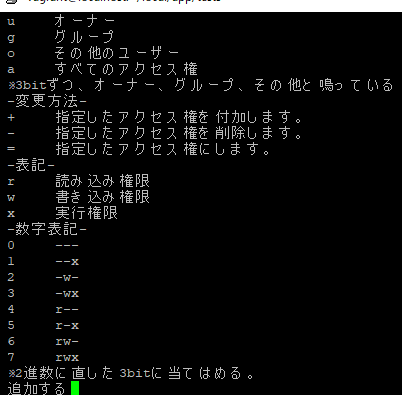
command line automatically updated.

こりゃ驚いた

cp -r ${dir_name}

The cp command on Unix/linux is a command to copy files and directories. Since the cp command has existed for a long time(it appeared in the first Unix V1), it can be used with any UNIX/Linux OS.

option
-R : copy directory recursively

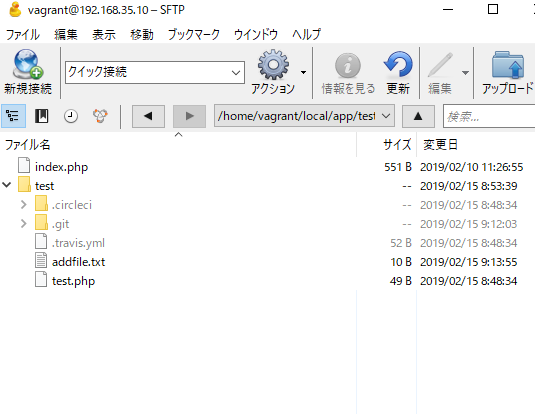
[vagrant@localhost tests]$ ls
index.php test
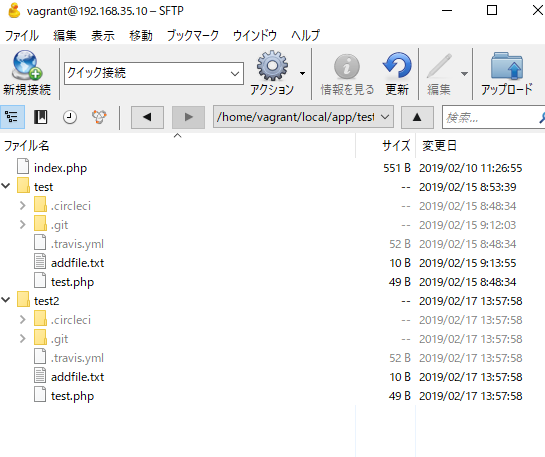
[vagrant@localhost tests]$ cp -r test test2
[vagrant@localhost tests]$ ls
index.php test test2

すげーーーーーー

Linux $ source

“source” is a command to execute the command described in the file.

list.txt

echo Hello

[vagrant@localhost tests]$ ls
index.php list.txt test.php tinymce
[vagrant@localhost tests]$ source list.txt
Hello

wow.

isExist APP ~ "pgrep httpd"
if [[ -n $isExist App ]]i then
	 service httpd stop
fi

あああああああああ、シェルスクリプト勉強しなきゃ。。。駄目だ、時間がかかりすぎる。

tail -n 100 /var/log/httpd/error_log | egrep -i “WARN|ERR|FAIL|CRIT”

Can use the tail command to export the file specified in the File parameter from the specified position to standard output.

[vagrant@localhost ~]$ tail -n 100 /var/log/httpd/error_log
[Sun Feb 10 09:48:03 2019] [notice] Digest: generating secret for digest authentication …
[Sun Feb 10 09:48:03 2019] [notice] Digest: done
[Sun Feb 10 09:48:03 2019] [notice] Apache/2.2.15 (Unix) DAV/2 configured — resuming normal operations

install OpenVAS for centos

After installing the repository of OpenVAS, install OpenVAS with the following command.

yum -y install openvas

[vagrant@localhost app]$ sudo yum -y install openvas
読み込んだプラグイン:fastestmirror
インストール処理の設定をしています
Determining fastest mirrors
epel/metalink | 6.7 kB 00:00
* base: ftp.riken.jp
* epel: mirror.premi.st
* extras: ftp.riken.jp
* remi-safe: ftp.riken.jp
* updates: ftp.riken.jp
base | 3.7 kB 00:00
epel | 4.7 kB 00:00
epel/primary_db | 6.0 MB 00:11
extras | 3.4 kB 00:00
jenkins | 2.9 kB 00:00
jenkins/primary_db | 126 kB 00:01
mariadb | 2.9 kB 00:00
mysql-connectors-community | 2.5 kB 00:00
mysql-connectors-community/primary_db | 33 kB 00:00
mysql-tools-community | 2.5 kB 00:00
mysql-tools-community/primary_db | 48 kB 00:00
mysql56-community | 2.5 kB 00:00
nginx | 2.9 kB 00:00
nodesource | 2.5 kB 00:00
remi-safe | 3.0 kB 00:00
remi-safe/primary_db | 1.2 MB 00:02
updates | 3.4 kB 00:00
updates/primary_db | 3.0 MB 00:05
パッケージ openvas は利用できません。
エラー: 何もしません

なにいいいいいいいいいい???????
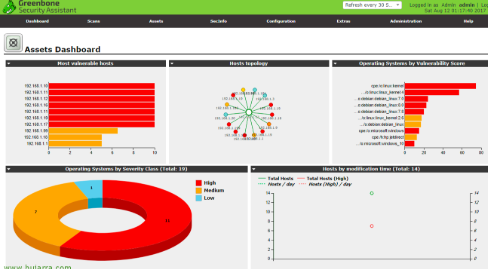
ドキュメントをみると、対象のIPを指定するとスキャンしてくれて、脆弱性レポートを作ってくれるらしい。なるほど。

Linux “sed” command

Replace the character string / output the replaced line

[vagrant@localhost tests]$ ls
baio.txt

baio.txt

2019 年 MM 月 DD 日に発表いたしました、再生細胞薬「SBXXX」の慢性期脳梗塞を対象にした
米国でのフェーズ N 臨床試験の解析結果について、患者さんからの声をたくさんお寄せ
いただいております。改めて私より、今後についてお伝えさせていただきたいと思います。

To replace the character string, use “s” command and specify “s/beforeReplacment/afterReplacement”

[vagrant@localhost tests]$ cat baio.txt
2019 年 MM 月 DD 日に発表いたしました、再生細胞薬「SBXXX」の慢性期脳梗塞を対象にした
米国でのフェーズ N 臨床試験の解析結果について、患者さんからの声をたくさんお寄せ
いただいております。改めて私より、今後についてお伝えさせていただきたいと思います。

[vagrant@localhost tests]$ cat baio.txt | sed s/患者/株主/
2019 年 MM 月 DD 日に発表いたしました、再生細胞薬「SBXXX」の慢性期脳梗塞を対象にした
米国でのフェーズ N 臨床試験の解析結果について、株主さんからの声をたくさんお寄せ
いただいております。改めて私より、今後についてお伝えさせていただきたいと思います。

/usr/local/bin

Although the way of thinking differs depending on the operating system, in general /usr/local and below, it is used to keep compiled oneself.

/usr/bin and /bin put the standard command of the system, but place other thing in /usr/local/bin.

[vagrant@localhost app]$ echo $PATH
/home/vagrant/.pyenv/plugins/pyenv-virtualenv/shims:/home/vagrant/.pyenv/shims:/home/vagrant/.pyenv/bin:/home/vagrant/.rbenv/shims:/home/vagrant/.rbenv/bin:/usr/local/bin:/bin:/usr/bin:/usr/local/sbin:/usr/sbin:/sbin:/home/vagrant/bin

u, that’s strange..

csv.z file

A file with the Z file extension is a UNIX compressed file. Like other archive file formats, Z file are used to compress a file for backup/archive purposes. However, unlike more complex formats, Z files can store just one file and no folders.

Z files can be opened with most zip/unzip programs.
Unix system can decompress .Z file without any software by using this command, where “name.z” is the name of the .Z file so as csv.z

Unix zcat command

It is a command that can be used on Unix system.
Display the contents of the compressed file with “gzip” command
Display the contents of the compressed file with “compress” command

Use it when displaying the contents of the compressed file!

linux chown command

The chown command changes user ownership(owner) and group ownership(group) of specified files and directories. User ownership is specified by user name or user ID, and group ownership is specified by group name or group ID.

Change user ownership. First, check user ownership and group ownership with “ls command”.
[vagrant@localhost symbolic]$ ls -l
合計 4
drwxr-xr-x 2 vagrant vagrant 4096 1月 27 20:32 2019 backupdir
lrwxrwxrwx 1 vagrant vagrant 10 1月 27 16:51 2019 latest -> text03.txt
lrwxrwxrwx 1 vagrant vagrant 12 1月 27 16:47 2019 latest~ -> mylist02.txt
-rw-rw-r– 1 vagrant vagrant 0 1月 27 16:43 2019 mylist01.txt
-rw-rw-r– 1 vagrant vagrant 0 1月 27 16:43 2019 mylist02.txt
-rw-rw-r– 1 vagrant vagrant 0 1月 27 16:50 2019 mylist03.txt

User ownership is “vagrant”, group ownership is also “vagrant”.

Change user ownership
Try changing the user ownership from “vagrant” to “root” without specifying a group. Execute the chown command as follows.

[vagrant@localhost symbolic]$ chown root mylist01.txt
chown: `mylist01.txt’ の所有権を変更中: 許可されていない操作です

It seems that root privilege is requried for chown execution.

[vagrant@localhost symbolic]$ sudo chown root mylist01.txt
[vagrant@localhost symbolic]$ ls -l mylist01.txt
-rw-rw-r– 1 root vagrant 0 1月 27 16:43 2019 mylist01.txt

Change user ownership and group ownership
Specify users and groups, and execute chown command. Between the users and the group, put : (semicolon).

[vagrant@localhost symbolic]$ sudo chown root:root mylist02.txt
[vagrant@localhost symbolic]$ ls -l mylist02.txt
-rw-rw-r– 1 root root 0 1月 27 16:43 2019 mylist02.txt

Directory ownership
To change directory ownership recursively, use option -R.

[vagrant@localhost app]$ sudo chown -hR root:root symbolic