innerTextで指定します。
<body>
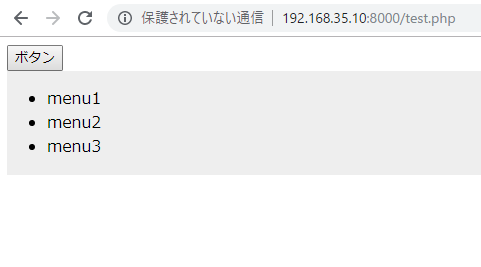
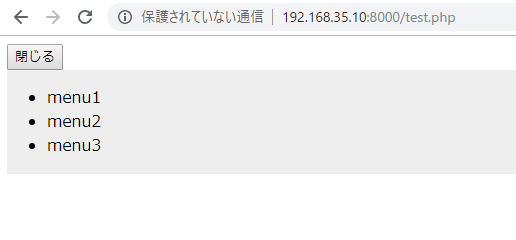
<button id="toggleMenuButton">ボタン</button>
<div id="toggleMenu">
<ul>
<li>menu1</li>
<li>menu2</li>
<li>menu3</li>
</ul>
</div>
</body>
<script>
(function(window,document){
var _toggleMenuButton = document.getElementById('toggleMenuButton');
var _toggleMenu = document.getElementById('toggleMenu');
var _clientH;
init();
function init(){
_toggleMenu.style.height='auto';
_clientH = _toggleMenu.clientHeight;
_toggleMenu.style.height = '0px';
_toggleMenuButton.addEventListener('click', function(){
change();
clickToggle();
},false);
}
function clickToggle(){
var lastH = _toggleMenu.style.height;
_toggleMenu.style.height = (lastH == '' || lastH == '0px') ? _clientH + 'px' : '0px';
}
function change(){
document.getElementById('toggleMenuButton').innerText="閉じる";
}
})(window,document);
</script>
いいけど、これ、ボタンが一度押されると、ずっと閉じるになるなー
あ、値が「閉じる」だったら、「ボタン」に変更すればよいのか。
function change(){
		document.getElementById('toggleMenuButton').innerText =( document.getElementById('toggleMenuButton').innerText == "ボタン") ? "閉じる" : "ボタン";
	}
これでどーだ^^
あ、まとめられますね。
function clickToggle(){
		var lastH = _toggleMenu.style.height;
		_toggleMenu.style.height = (lastH == '' || lastH == '0px') ? _clientH + 'px' : '0px';
		_toggleMenuButton.innerText =( _toggleMenuButton.innerText == "ボタン") ? "閉じる" : "ボタン";
	}
OKKKKKKKKKKKKKKKKKKKKKKKKKKKKKKKKK