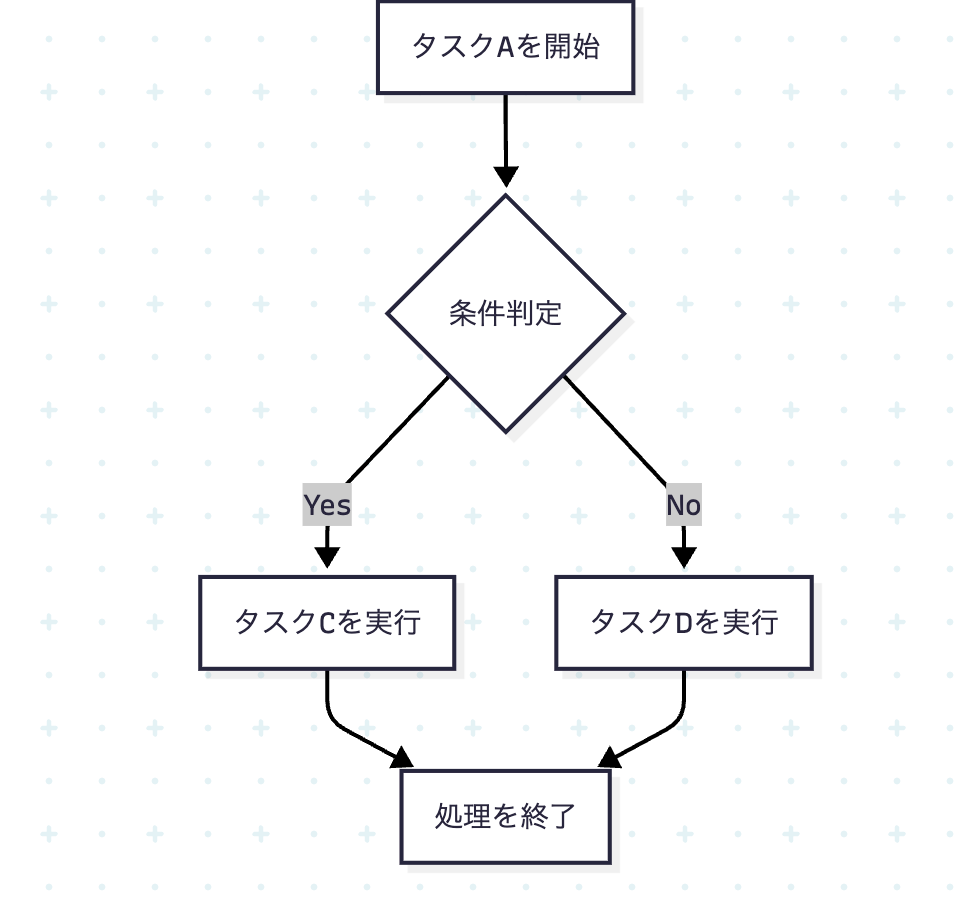
graph TD
    A[タスクAを開始] --> B{条件判定};
    B -- Yes --> C[タスクCを実行];
    B -- No --> D[タスクDを実行];
    C --> E[処理を終了];
    D --> E;
ソフトウェアエンジニアの技術ブログ:Software engineer tech blog
随机应变 ABCD: Always Be Coding and … : хороший

graph TD
A[タスクAを開始] --> B{条件判定};
B -- Yes --> C[タスクCを実行];
B -- No --> D[タスクDを実行];
C --> E[処理を終了];
D --> E;
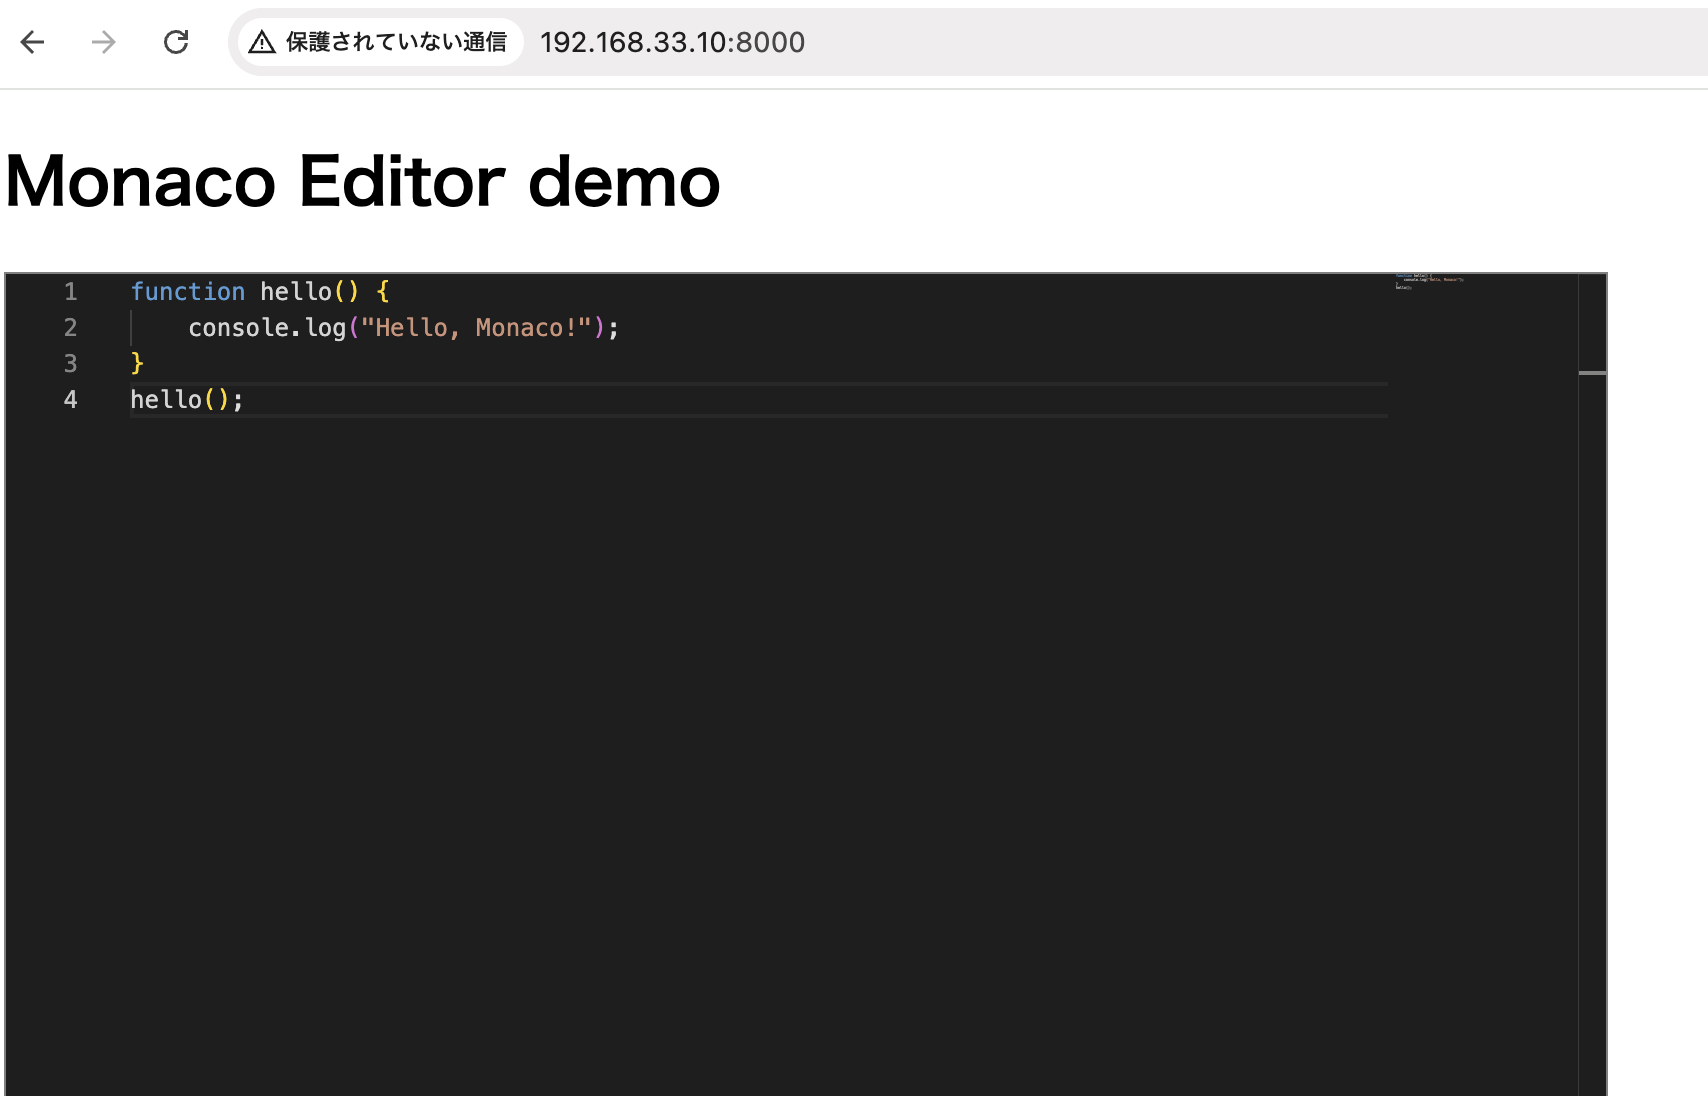
ブラウザをエディターとして使用できるようになります。
language: ‘javascript’と書いているところで、好みの言語に変更できる。
<!Doctype html>
<html lang="en">
<head>
    <meta charset="UTF-8">
    <title>Monaco Editor Sample</title>
    <style>
    #container {
      width: 800px;
      height: 600px;
      border: 1px solid grey;
    }
  </style>
</head>
<body>
    <h1>Monaco Editor demo</h1>
    <div id="container"></div>
    <script src="https://unpkg.com/monaco-editor@0.45.0/min/vs/loader.js"></script>
    <script>
        require.config({ paths: { 'vs': 'https://unpkg.com/monaco-editor@0.45.0/min/vs' }});
        require(['vs/editor/editor.main'], function(){
            monaco.editor.create(document.getElementById('container'), {
                value: [
                'function hello() {',
                '\tconsole.log("Hello, Monaco!");',
                '}',
                'hello();'
                ].join('\n'),
                language: 'javascript',
                theme: 'vs-dark'
            });
        });
    </script>
</body>
</html>
なるほど!
入力内容をファイルにするには
        let editor;

        require.config({ paths: { 'vs': 'https://unpkg.com/monaco-editor@0.45.0/min/vs' }});
        require(['vs/editor/editor.main'], function(){
            editor = monaco.editor.create(document.getElementById('container'), {
                value: [
                    'fn main() {',
                    '    println!("Hello, Rust!");',
                    '}'
                ].join('\n'),
                language: 'rust',
                theme: 'vs-dark'
            });
        });

        function saveAsFile(filename, content) {
            const blob = new Blob([content], { type: 'text/plain;charset=utf-8' });
            const link = document.createElement("a");
            link.href = URL.createObjectURL(blob);
            link.download = filename;
            document.body.appendChild(link);
            link.click();
            document.body.removeChild(link);
        }

        document.getElementById('saveBtn').addEventListener('click', () => {
        const code = editor.getValue();
        saveAsFile("main.rs", code);
        });
apiを使わずに、navigator.geolocation.getCurrentPositionだけでJSで取得でくる。
ただし、chromeではSSL環境では使用できない。そのため、テストをする際もローカルではデフォルトではテストできないので、SSL環境を構築する必要がある。※動作確認するために、ドメインを取得してLet’s Encryptの環境を作りました。
<head>
    <script src="https://cdn.jsdelivr.net/npm/vue@2.7.16/dist/vue.js"></script>
</head>

<div id="app">
    <h1>現在地</h1>
    <span v-if="err">
        緯度経度の情報を取得できませんでした。
    </span>
    <ul>
        <li>緯度:{{lat}}</li>
        <li>経度:{{long}}</li>
    </ul>
    <a v-bind:href="`${url}`">登録する</a>
</div>

<script>
let lat = "";
let long = "";
function success(pos) {
  const crd = pos.coords;

  lat = crd.latitude;
  long = crd.longitude;

  let url = "/index.html?lat=" +lat + "&long=" + long;
  var app = new Vue({
    el: '#app',
    data: {
        lat: lat,
        long: long,
        url: url,
        err: null
    }
  })
}

function error(err) {
    console.warn(`ERROR(${err.code}): ${err.message}`);
    let url = "/index.html?lat=" +lat + "&long=" + long;
    var app = new Vue({
    el: '#app',
    data: {
        lat: lat,
        long: long,
        url: url,
        err: err
    }
  })
}
navigator.geolocation.getCurrentPosition(success, error);
</script>
setTimeoutでループ処理ができる。
data.split(“\n”).lengthで、ファイルの行数を取得できる。
async function fetchData() {
  try {
    fetch('./data/names.txt')
    .then(response => response.text())
    .then(data => {
        console.log('テキストファイルの内容:');
        console.log(data.split("\n").length - 1);
        document.getElementById('target').textContent = data.split("\n").length - 1;
    })
    .catch(error => {
        console.error('エラー:', error);
    });
  } catch (error) {
    console.error('リクエストエラー:', error);
  }
  setTimeout(fetchData, 3000);
}
fetchData();
これだと、更新自体はできますが、データをpublicな場所には置きたくないですね…
JSに渡すときに、let value = {{ data }} と書くと宜しくない。let value = “{{ data }}” とダブルクオテーションで囲って渡してあげる必要がある。
サーバ側
    let tera = tera::Tera::new("templates/*").unwrap();

    let data = 100;

    let mut context = tera::Context::new();
    context.insert("title", "Index page");
    context.insert("data", &data);

    let output = tera.render("index.html", &context);
    return axum::response::Html(output.unwrap());
html/JS側
//
<input type="range" class="form-range" id="customRange1" min="0" max="{{data}}" v-model="amount">
//
<script>
    let value = "{{ data / 2 }}";
</script>
↓ これは動くには動くが駄目。
<script>
    let value = {{ data / 2 }};
</script>
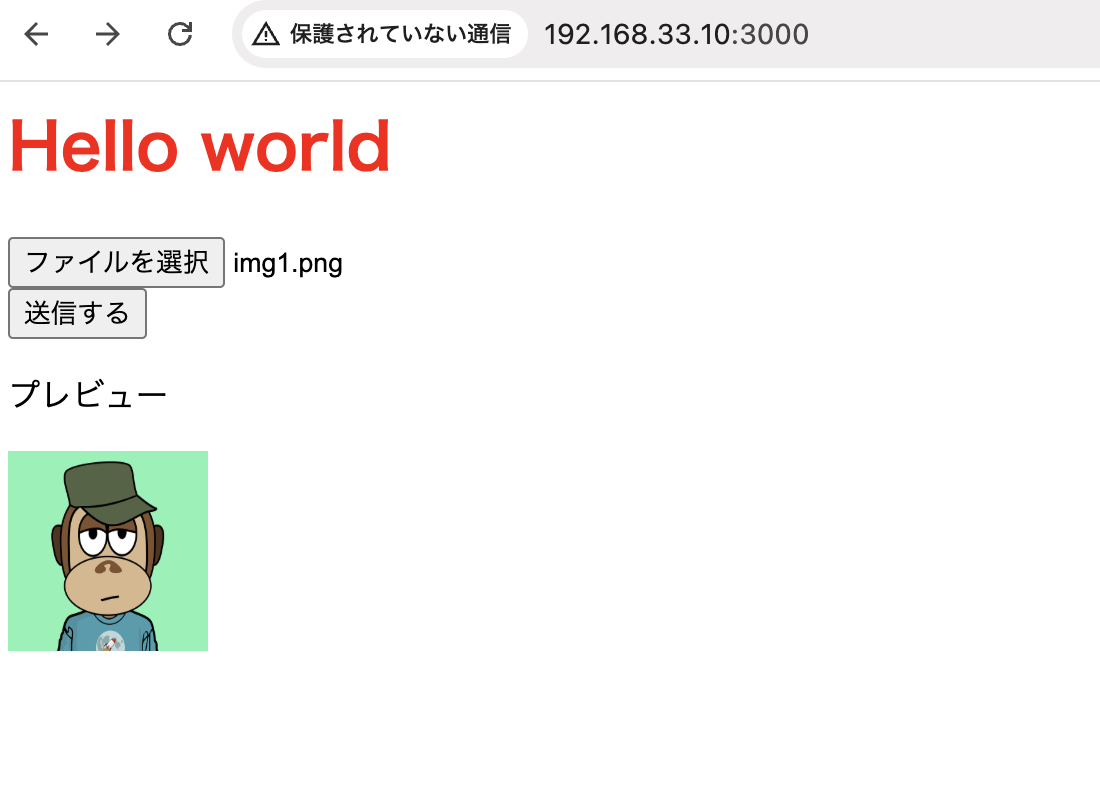
<form action="/post" method="post" enctype="multipart/from-data">
    <div>
        <input type="file" name="test" onchange="previewFile(this);">
    </div>
    <div>
        <input type="submit" value="送信する">
    </div>
</form>
<p>プレビュー</p>
<img id="preview" width="100px" height="100px">

<script>
function previewFile(file) {
    var fileData = new FileReader();
    fileData.onload = (function() {
        document.getElementById('preview').src = fileData.result;
    });
    fileData.readAsDataURL(file.files[0]);
}
</script>
次はaxumでデータのやり取りだな
tower-http = { version = “0.6.2”, features = [“fs”] }
staticフォルダにcssファイルを置きます。
static/styles.css
h1 {
    color:red;
}
template/test.html
<head>
    <title>title</title>
    <link rel="stylesheet" href="styles.css">
</head>
<h1>Hello world</h1>
main.rs
use tower_http::services::{ServeDir, ServeFile};
use axum::{
    routing::get,
    Router,
};

#[tokio::main]
async fn main() {

    let serve_dir = ServeDir::new("static").not_found_service(ServeFile::new("static"));

    let app = Router::new()
        .route("/", get(handle_index))
        .nest_service("/static", serve_dir.clone())
        .fallback_service(serve_dir);

    let listener = tokio::net::TcpListener::bind("0.0.0.0:3000").await.unwrap();
    axum::serve(listener, app).await.unwrap();
}

async fn handle_index()-> axum::response::Html<String> {
    let tera = tera::Tera::new("templates/*").unwrap();

    let mut context = tera::Context::new();
    context.insert("title", "Index page");

    let output = tera.render("test.html", &context);
    axum::response::Html(output.unwrap())
}
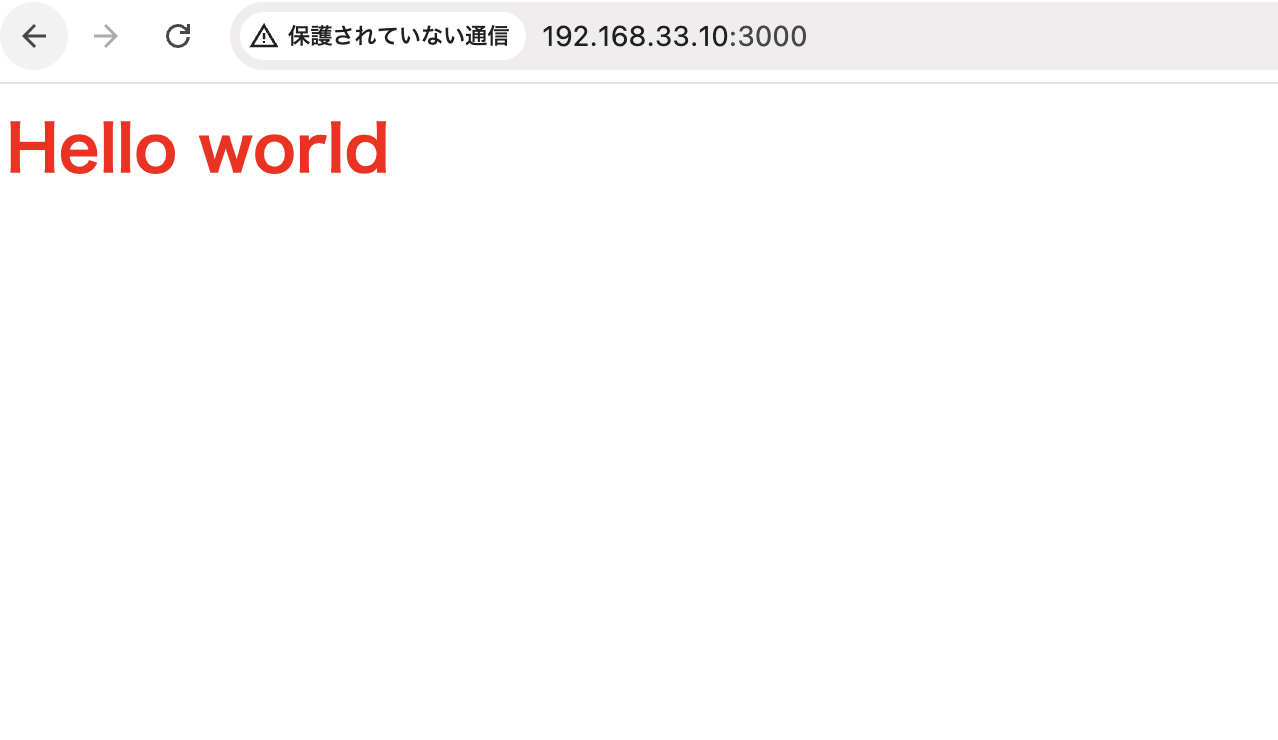
なるほど、これでCSSもjsも自由にコーディングできますね。
            <input type="hidden" name="time" id="time" value="">
//

        <script>
            var jsonDate       = (new Date()).toJSON();
            let element = document.getElementById('time');
            element.value = jsonDate;
        </script>
ちゃんと入っています。
splitは指定した文字列または正規表現によって文字列が分割され、結果が配列になって帰って来る
var str = "あ、い、う";
console.log(str.split("、"));
$ node main.js
[ ‘あ’, ‘い’, ‘う’ ]
正規表現
console.log(str.split(/[0-9]./));
区切り文字を残す場合
var str = "あ、い、う";
console.log(str.split(/(?<=、)/g));
()で囲まれていると残り、囲まれていないと削除
console.log(str.split(/(、)/));
$ node main.js
[ ‘あ’, ‘、’, ‘い’, ‘、’, ‘う’ ]
分割した機能ごとのjsファイルのことをモジュールと呼ぶ
importを使うのがESM方式(ECMAScript Module)で、requireを使うのがCJS(CommonJS Modules)
### import文の書き方
モジュール側
export const helloWorld = function() {
    console.log('Hello World!');
}
読み込み側
import { helloWorld } from './module'

helloWorld();
### require
モジュール側
L module.exportsと書く
module.exports = function() {
    console.log('hello world!');
}
読み込み側
L require文を使って先ほどのモジュールを読み込む
const helloWorldModule = require('./module.js');

helloWorldModule();
$ sudo apt install nodejs
$ node main.js
hello world!
読み込まれる方でmodule.export()とするのが鍵ですね。